SLAU601B March 2015 – April 2020
3.1 BOOSTXL-K350QVG-S1 + MSP-EXP432P401R Graphics Library Example
The demos are available in the MSP Graphics Library ("grlib") and show how to use the library in a project with the Kentec display. This demo shows the user how to enable the touch screen, create buttons, and use graphics primitives including colors and images.
While the code examples in the library are based on MSP430 and MSP432 devices, this BoosterPack module can also be used with SimpleLink devices like the CC13xx and CC26xx. For more information, post your question to the TI E2E™ community.
The program begins by calibrating the touch screen. There is a routine that detects the four corner coordinates to determine if an eligible rectangle boundary is formed. If the calibration was incorrect, a message displays on the screen indicating the calibration failed. When successful, the calibration provides a reference for all button presses throughout the rest of the program.
The next step is to select the mode of the program: display primitives or images. Each mode simply cycles through without user interaction to show features of the display. In the graphics primitives mode, the following primitives are shown:
- Pixels
- Lines
- Circles
- Rectangles
- Text
The application is heavily commented to ensure it is very clear how to use the grlib APIs. The above primitives are shown as well as the underlying concepts of grlib including background and foreground colors, context, fonts, opacity, and more.
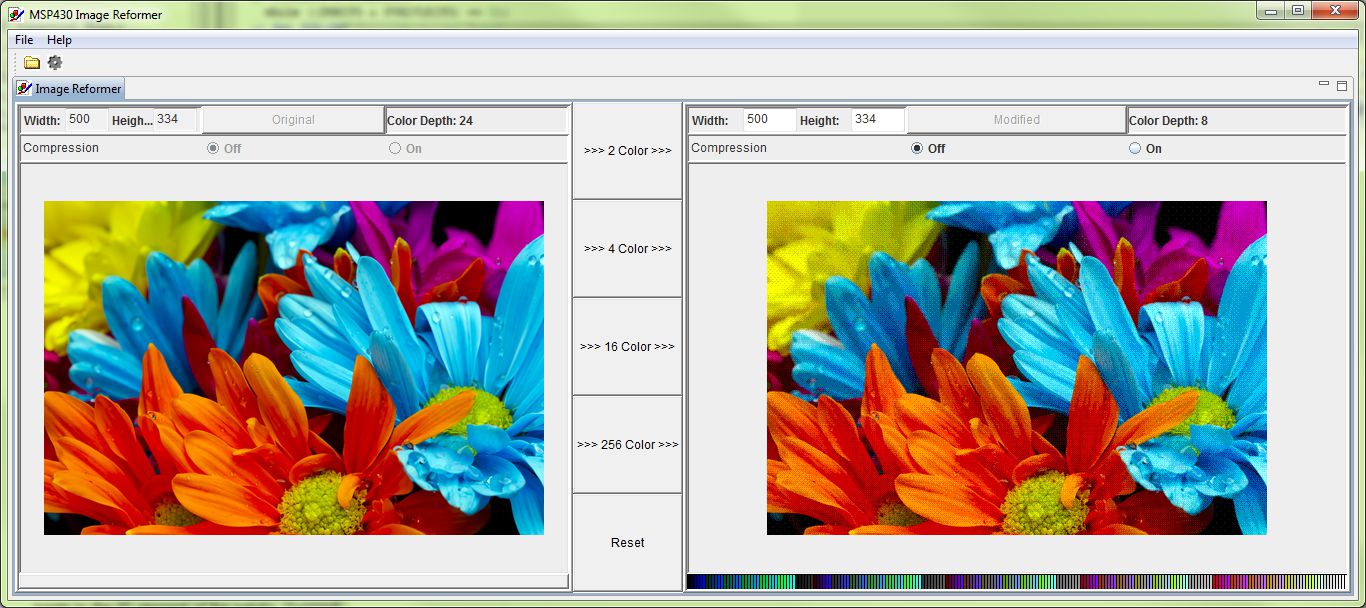
The images mode shows the drawing of a few different images both compressed and uncompressed. Image compression can have a big impact to drawing speeds for simple images. To draw images with the MSP Graphics Library, they must first be converted into the right file format. These files can be generated by the Image Reformer tool that comes packaged with grlib. Launch this tool (.exe) from the grlib folder or directly from TI Resource Explorer.
File Path: <grlib root>\utils\image-reformer\imagereformer.exe
TI Resource Explorer > MSPWare > Libraries > Graphics Library > MSP430 Image Reformer
The Image Reformer tool allows you to import images and output into grlib specific files to add to your grlib project. Image Reformer does not manipulate any images (including color modifications, rotation, and cropping)—any image manipulation must be done before importing into the Image Reformer tool. More information about MSP grlib and the Image Reformer tool can be found in the application report Design Considerations When Using MSP430 Graphics Library (SLAA548).
 Figure 4. MSP430 Image Reformer