DLPU049C July 2017 – October 2017 DLP2000 , DLPA1000 , DLPC2607
2 Quick-Start Guide
This quick-start assumes default conditions as shipped.
- Confirm that the optical engine is properly connected to the DLP LightCrafter Display 2000 EVM.
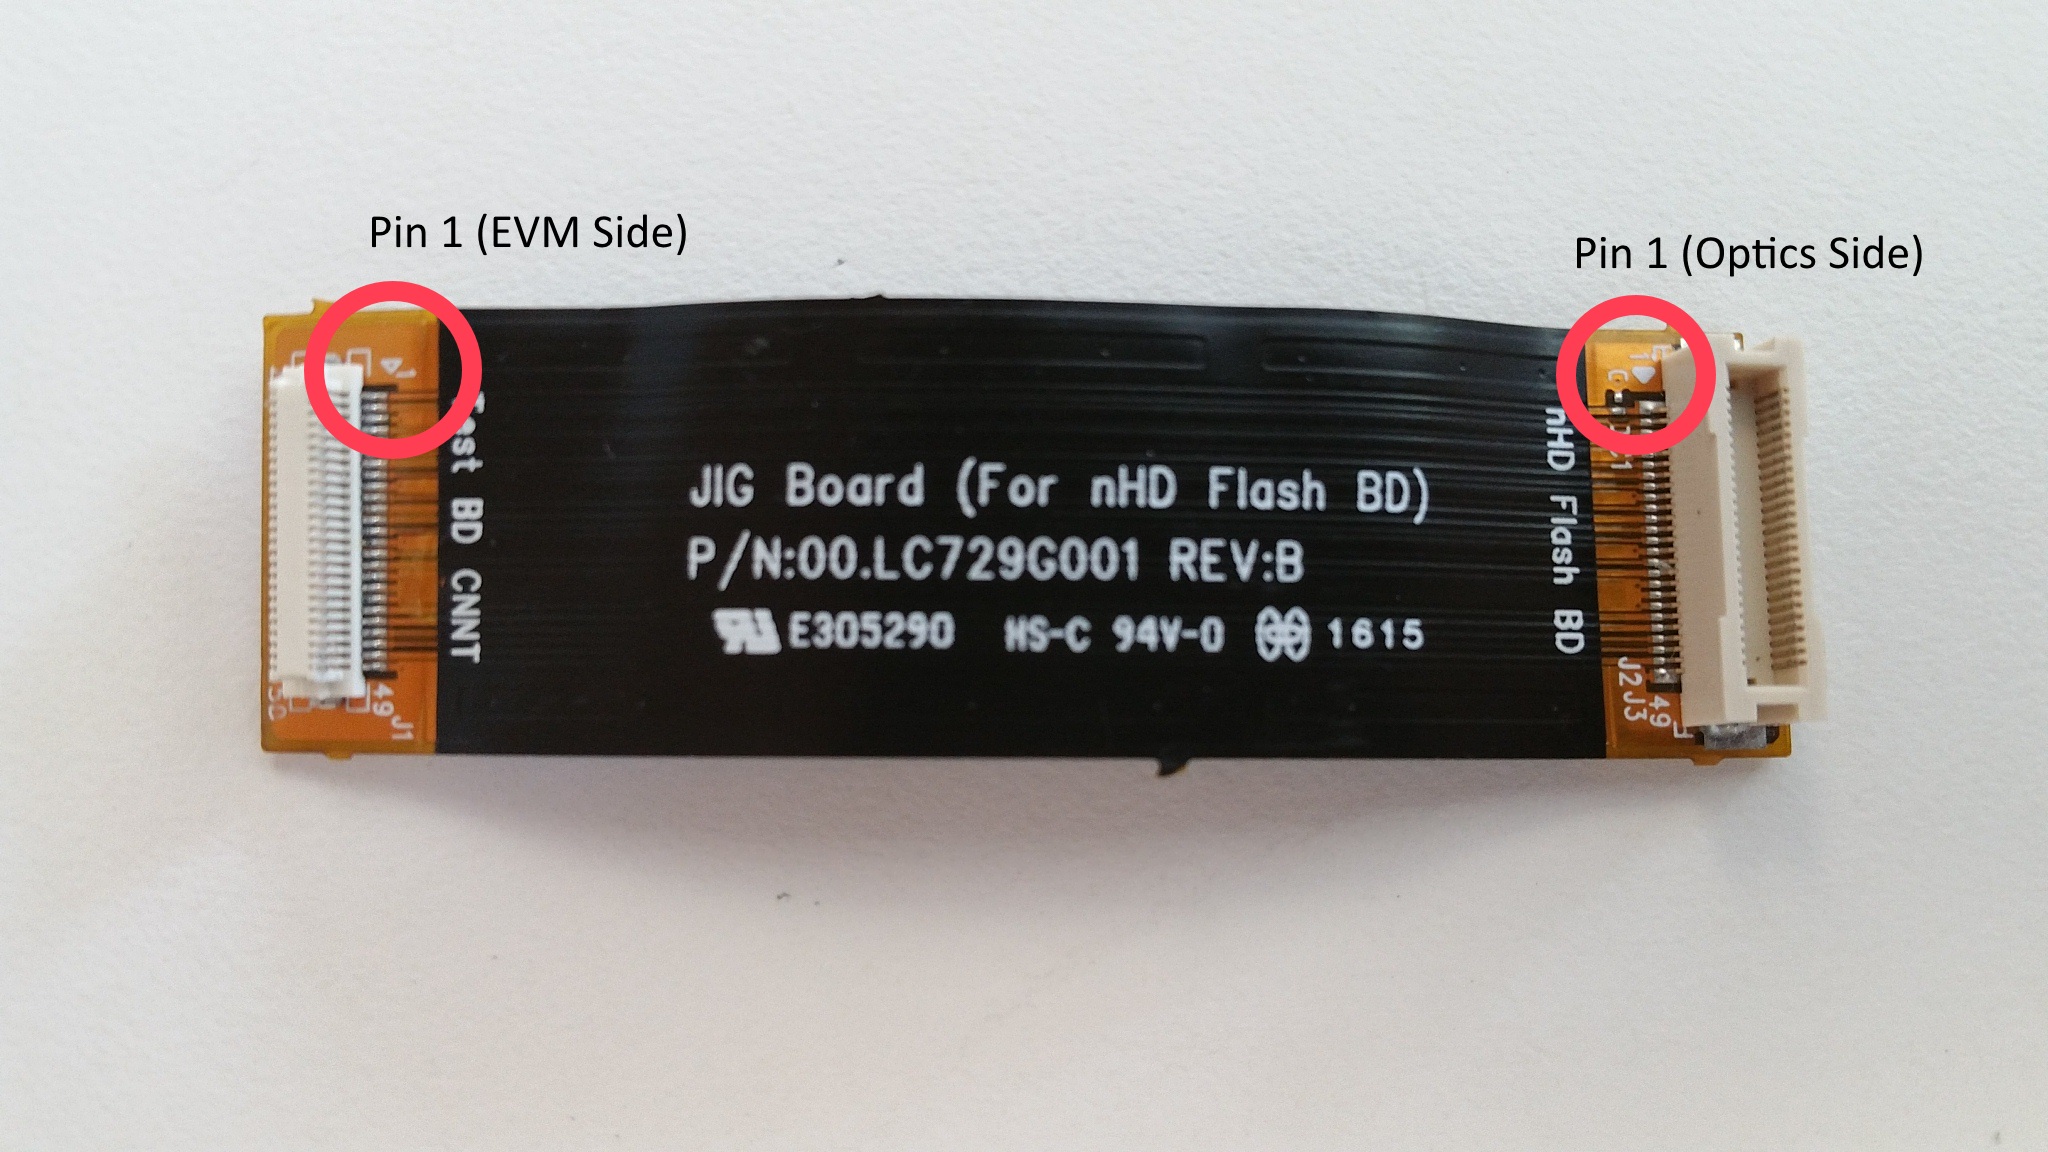
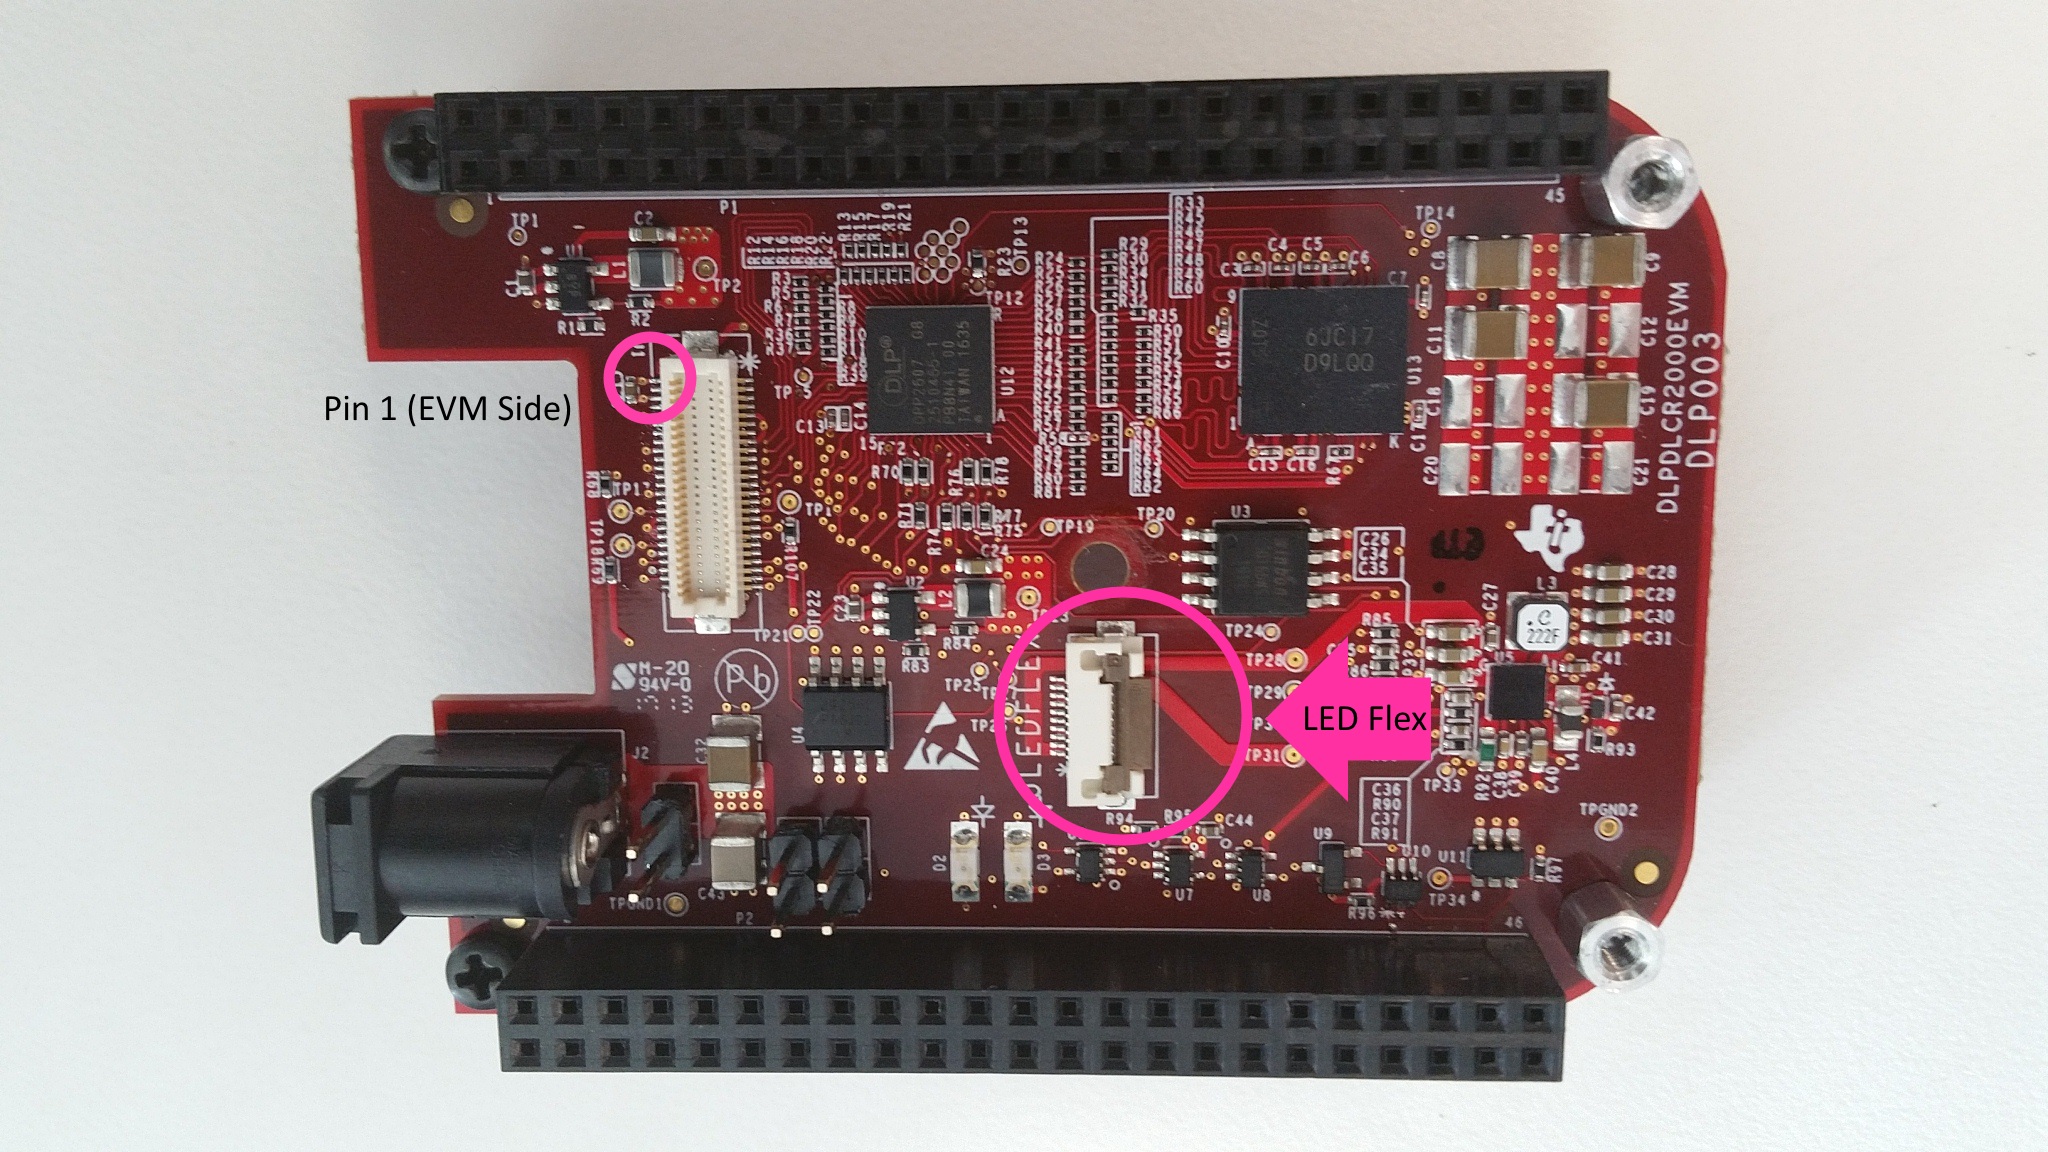
- Align "pin 1" of the optical engine connector with "pin 1" of the digital micromirror device (DMD) data flex cable (female side). Similarly, align "pin 1" of the DMD data flex cable (male side) to the DLP LightCrafter Display 2000 EVM (at connector J1). The following images are provided to assist in proper assembly of the EVM with the optical engine.
 Figure 2. 0.2 nHD Optical Engine Flex Cable Connector Overview
  Figure 3. 0.2 nHD Optical Engine Connection Overview
  Figure 4. EVM Connector Overview
 - Power up the DLP LightCrafter Display 2000 EVM by applying an external DC ITE power supply (5-V DC, 3.0 A) to the J2 connector.
- Use an AC-DC switching power supply which accepts 50-60 Hz 100-240 V AC inputs, and outputs a nominal 5-V DC at maximum 3-A output current. For this purpose we recommend the TE20A0503F01 Desktop Wall Adapter (or equivalent). The DC power supply jack has a 2.5 mm inner diameter and 5.5 mm outer diameter.
- If the host processor used supports it, the system can be made to receive power through the attached host. Power and ground will need to be supplied via header J3 on the board. Please refer to the user's guide for your respective host processor to determine if enough current can be supplied to drive the DLP LightCrafter Display 2000 EVM. A minimum of 320 mA is recommended for the EVM to run at typical brightness settings.
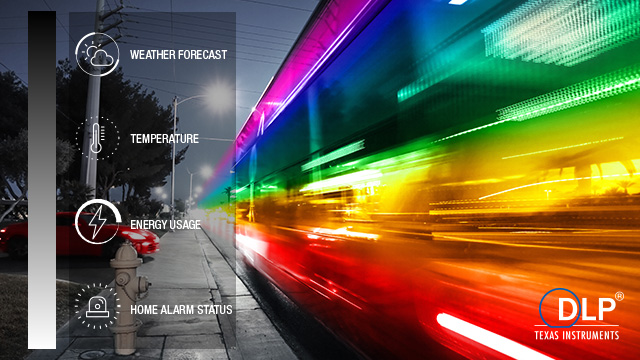
- After the DLP LightCrafter Display 2000 EVM is turned on, the projector will display a DLP LightCrafter Display splash screen. See Figure 5 for an example:
- The focus of the image can be adjusted with the focus switch on the optical engine.
 Figure 5. EVM Splash Screen
 From this point, the system will need to be supplied with a video source (via a host processor such as the BeagleBone Black) and given instructions via the included I2C bus. Methods for doing this are provided in the following sections.