SNLU292A November 2020 – March 2022 DP83TC812R-Q1 , DP83TC812S-Q1 , DP83TC814R-Q1 , DP83TC814S-Q1
2.2.1 Onboard Power Supply Operation
- EVM can operate from a single supply connected to the turret or barrel jack connector through TP8 (TP9 is GND)
- Wide Vin: 5 V to 30 V
- Place shunts on J20, and J21 to enable LDOs for VDD3P3, and VDD1P0
- Place shunt on VDDMAC. This supply can have
adjustable voltages depending on location of shunt.
- J1 for 3.3V operation
- J3 for 1.8V operation
- J5 for 2.5V operation
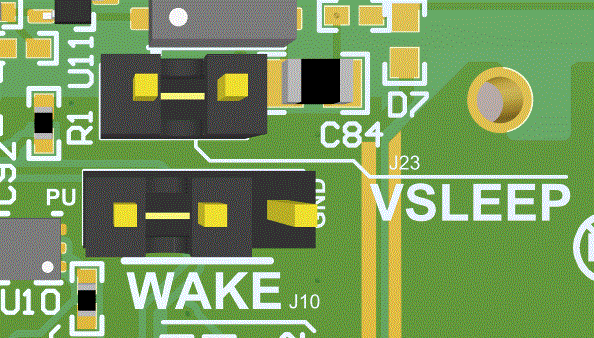
- Place shunts on J23 and J10 (left and center) to enable VSLEEP LDO and keep WAKE pin high
Figure 2-3 Onboard Supply Connection and
Jumpers
 Figure 2-4 VSLEEP and WAKE Jumpers
Note:
- The board can be powered over USB by populating J9. Ensure external supply is not connected to TP8.
- This header has a 5-V maximum limit