SWRA720 February 2022 CC1352P , CC1352P7 , CC1352R , CC1354P10 , CC1354R10 , CC2640R2F , CC2640R2F-Q1 , CC2640R2L , CC2642R , CC2642R-Q1 , CC2651P3 , CC2651R3 , CC2651R3SIPA , CC2652P , CC2652P7 , CC2652PSIP , CC2652R , CC2652R7 , CC2652RB , CC2652RSIP , CC2674P10 , CC2674R10
3 Programming the DUT
-
Download and install the Simplelink SDK. It typically installs under the directories below: (M_mm_mm_mm is the version being used).
-
CC13xx/26xx: C:\ti\simplelink_cc13xx_26xx_sdk_M_mm_mm_mm
-
CC2640R2: C:\ti\simplelink_cc2640r2_sdk_M_mm_mm_mm
-
-
Download and install one of the utilities referenced above to program the DUT on the development kit or the board.
-
The host_test has both a precompiled hexadecimal executable (.hex extension) or a complete project to be built with Code Composer Studio or IAR. This procedure will cover the use of the precompiled hexadecimal executable, which is typically located at the directory below:
-
CC13xx/26xx: C:\ti\simplelink_cc13xx_26xx_sdk_M_mm_mm_mm\examples\rtos\<BOARD>\ble5stack\hexfiles
-
CC2640R2: C:\ti\simplelink_cc2640r2_sdk_M_mm_mm_mm\examples\rtos\CC2640R2_LAUNCHXL\ble5stack\hexfiles
Details about building and loading code using CCS or IAR can be found at the BLE Quick Start Guide chapter of the BLE5 Stack User's Guide or the Bluetooth LE Fundamentals module of the SimpleLink Academy.
-
-
Connect the board to the computer and open Uniflash. By default it will recognize the board and device as shown below (this will not work if you are using a standalone XDS110)
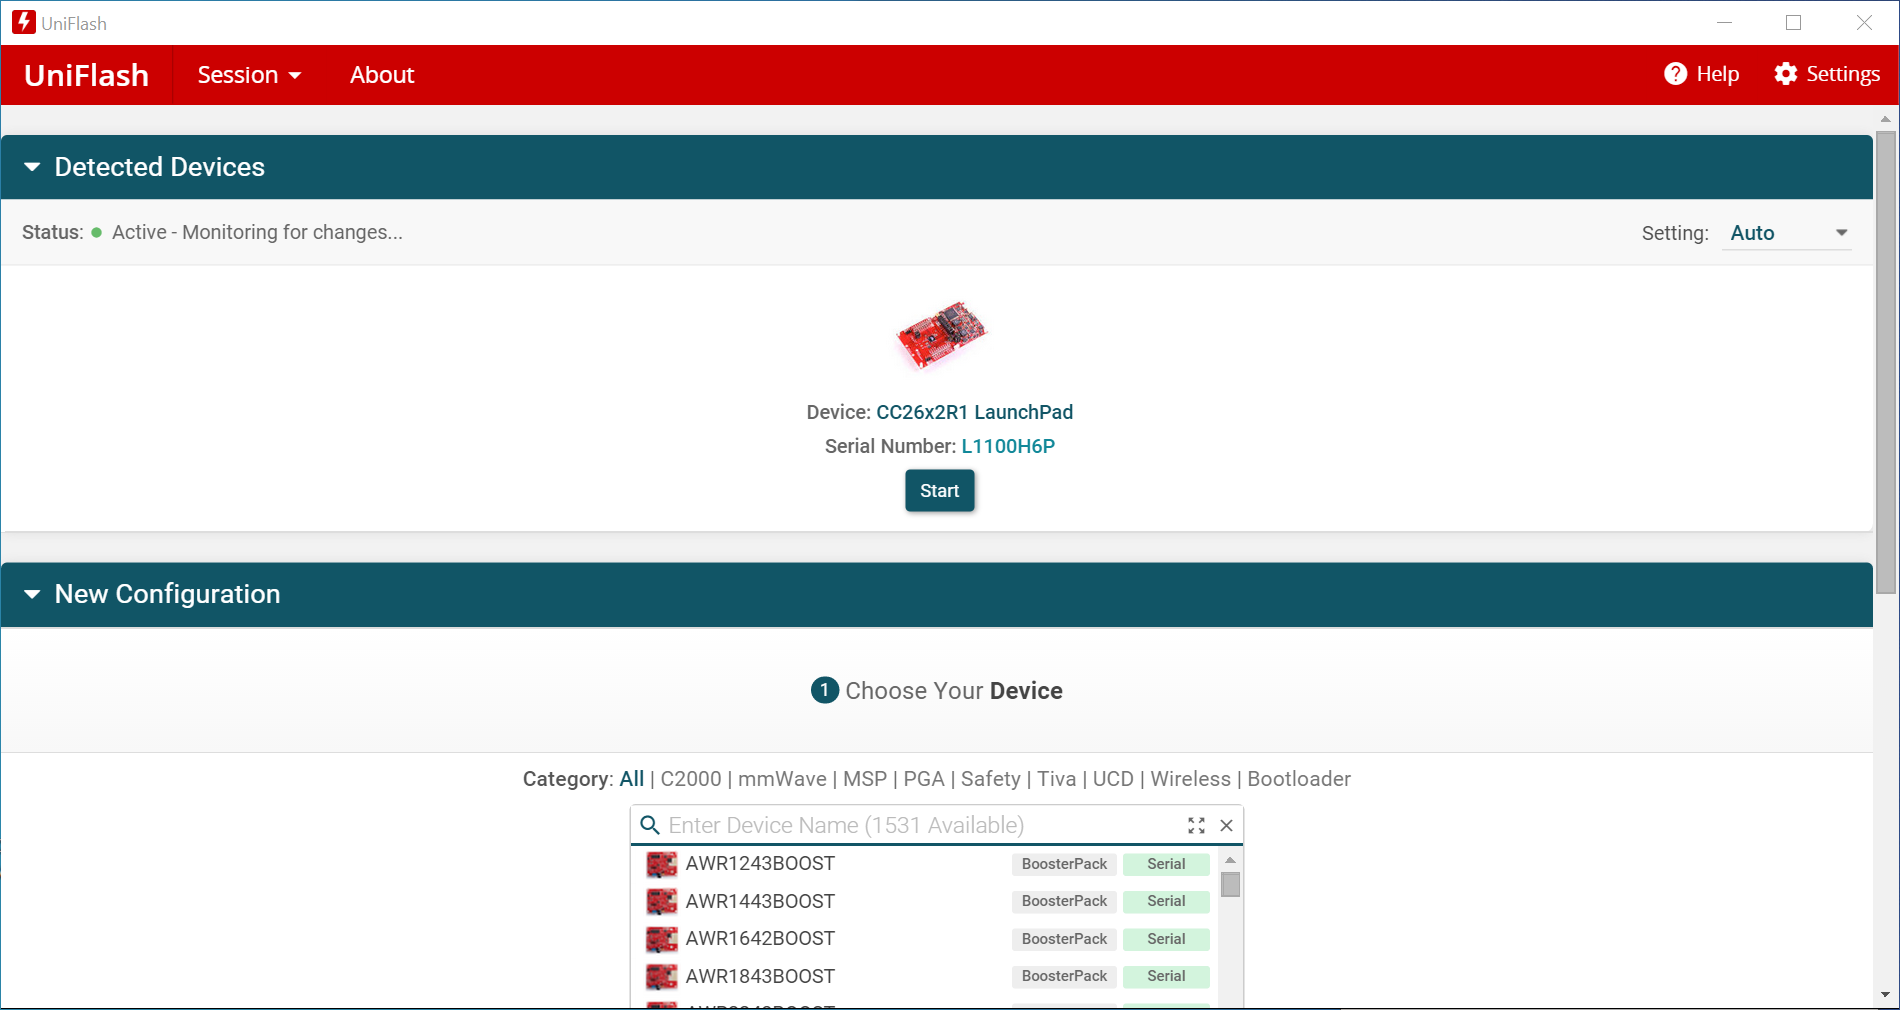 Figure 3-1 Uniflash main screen
 -
Click the Start button.
-
In the screen that opens, click on the Browse button and browse to the directory where the <host_test_app.hex> file is located. Click on Open.
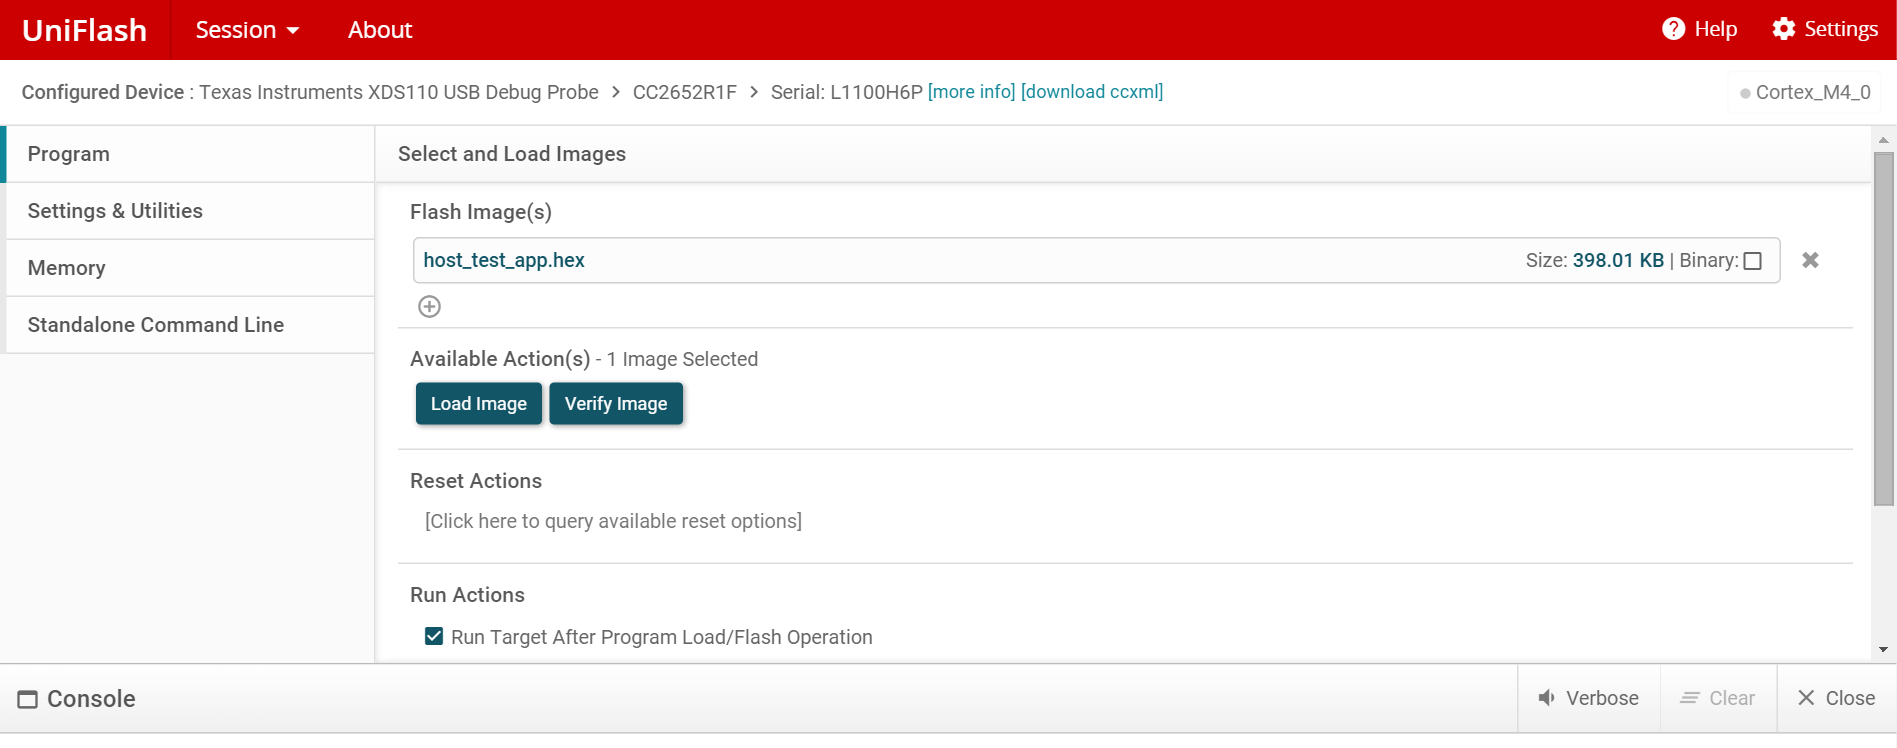 Figure 3-2 File loaded in Uniflash
 -
Click on the Load Image button to connect and program the device. Several steps will be executed and it will end with the software flashed to the device.
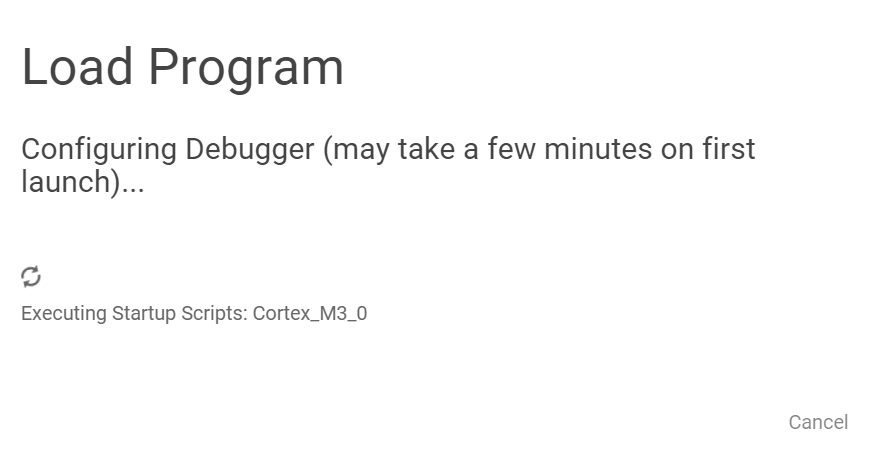 Figure 3-3 The program being flashed to the
deviceNote: Depending on the firmware loaded to the XDS110 programmer, the message below about the firmware update will be shown. This is normal. Simply click on Update to proceed.
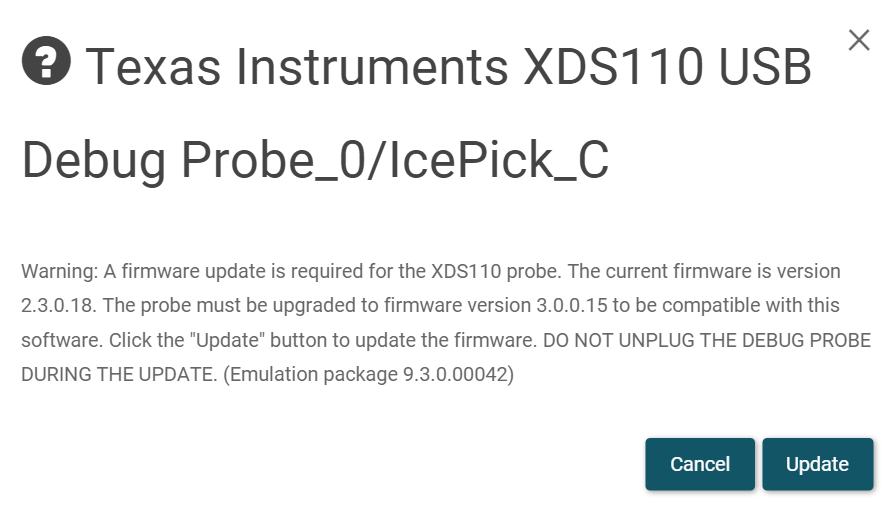 Figure 3-4 Firmware update message
 -
Once the operation completes successfully, the device is programmed and Uniflash can be closed.
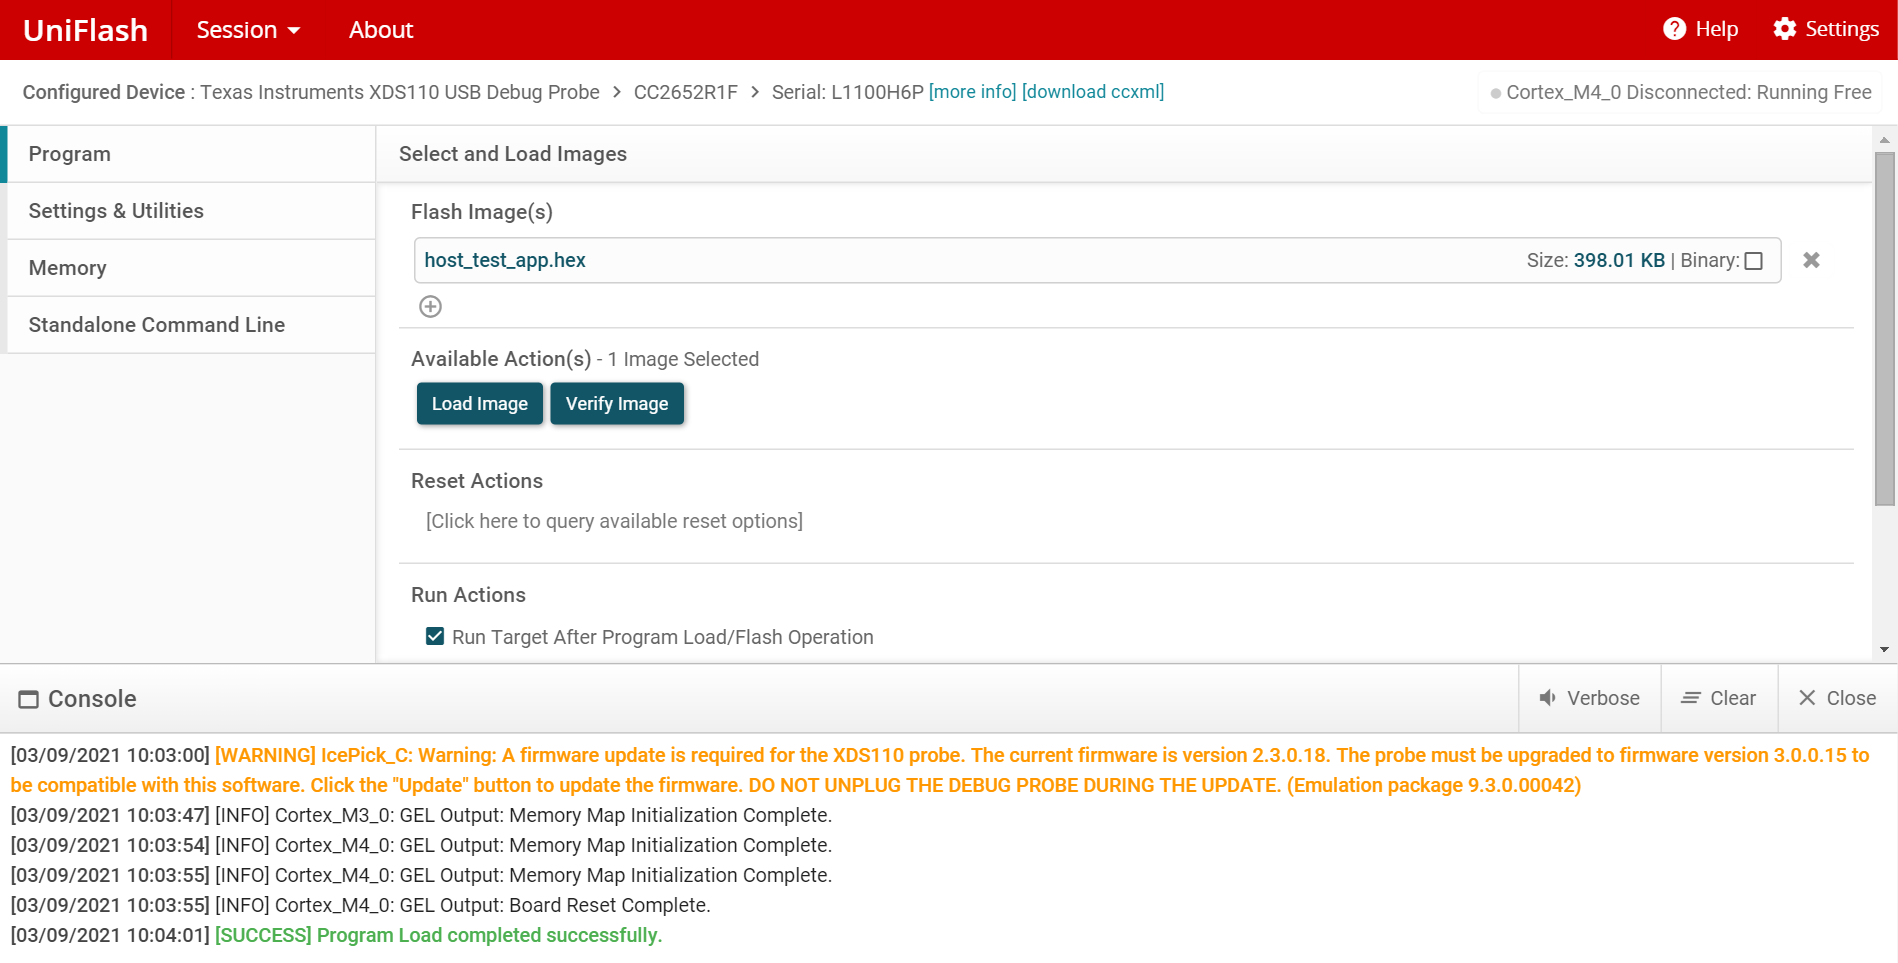 Figure 3-5 Operation completed
successfully