SBAU432 December 2023 AFE7728D , AFE7768D , AFE7769D
3.4 AFE7769D Programming Method 1: Automated
- Open the AFE77xxD GUI version
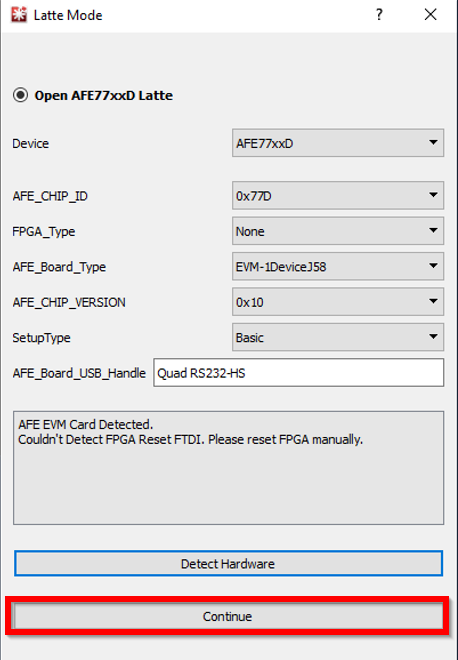
0.4. Make sure it looks like Figure 3-3, then click Continue. The “Couldn’t Detect FPGA Reset FTDI. Please reset FPGA
manually.” message is expected and can be ignored.
 Figure 3-3 Launching AFE77xxD
Latte Software
 - Wait
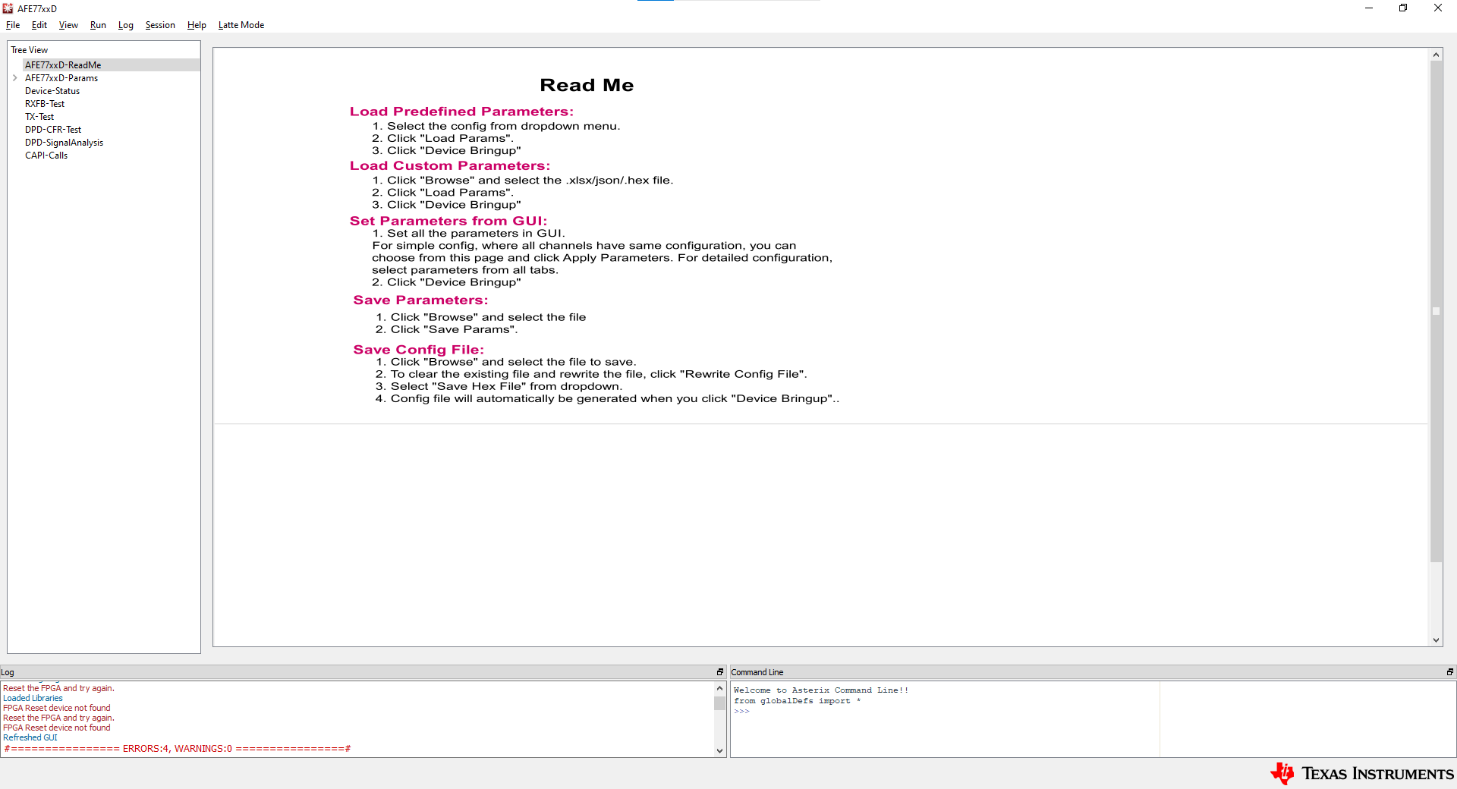
until the GUI loads. It will look like Figure 3-4.
 Figure 3-4 ReadMe AFE77xxD Latte
Software
 - At the top, click on Latte Mode
and navigate to Script Mode, as shown in Figure 3-5.
 Figure 3-5 Switching to Script
Mode
 - Open the PC802_2T2R_Script.py
script on the tree view on the left as shown in Figure 3-6.
 Figure 3-6 PC802 Script
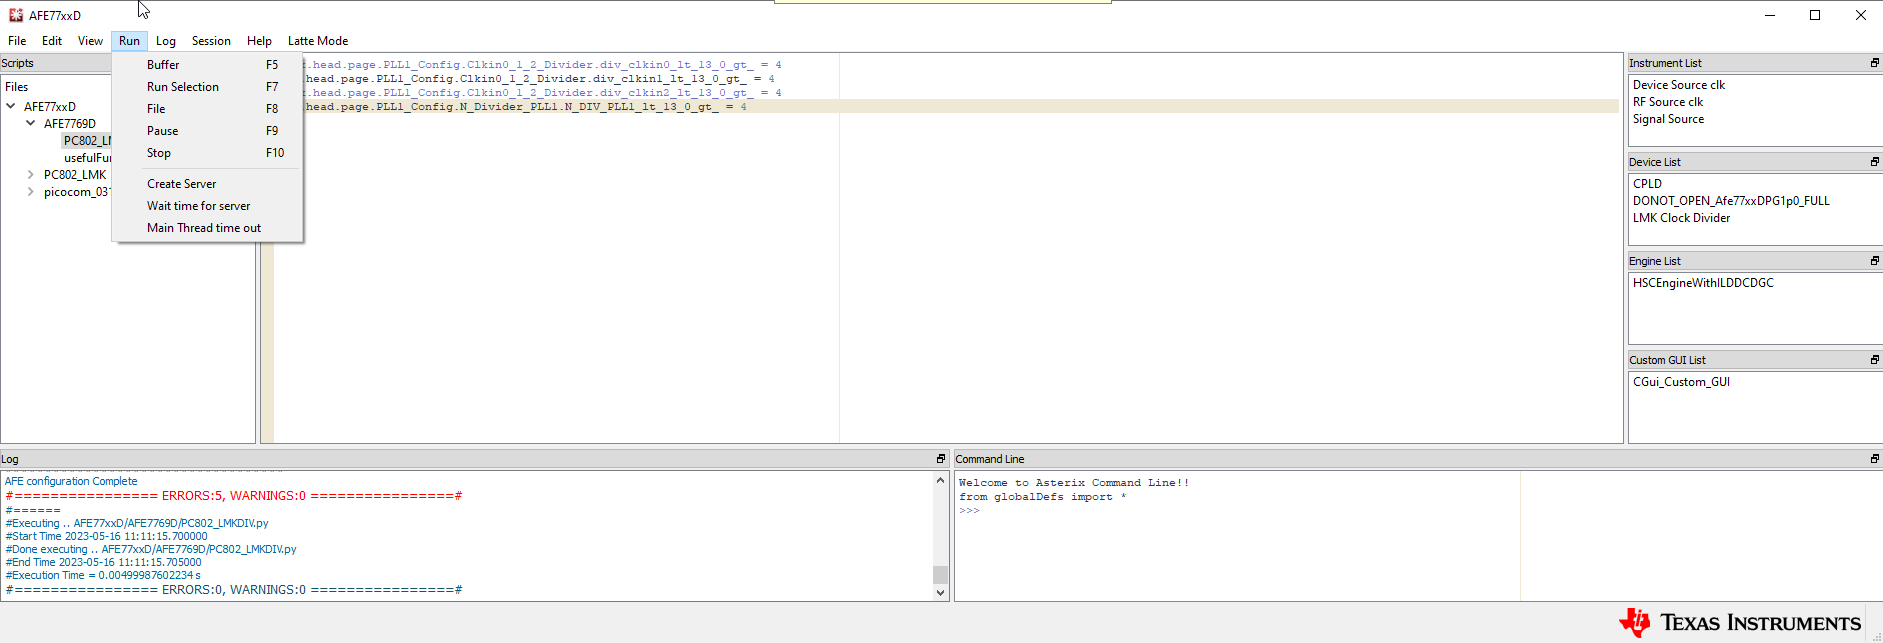
 - Run the
script by pressing F5 or by clicking Run > Buffer. You should see an output
in the log window like that shown in Figure 3-7 signaling the script was run with no errors. After running this script, the
LMK_LOCKED LED (D11) turns on if the 122.88 MHz reference from the PC802 is
connected after programing the PC802.
 Figure 3-7 Running the PC802
Script