SNIU039 December 2019
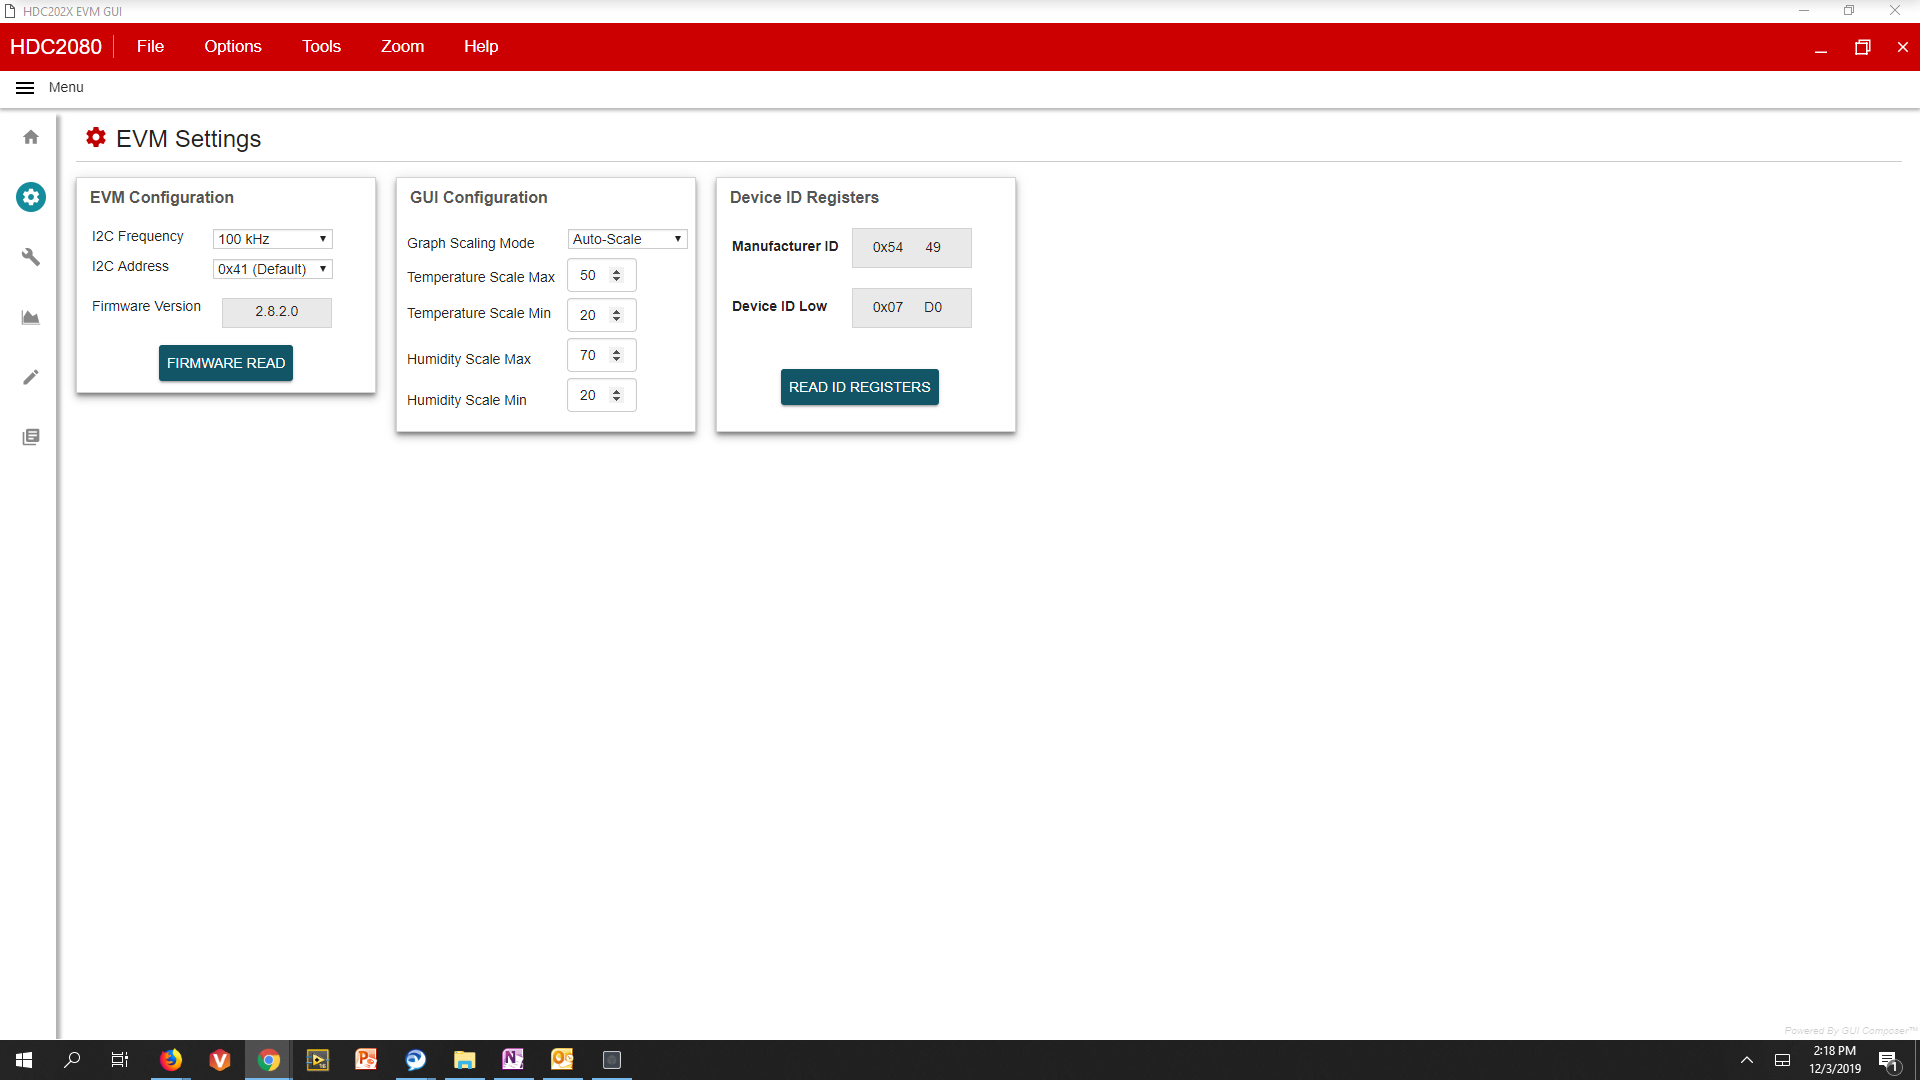
3.3 EVM Settings Tab
The EVM Settings tab allows for setup of features for the USB to I2C bridge and EVM GUI. Selecting an alternate I2C address will disconnect the GUI from the USB device. The EVM must be modified as discussed in Section 4.3 to use the alternate address.
Each selection option/button on this tab has a specific function as described below:
- I2C Frequency: Change the communication frequency between the control board and HDC2022EVM.
- I2C Address: Selects the address option of the HDC2022.
- Firmware Read Button: Reads the current version of the EVM firmware.
- ID Registers Indicators: Returns the value of the HDC2022 ID registers.
- Scaling Mode: Set to Fixed/Auto to control the scaling of the graph on the Data Capture Tab.
- Scaling Min/Max Temp/Humidity: Set the min and max values for the temperature and humidity graph on the Data Capture Tab.
 Figure 6. EVM Setup Tab of HDC2022EVM GUI