SNOU176B October 2020 – March 2022
PRODUCTION DATA
- Trademarks
- 1 General TI High Voltage Evaluation User Safety Guidelines
- 2 Introduction
- 3 LMG342XEVM-04X Schematic
- 4 Mother Board Schematic
- 5 Recommended Footprint
- 6 Test Equipment
- 7 Test Procedure When Paired With LMG342X-BB-EVM
- 8 Test Procedure When Paired With LMG34XX-BB-EVM
- 9 Bill of Materials
- 10Revision History
7.1 Setup
The inductor on LMG342X-BB-EVM is capable of around 3-kW operation. For higher power levels, use an external inductor.
TI recommends the following procedure to set up the LMG342X-BB-EVM with the LMG342XEVM-04X:
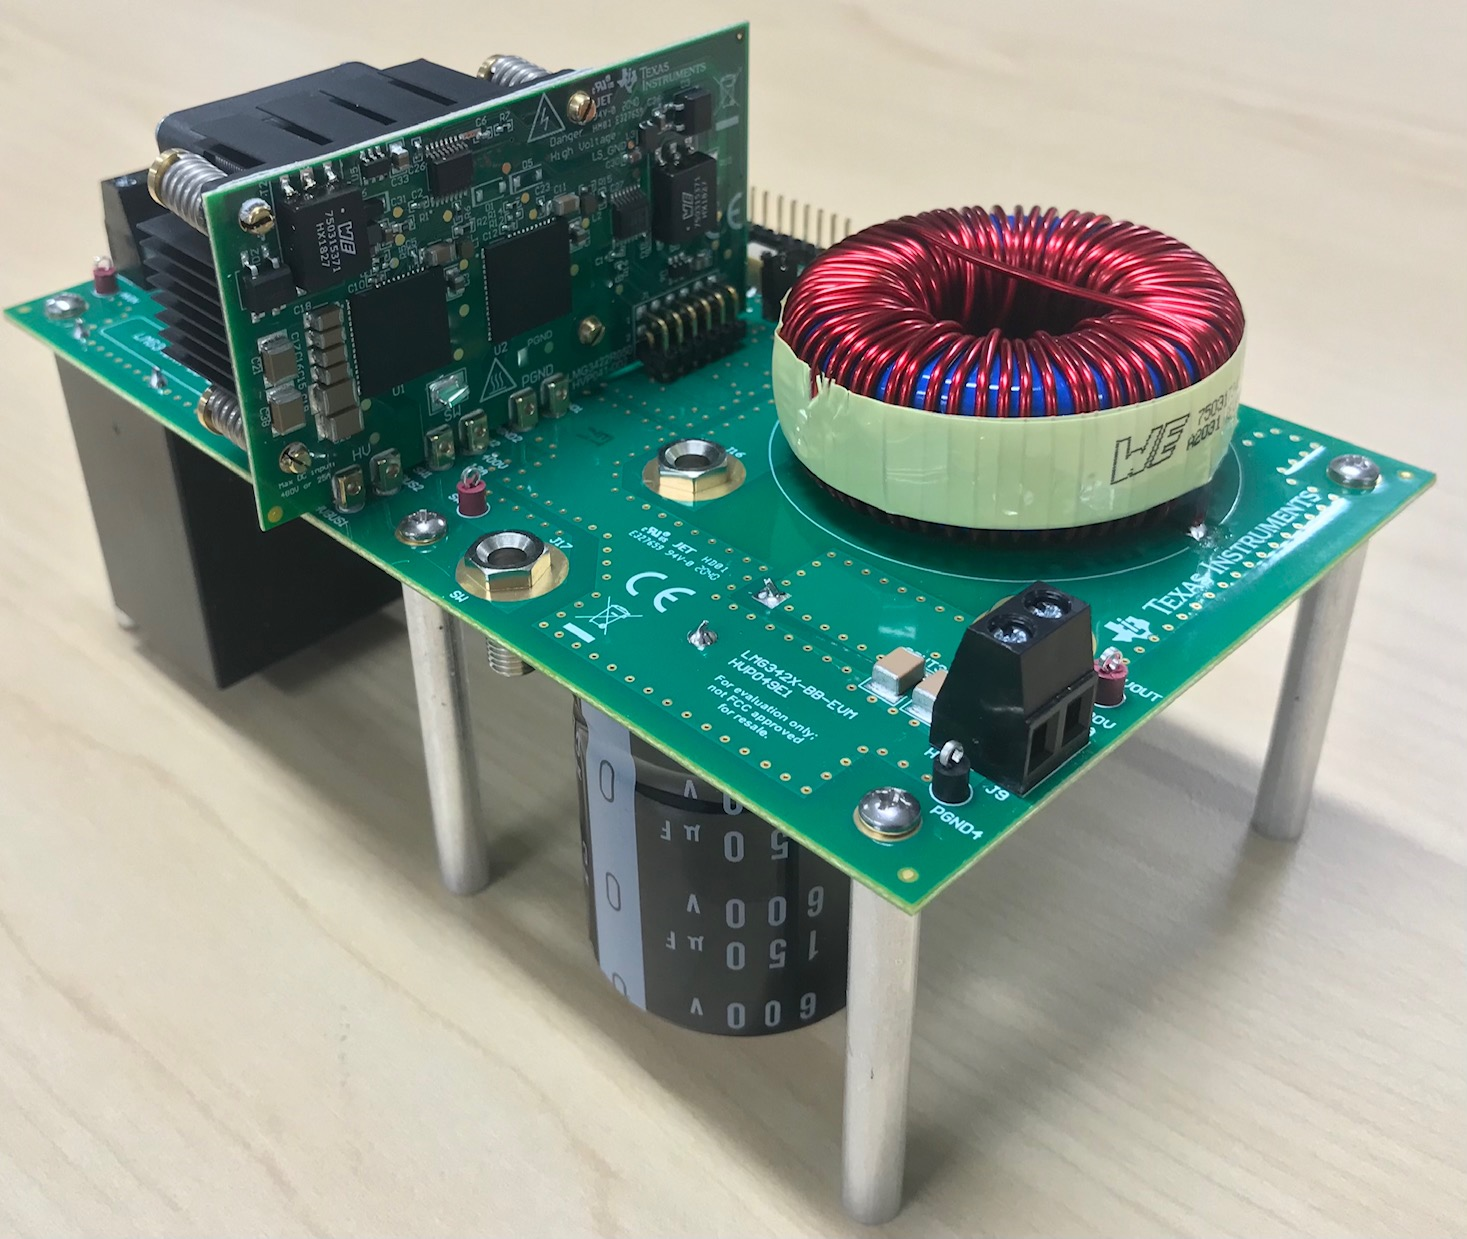
- Connect the LMG342XEVM-04X to LMG342X-BB-EVM as shown in Figure 7-1. The area for connection on the mother board is shown in Figure 7-2.
- Install the LMG342X-BB-EVM inside a ventilated HV safety box.
- Disconnect jumper J13 to enable the 12-V to 5-V onboard power conversion.
- Disconnect jumper J12.
- If the onboard complementary PWM generation circuits are used to generate the dead time, please connect Pin 2 to Pin 3 for header J7 and J14 with jumpers. Under this configuration, only one PWM signal is required and it can be connected to either J3 or J8.
- If two complementary PWM signals with dead time are provided to J3 (high-side PWM) and J8 (low-side PWM), then please connect Pin 1 to Pin 2 for header J7 and J14 (Pin1 of J7 and J14 are indicated in Figure 7-2). This action allows the two PWM signals to directly control the high-side and low-side devices.
- If fault interlock feature is desired, please connect jumper J10 and J11. Otherwise, disconnect them and the PWM signals can always pass through to the devices.
- Set the signal generator to a desired frequency and duty cycle (that is, 100 kHz, and 50% duty cycle). 5 V for high input and 0 V for low input.
- Connect the signal generator output to the LMG342X-BB-EVM PWM input as shown in Figure 7-2.
- Connect 12-V, 2-A DC power supply to the LMG342X-BB-EVM 12-V bias supply as shown in Figure 7-2.
- Connect the high voltage power supply to the LMG342X-BB-EVM high voltage input for buck mode (High Voltage) as shown in Figure 7-2.
- Provide 12-V bias supply to fan by connecting the 3-pin power cord from fan to J15.
 Figure 7-1 LMG342X-BB-EVM Motherboard With LMG342XEVM-04X
Figure 7-2 Connector and LEDs on the LMG342X-BB-EVM