SBAU410 October 2022 TMAG5115
3.2.1 Replacing Sensor Control Board With TMAG5115EVM
This section lists steps for replacing the sensor control board found in the NEMA17 BLDC motors with the TMAG5115EVM:
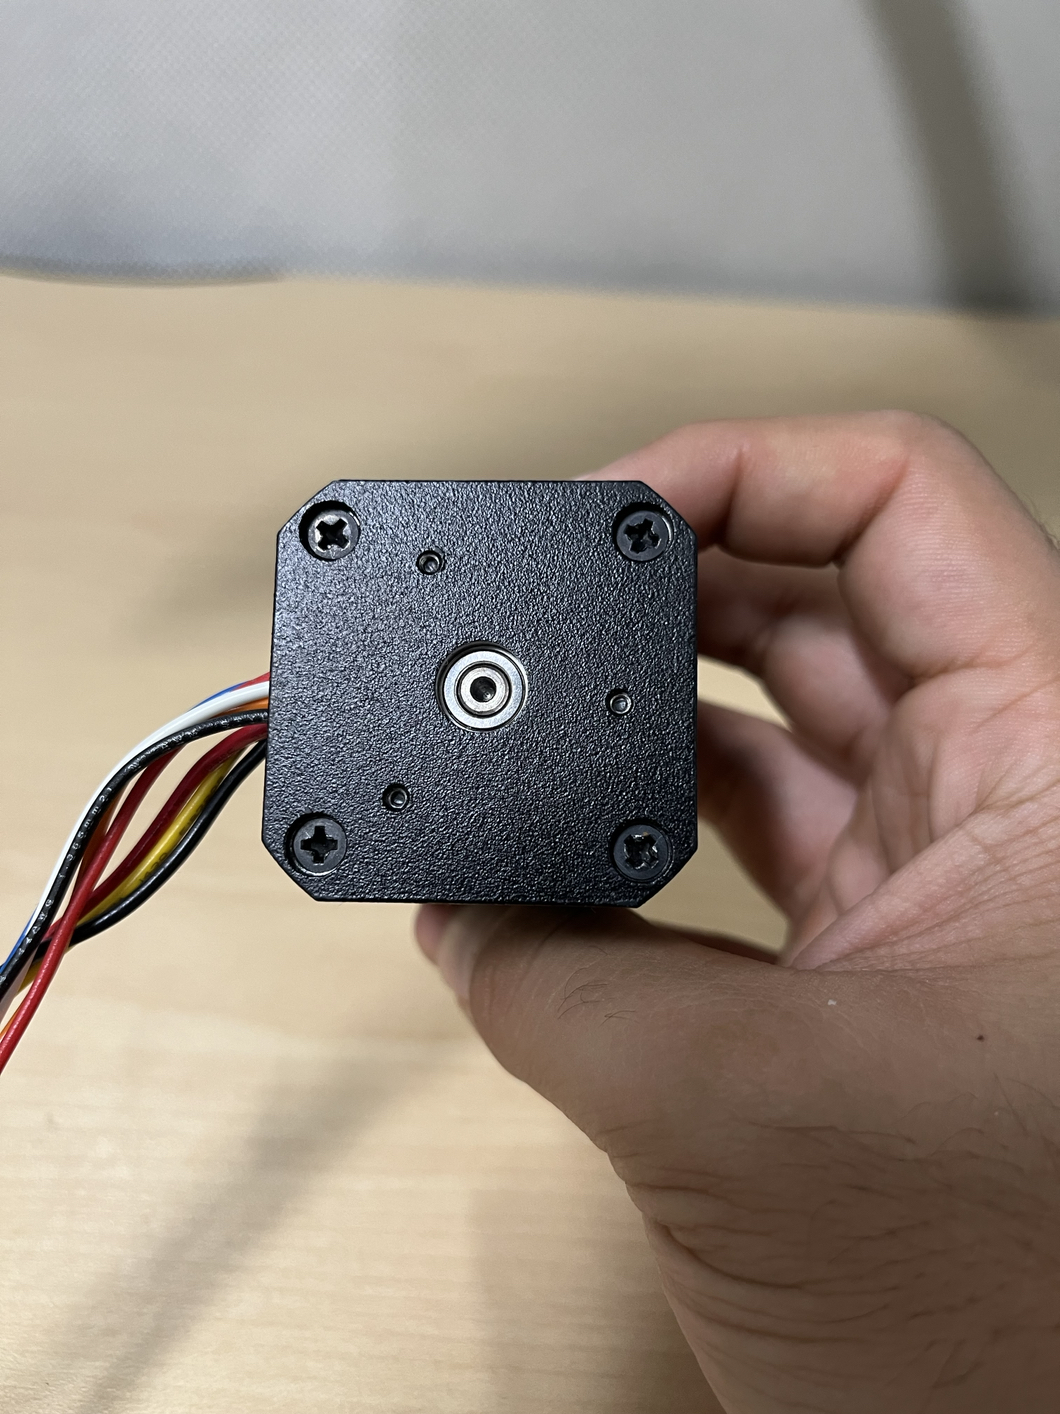
- Remove the backplate from the motor. To remove the backplate, remove the four
screws found on the backside of the motor, opposite to the motor's shaft. See
Figure 3-4. After the
screws are removed, the backplate of the motor should come loose.
 Figure 3-4 BLDC Motor
(Bottom).
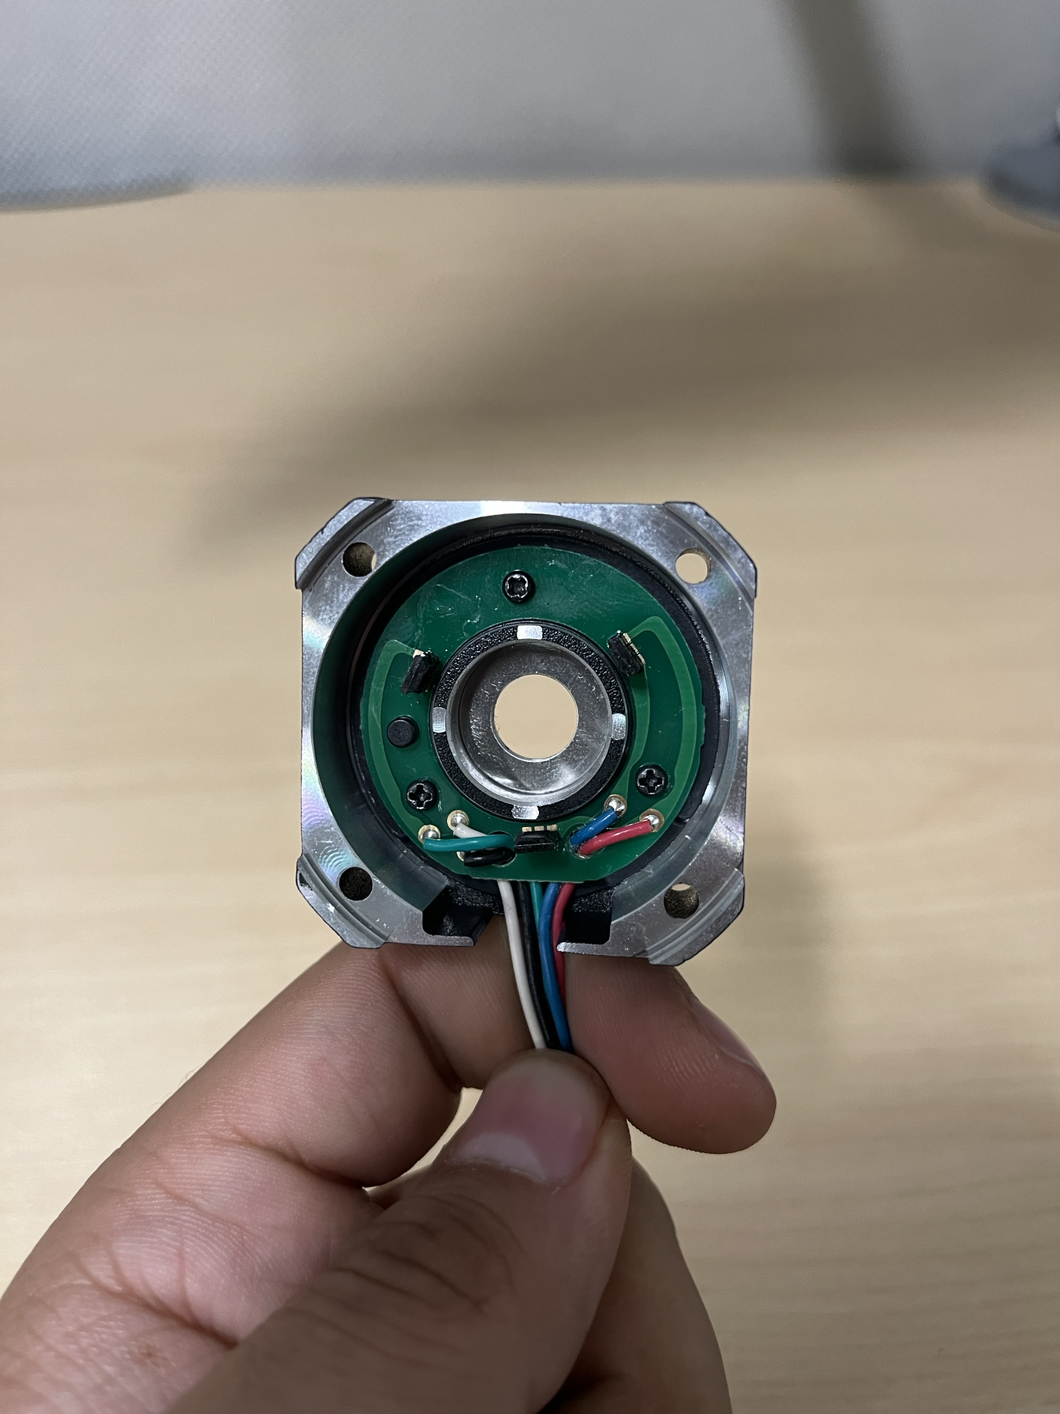
 - Remove the three screws that
currently hold the sensors to the bottom of the housing and remove the board.
See Figure 3-5.
 Figure 3-5 Hall Sensor Board
Removal.
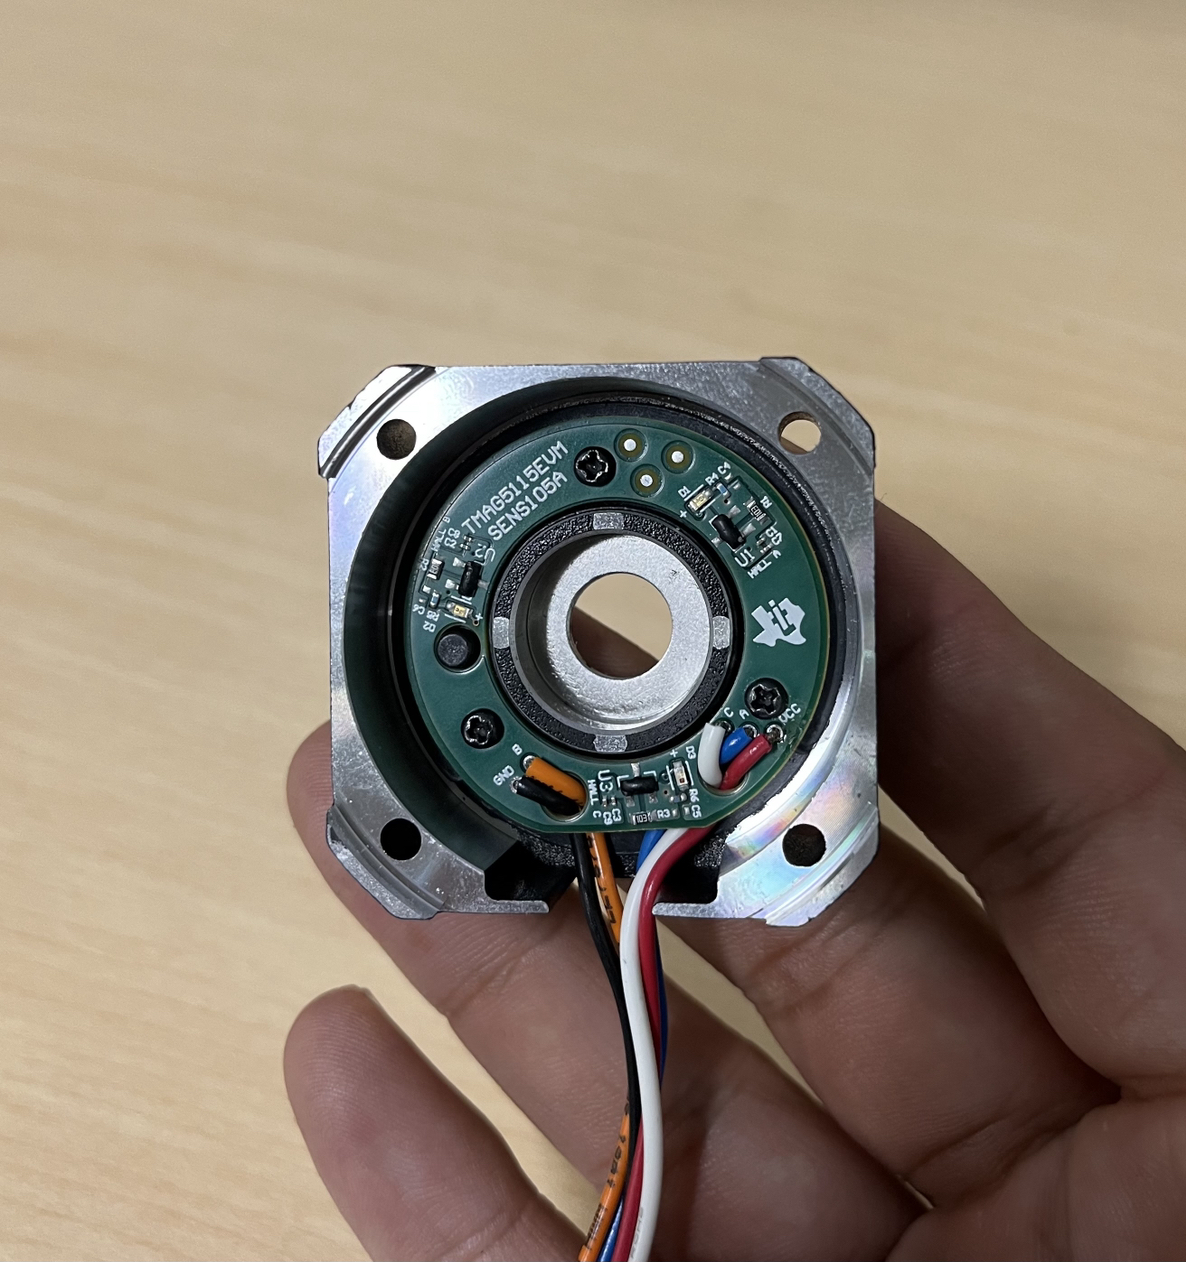
 - Place the TMAG5115EVM inside the
housing. The round plastic base will ensure proper alignment to the motor
housing. Return the screws that were removed in the previous step and tighten.
See Figure 3-6 for
TMAG5115EVM alignment inside the motor.
 Figure 3-6 TMAG5115EVM on NEMA17
Motor Module.
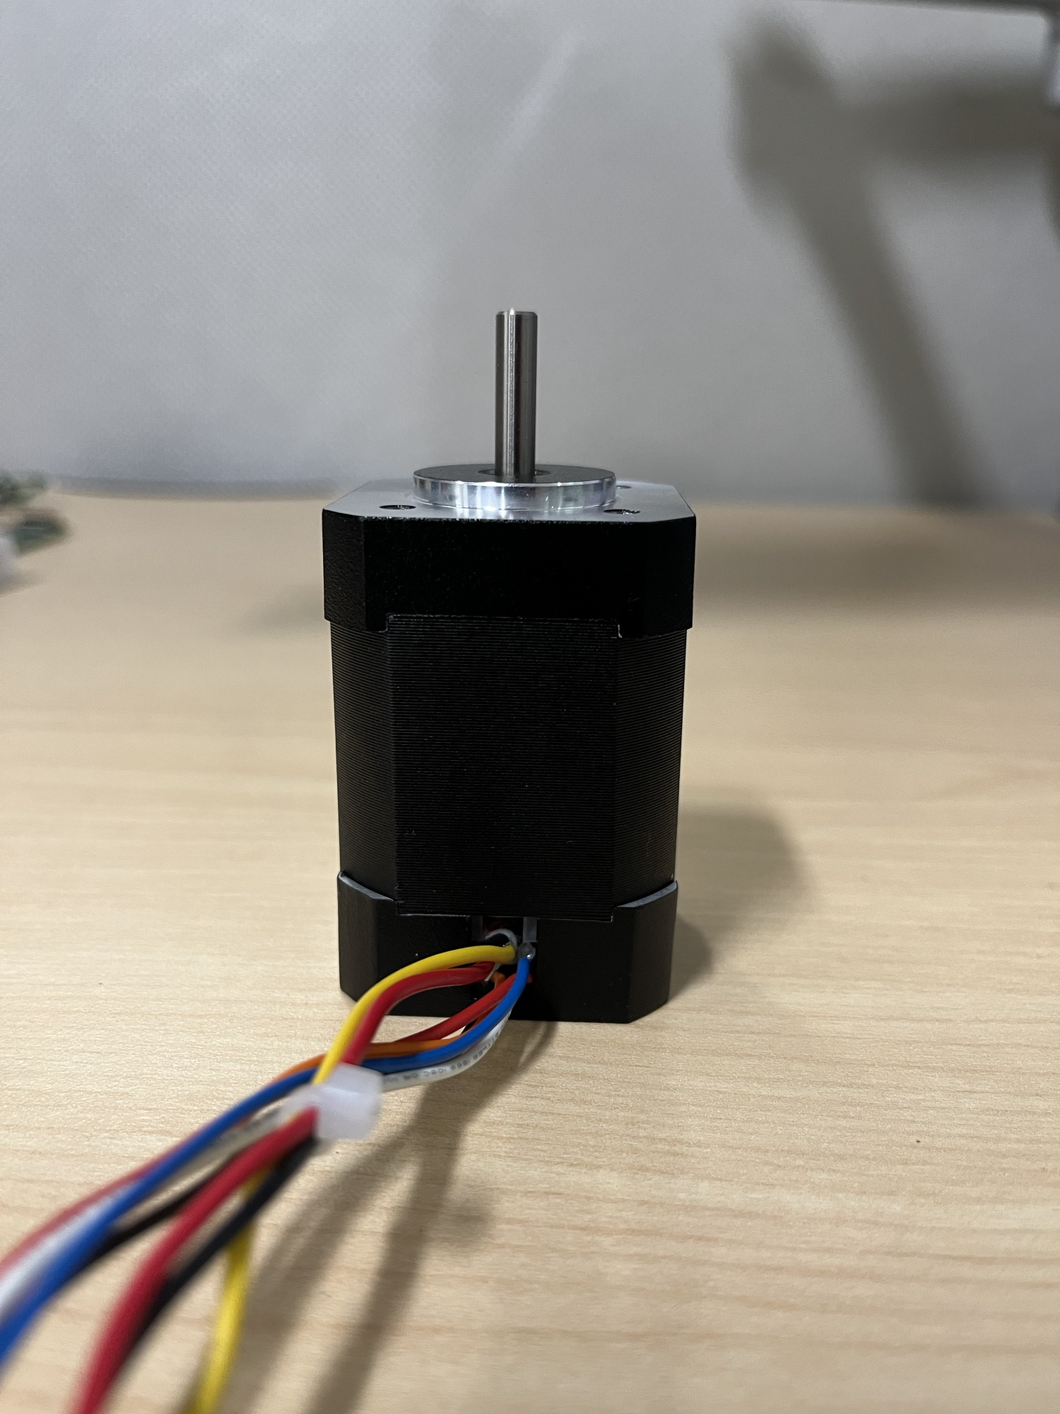
 - Align the base so that the wires
of the sensor board and the wires of the motor are all facing the direction of
the opening on the motor enclosure. Return the screws that were removed in Step
1 and tighten. See Figure 3-7.
 Figure 3-7 BLDC Motor
Connections.