SLUUAY7B May   2014  – August 2021


  1. 1 Description
    1. 1.1 Typical Applications
    2. 1.2 Features
  2. 2 Electrical Performance Specifications
  3. 3 Schematic
  4. 4 Test Setup
    1. 4.1 Test and Configuration Software
      1. 4.1.1 Description
      2. 4.1.2 Features
    2. 4.2 Test Equipment
    3. 4.3 The PWR-634EVM
    4. 4.4 Test Set up and USB Interface Adapter
    5. 4.5 List of Test Points
  5. 5 EVM Configuration Using the Fusion GUI
    1. 5.1 Configuration Procedure
  6. 6 Test Procedure
    1. 6.1 Line/Load Regulation and Efficiency Measurement Procedure
    2. 6.2 Efficiency
    3. 6.3 Equipment Shutdown
  7. 7 Performance Data and Typical Characteristic Curves
    1. 7.1 Efficiency
    2. 7.2 Load Regulation
    3. 7.3 Transient Response
    4. 7.4 Output Ripple
  8. 8 Screen Shots
    1. 8.1 Fusion GUI Screen Shots
  9. 9 EVM Assembly Drawing and PCB Layout
  10. 10List of Materials
  11. 11Revision History

EVM Assembly Drawing and PCB Layout

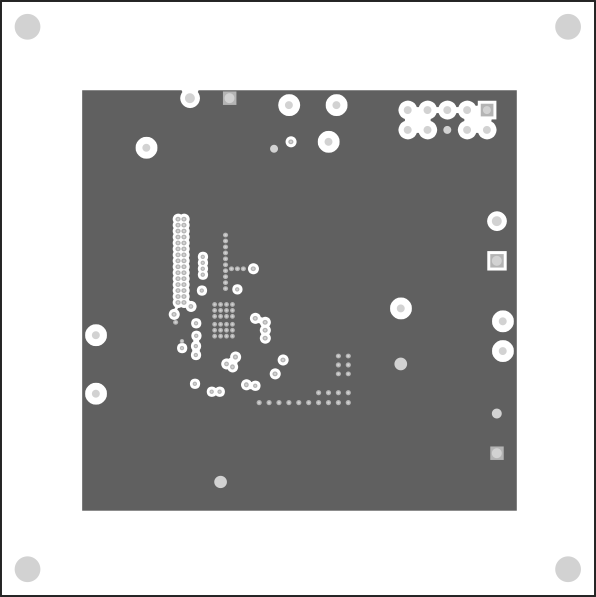
Figure 9-1 through Figure 9-5 show the design of the PWR-634EVM printed-circuit board (PCB).
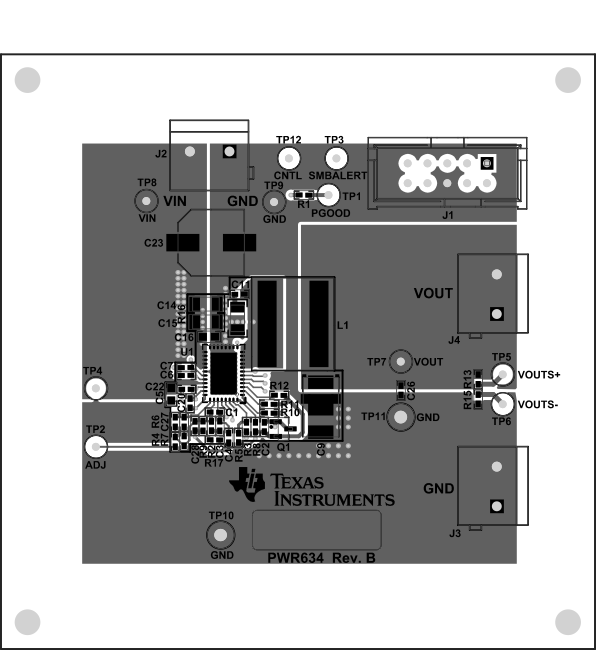
GUID-6BAC031B-6D25-4E38-B4E0-EAE6218A31B3-low.gifFigure 9-1 PWR-634EVM Top Layer Assembly Drawing (Top View)
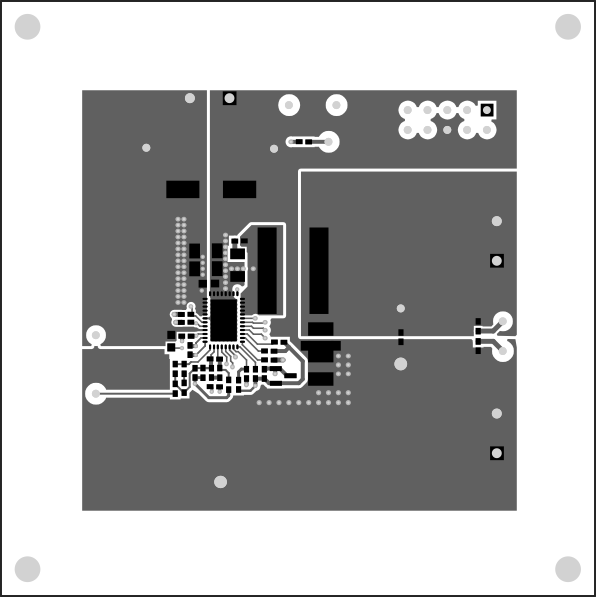
GUID-95D0D126-4BF4-47C8-8397-0FFBBB160B84-low.gifFigure 9-2 PWR-634EVM Top Copper
GUID-13DD8283-7785-49C8-AAC8-339BE6E988FD-low.gifFigure 9-3 PWR-634EVM Layer 1 (Top View)
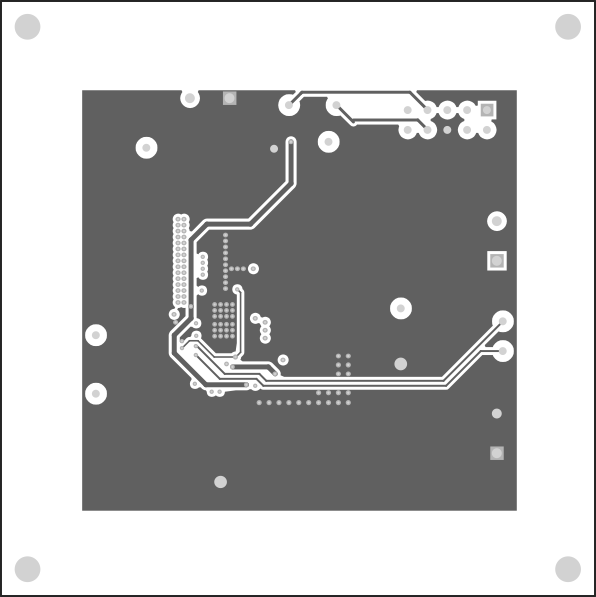
GUID-BF5A15B1-8BAA-4719-887B-792789363002-low.gifFigure 9-4 PWR-634EVM Layer 2 (Top View)
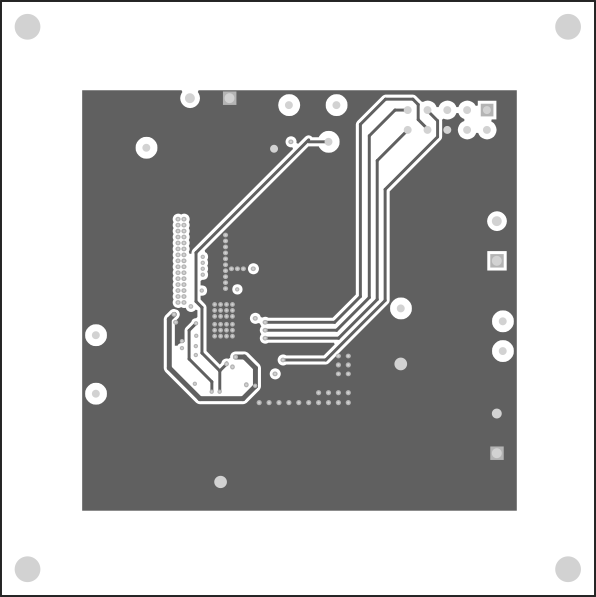
GUID-09A94987-A209-43CE-8452-EE0993650895-low.gifFigure 9-5 PWR-634EVM Layer 3 (Top View)
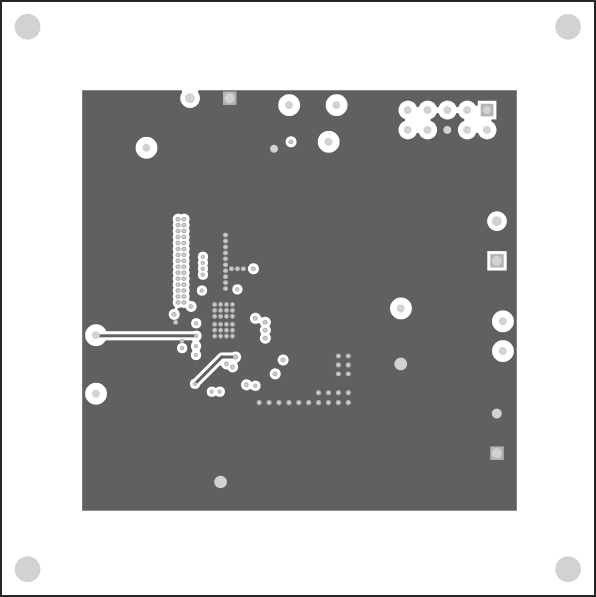
GUID-85DFE9B4-C0D9-448A-9FFD-F85E478A8227-low.gifFigure 9-6 PWR-634EVM Layer 4 (Top View)
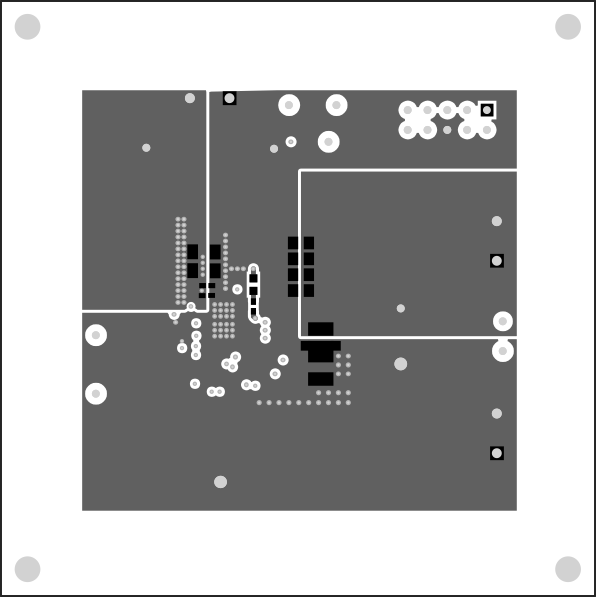
GUID-66D2BD89-4AD6-4D98-A4E4-E211BED74920-low.gifFigure 9-7 PWR-634EVM Bottom Copper (Top X-ray View)
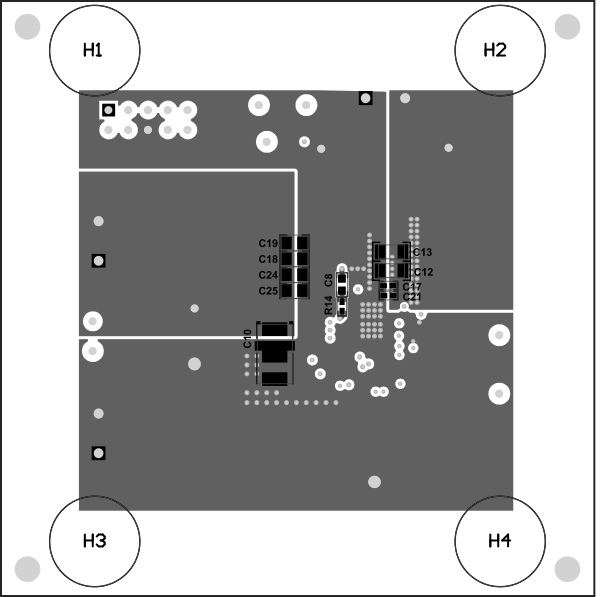
GUID-CF6C1DB0-A482-4C96-9D46-5717048D059A-low.gifFigure 9-8 PWR-634EVM Bottom Assembly (Top X-ray View)