SPRAD86A March 2023 – May 2024 AM62A1-Q1 , AM62A3 , AM62A3-Q1 , AM62A7 , AM62A7-Q1 , AM67A , AM68A , AM69A
- 1
- Abstract
- Trademarks
- 1 Introduction
- 2 Tuning Overview
- 3 Hardware Requirement
- 4 Software Requirement
- 5 Sensor Software Integration
- 6 Tuning Procedure
- 7 Perform Basic Tuning
- 8 Perform Fine Tuning
- 9 Live Tuning
- 10Summary
- 11Revision History
7.6.1 Capture Raw Images for Different Lighting Conditions
To tune the AWB, raw images need to be captured at different lighting conditions. These images are used again in the next step of color-correction tuning. Below are summarized instructions for capturing the required images (see the AWB plug-in guide for detailed information):
- Set up lighting conditions to: D65, D50, TL84, and A Light (one at a time)
- Place the color-checker chart in
upright position and center of the camera FOV in the light box
- Make sure brown patch is at the upper-left corner on the first row and black patch is at the lower right corner on the last row
- Capture well exposed raw images
for each lighting condition
- Wait until automatic exposure adjustment stabilizes (live video output on the monitor is bright enough without apparent saturation or clipping on the white patch. This process is usually done in a few seconds.)
- Run live video streaming with the initial configuration
- Raw images can be
captured by either of the following two ways:
- Stop the GStreamer pipeline for streaming. Then run a new GStreamer pipeline to capture a raw image (sensor exposure setting remains unchanged between GStreamer runs).
- If the AM62A EVM and PC are connected to the same Ethernet, the tuning tool can also capture raw images from EVM directly over Ethernet. From the tool bar of the DCC tuning tool, enter the IP address of the EVM and capture raw images as shown below. For more details, follow the tuning tool user's guide.
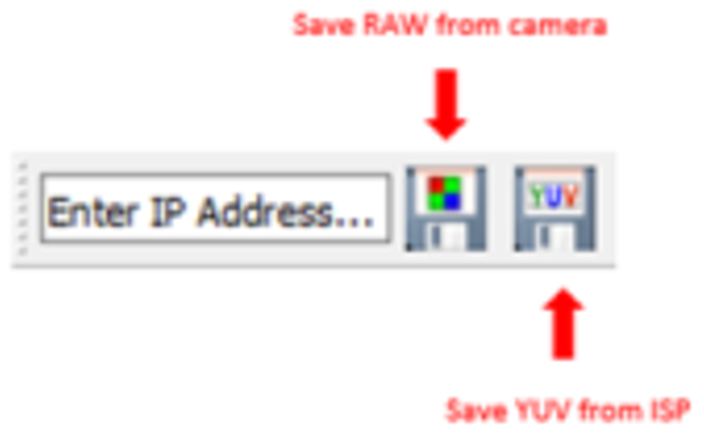 Figure 7-10 Live Capture Feature of DCC
Tuning Tool
Figure 7-10 Live Capture Feature of DCC
Tuning ToolFigure 7-11 through Figure 7-14 are examples of well-exposed captures for all of the above-mentioned lighting conditions (note the color differences caused by the color of lighting):
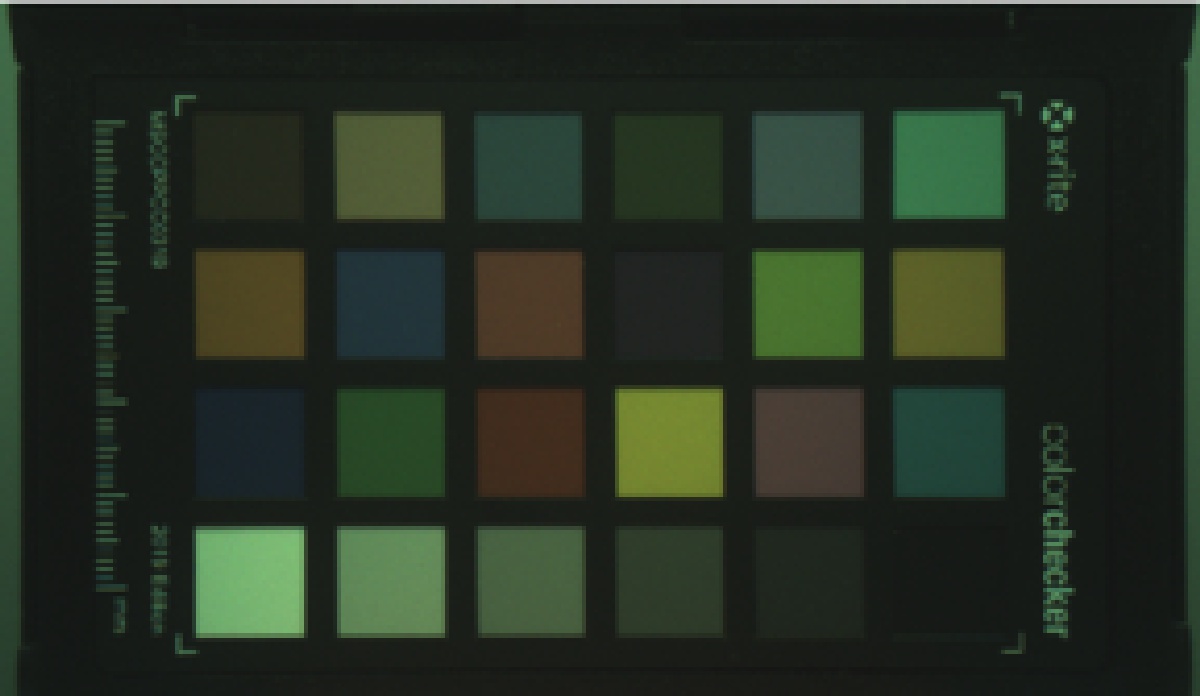 Figure 7-11 Color Chart Image Captured
With D50 Lighting
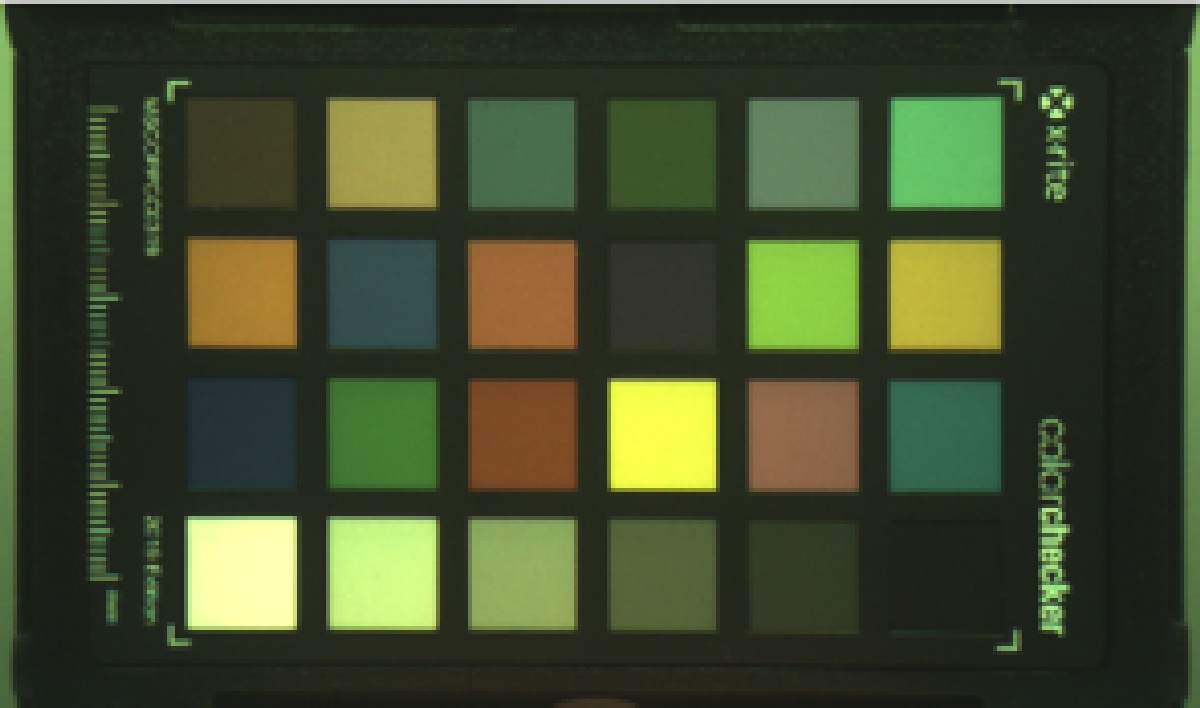 Figure 7-13 Color Chart Image Captured
With TL84 Lighting
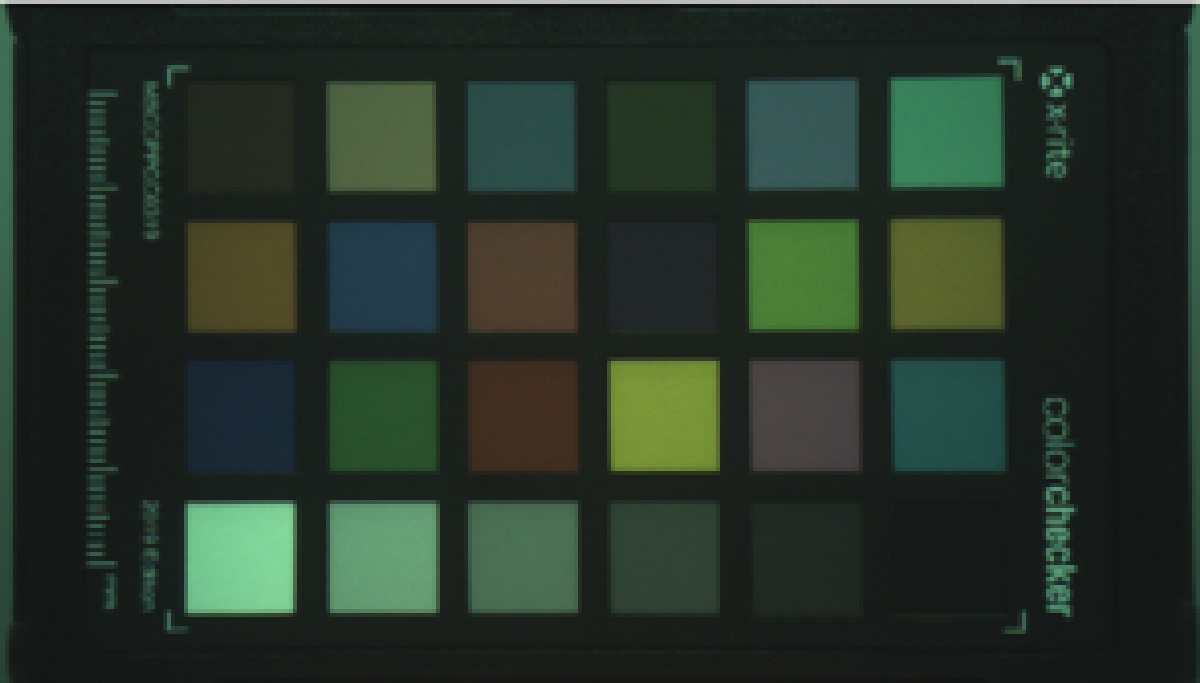 Figure 7-12 Color Chart Image Captured
With D65 Lighting
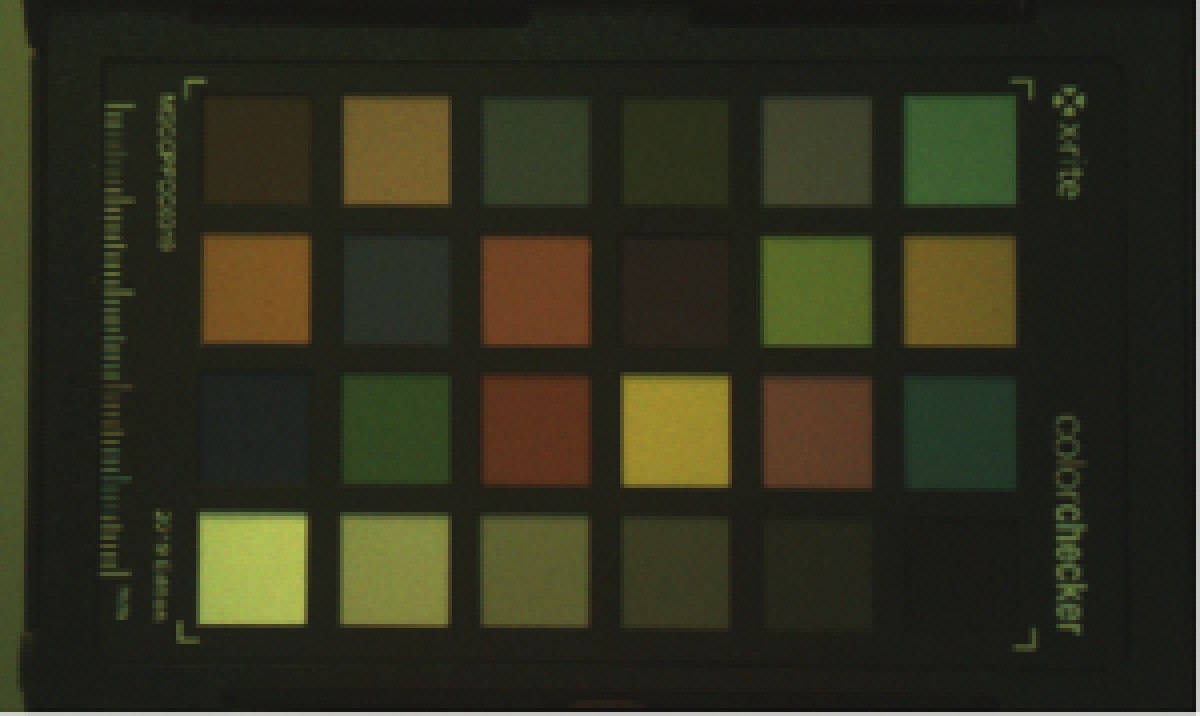 Figure 7-14 Color Chart Image Captured
With A-light