SBAU126E may   2007  – june 2023 ADS1158 , ADS1258


  1.   1
  2.   Abstract
  3.   Trademarks
  4. 1ADS1258EVM Overview
    1. 1.1 ADS1258EVM Kit
    2. 1.2 ADS1258EVM
  5. 2Getting Started With the ADS1258EVM
  6. 3Analog Interface
    1. 3.1 Analog Input Options
    2. 3.2 ADC Connections and Decoupling
    3. 3.3 Configurable Multiplexer Loop
      1. 3.3.1 Measuring Single-Ended Inputs Using a Pseudo-Differential Configuration
    4. 3.4 Clocking
    5. 3.5 Voltage Reference
  7. 4Digital Interface
    1. 4.1 GPIO
  8. 5Power Supplies
  9. 6Software Installation
  10. 7EVM Operation and GUI
    1. 7.1 Connecting the Hardware
    2. 7.2 EVM GUI Global Settings for ADC Control
    3. 7.3 Time-Domain Display
    4. 7.4 Frequency-Domain Display
    5. 7.5 Histogram Display
  11. 8Bill of Materials, Layout, and Schematics
    1. 8.1 Bill of Materials
    2. 8.2 EVM PCB Layout
    3. 8.3 Schematics
  12. 9Revision History

Software Installation

Download the latest version of the EVM GUI installer from the Tools and Software folder of the ADS1258EVM and run the GUI installer to install the EVM GUI software on the computer.

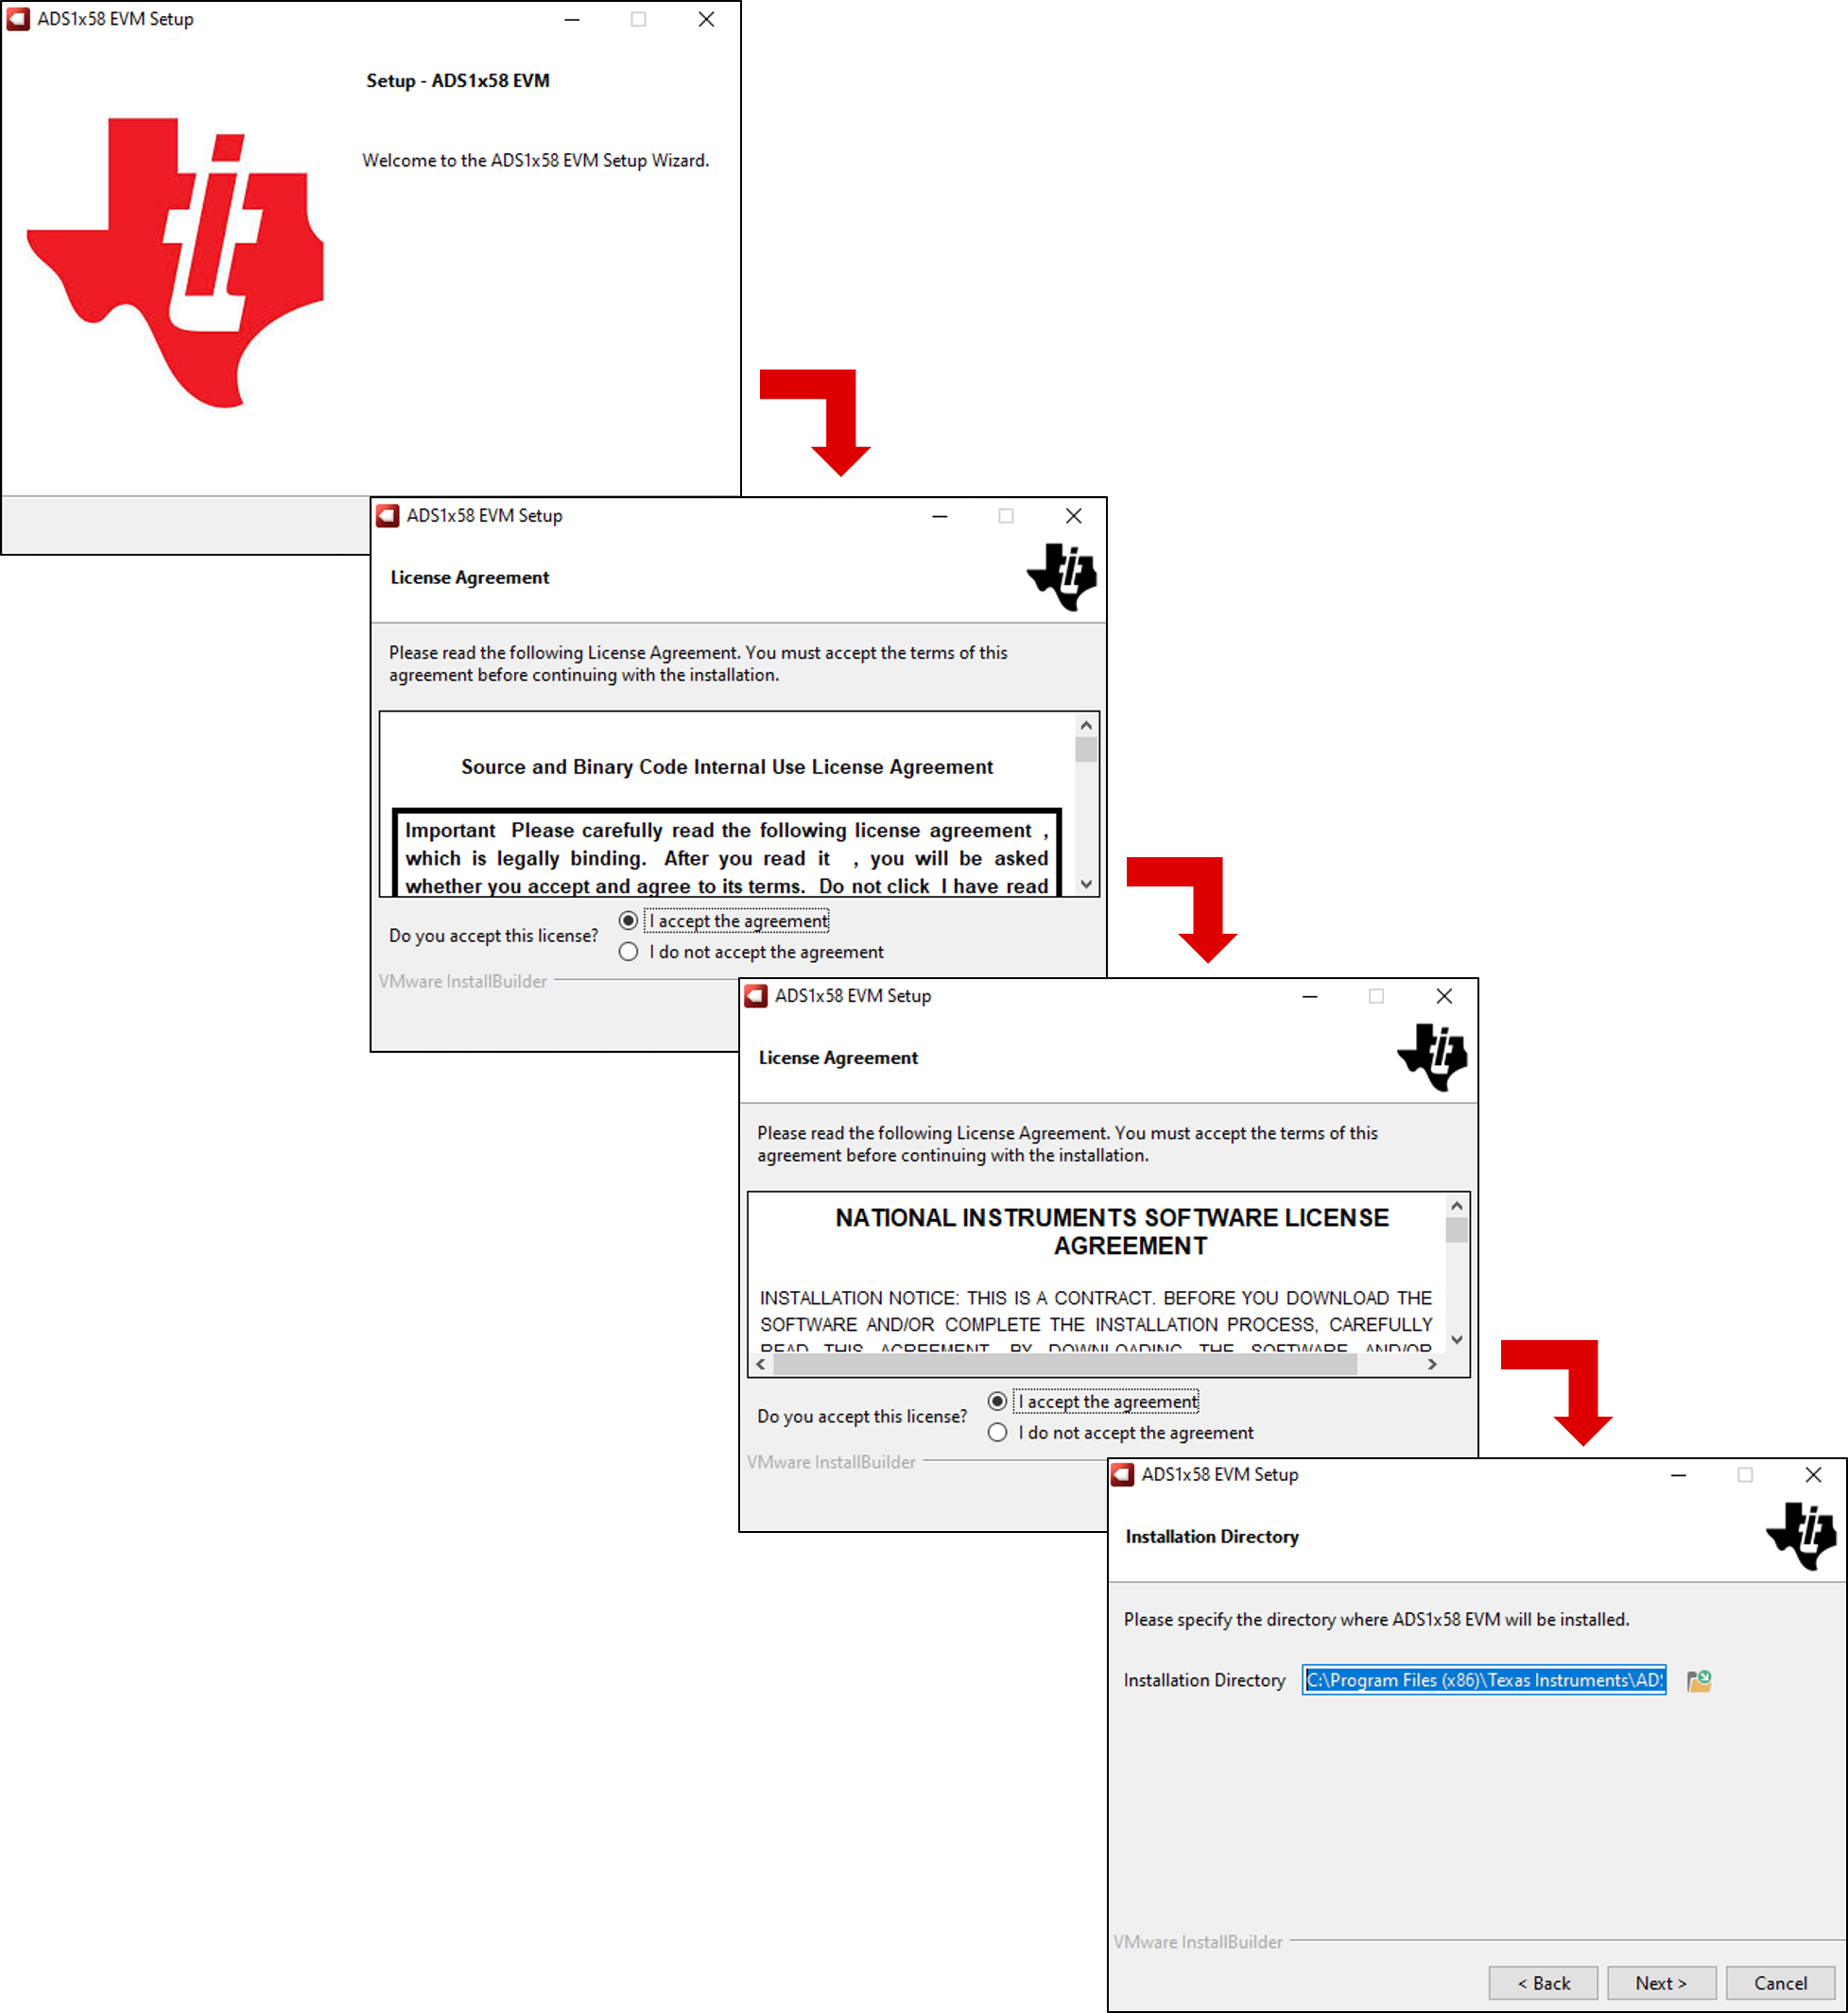
As shown in Figure 6-1, accept the license agreements and follow the on-screen instructions to complete the installation.

GUID-20221026-SS0I-VVBF-X77X-FPB7QWNHLPZF-low.png Figure 6-1 Software Installation and Prompts

As a part of the ADS1258EVM GUI installation, a prompt with a Device Driver Installation, as shown in Figure 6-2, appears on the screen. Click Next to proceed.
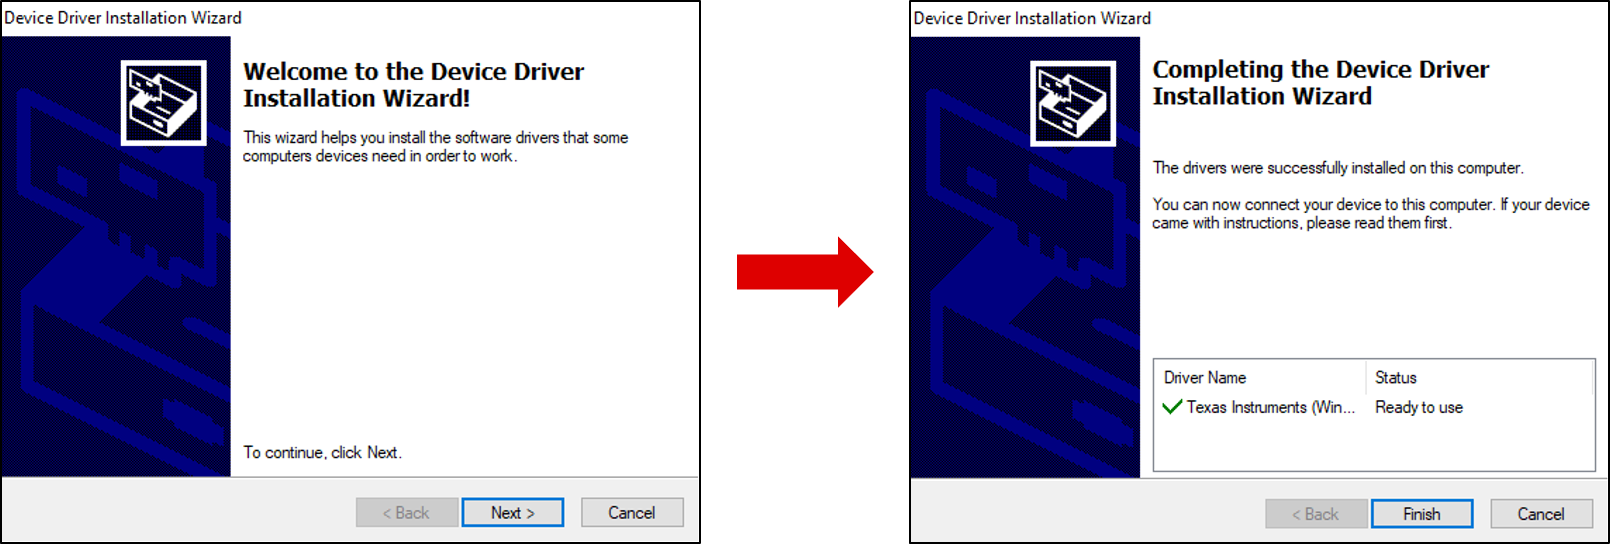
GUID-20221026-SS0I-W7KF-CJ3D-JVKZVPZTRW4P-low.png Figure 6-2 Device Driver Installation and Prompts

The ADS1258EVM requires the LabVIEW™ run-time engine and can prompt for the installation of this software, as shown in Figure 6-3, if not already installed.
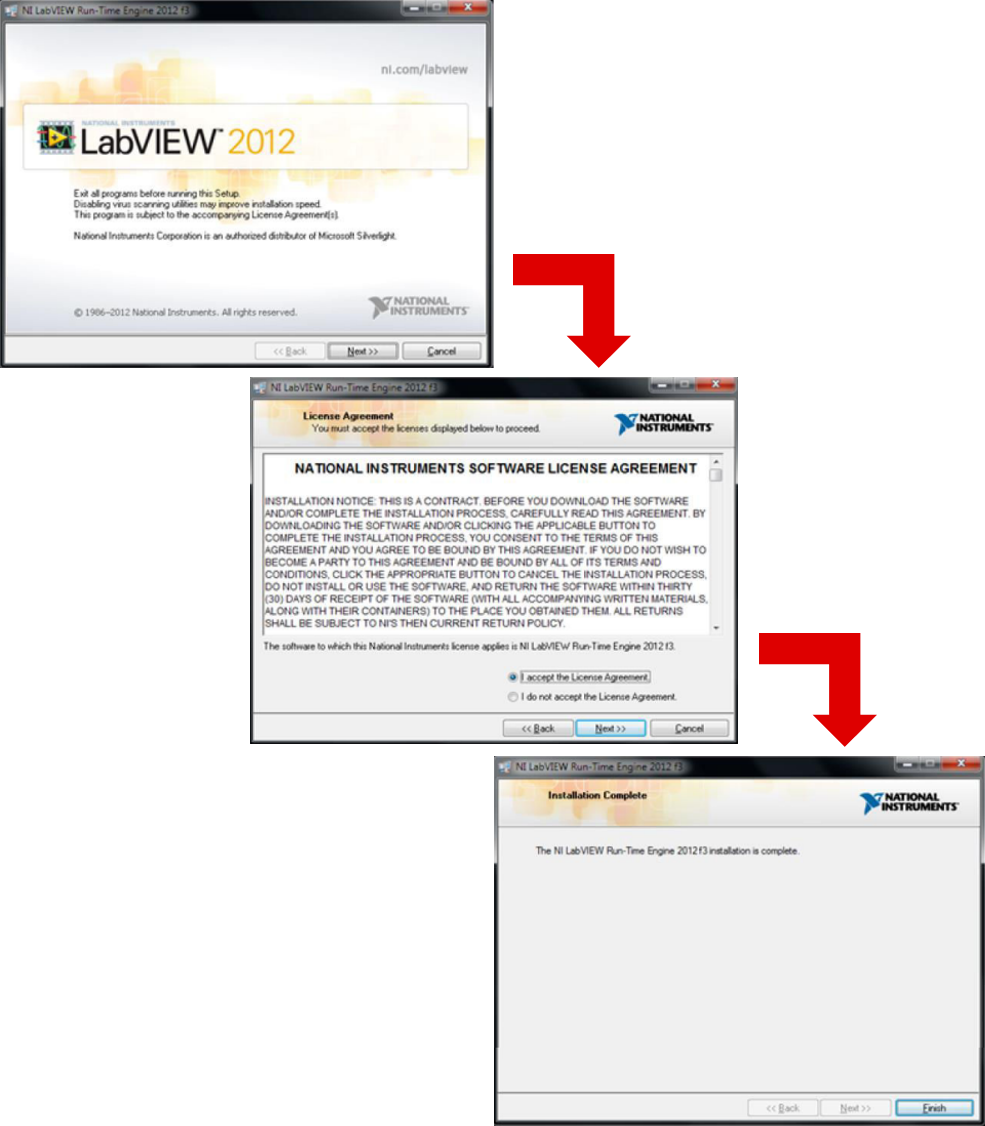
GUID-20221026-SS0I-FLBP-RKGC-WW5R4QNGCQBV-low.png Figure 6-3 LabVIEW Run-Time Engine Installation