SLAA494B May 2011 – September 2023 MSP430AFE221 , MSP430AFE222 , MSP430AFE223 , MSP430AFE231 , MSP430AFE232 , MSP430AFE233 , MSP430AFE251 , MSP430AFE252 , MSP430AFE253
- 1
- Implementation of a Single-Phase Electronic Watt-Hour Meter Using the MSP430AFE2xx
- 1 Trademarks
- 2 Introduction
- 3 Block Diagram
- 4 Hardware Implementation
- 5 Software Implementation
- 6 Energy Meter Demo
- 7 Results
- 8 Important Notes
- 9 Schematics
- 10References
- 11Revision History
6.2.1 Opening the Project
The Source folder structure is shown in Figure 6-3.
 Figure 6-3 Source Folder Contents
The
emeter-ng
folder contains project files; for this application, use the EVM_AFE253.ewp project file. The
emeter-toolkit
folder has a corresponding project file named emeter-toolkit-afe2xx.ewp. For first time use, it is recommended that you complete rebuild of both projects:
- Open
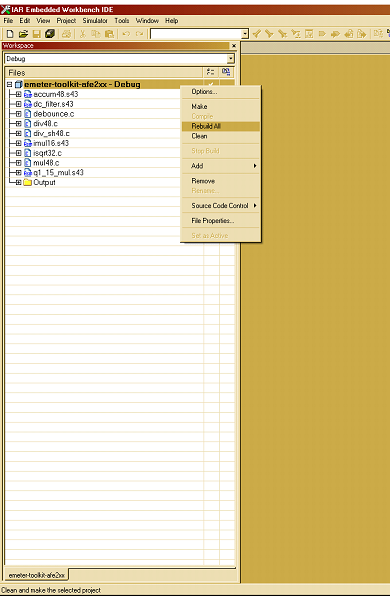
IAR Embedded Workbench®, find and load the project emeter-toolkit-afe2xx.ewp, and rebuild all (see Figure 6-4).
 Figure 6-4 Toolkit Compilation in IAR
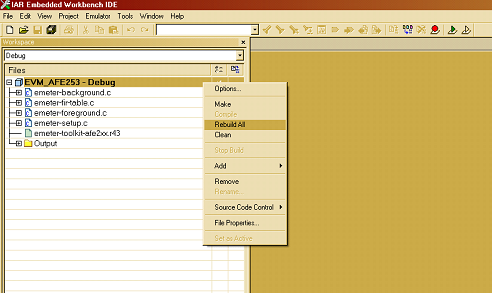
 - Close the existing workspace and open the main project EVM_AFE253.ewp, rebuild all and load this onto the MSP430AFE253 (see Figure 6-5).
 Figure 6-5 Metrology Project Build in IAR
 - Load it onto the EVM and hit GO from the Debug menu, once the main project has been rebuilt.