SBAU251B July   2017  – February 2023 ADS8331 , ADS8332


  1.   ADS8332EVMV2-PDK User's Guide
  2.   Trademarks
  3. 1Overview
    1. 1.1 ADS8332EVMV2-PDK Features
    2. 1.2 ADS8332EVMV2 Features
  4. 2EVM Analog Interface
    1. 2.1 ADS8332EVMV2 Onboard Reference
  5. 3Digital Interfaces
    1. 3.1 ADS8332 Digital Interface
  6. 4Power Supplies
  7. 5ADS8332EVMV2-PDK Initial Setup
    1. 5.1 Default Jumper Settings
    2. 5.2 EVM Graphical User Interface (GUI) Software Installation
  8. 6ADS8332EVMV2-PDK Operation
    1. 6.1 EVM GUI Global Settings for ADC Control
    2. 6.2 Time Domain Display Tool
    3. 6.3 Spectral Analysis Tool
    4. 6.4 Histogram Tool
    5. 6.5 Linearity Analysis Tool
    6. 6.6 Input Amplifier Configurations
  9. 7Bill of Materials, PCB Layout, and Schematics
    1. 7.1 Bill of Materials
    2. 7.2 PCB Layout
    3. 7.3 Schematics
  10. 8Revision History

PCB Layout

Figure 7-1 through Figure 7-6 illustrate the EVM PCB layout.
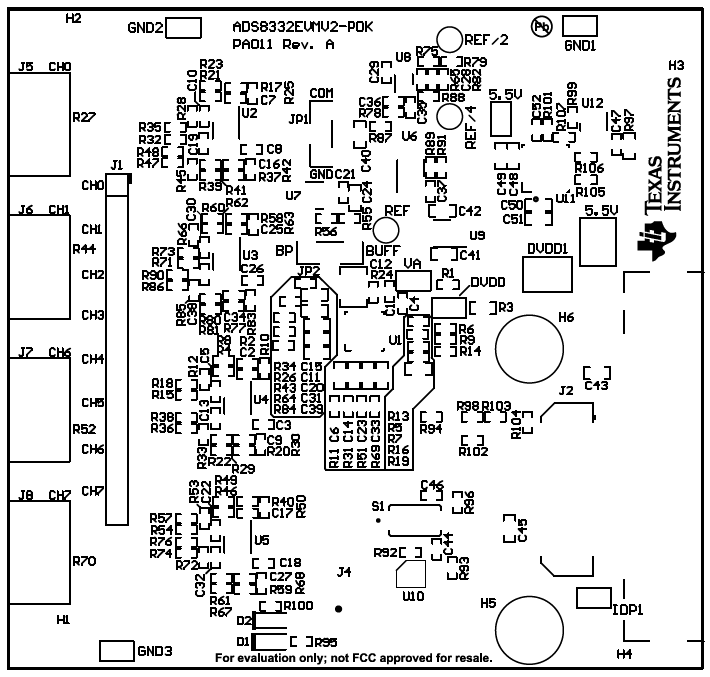
GUID-6041D676-BA14-4EB0-A508-F97C024BBA48-low.pngFigure 7-1 ADS8332EVMV2 PCB: Top Overlay
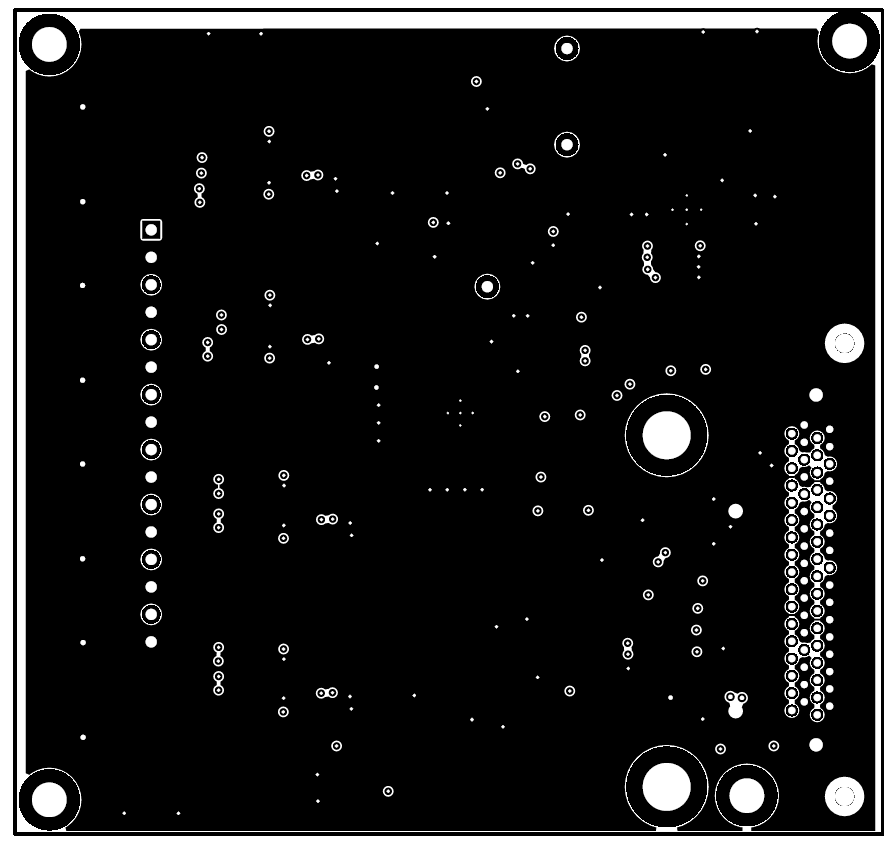
GUID-0579C91C-A173-4FAC-97EF-33CDA6FBAB28-low.pngFigure 7-3 ADS8332EVMV2 PCB Layer 2: GND Plane
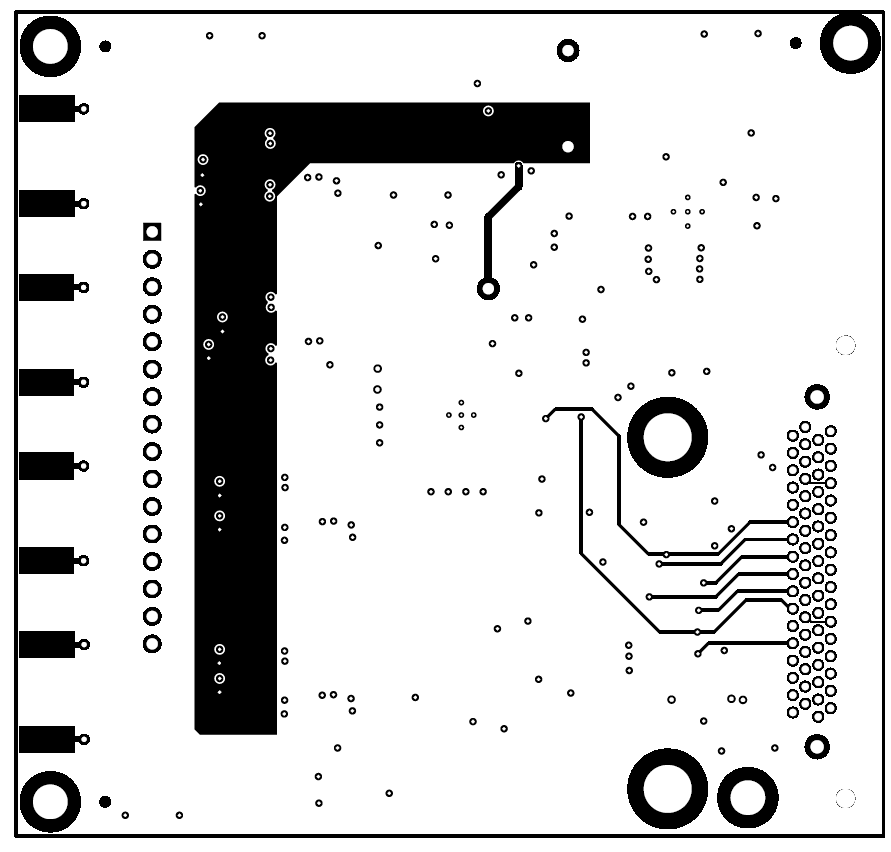
GUID-47B0FDD4-3348-40C1-89E9-E6210B25DB43-low.pngFigure 7-5 ADS8332EVMV2 PCB Layer 4: Bottom Layer
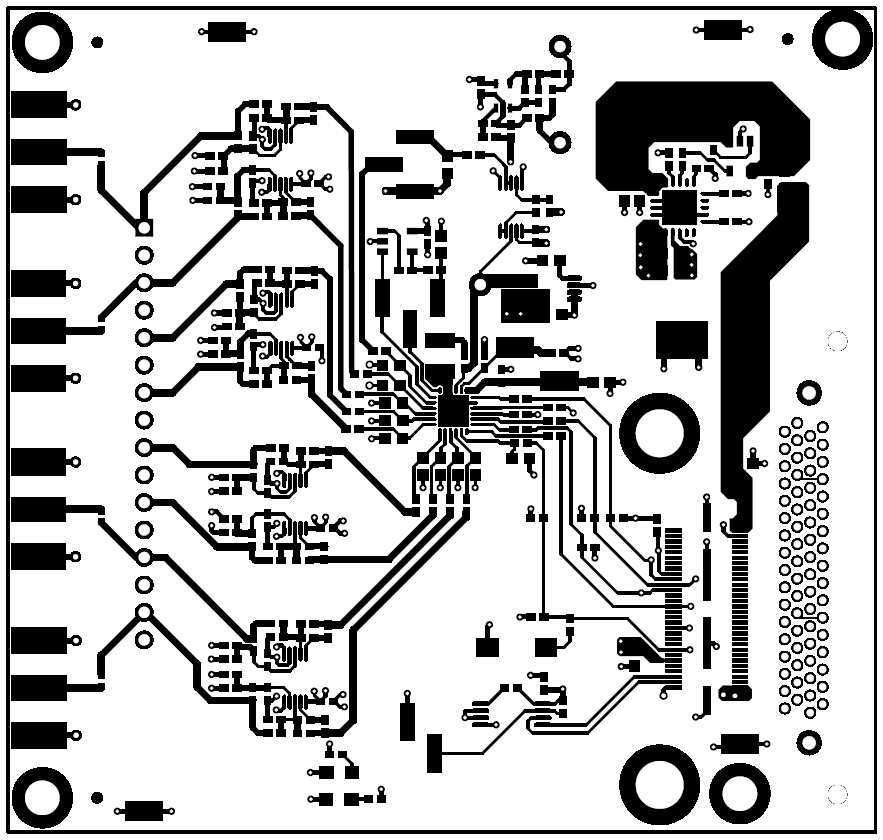
GUID-97B799F6-91FC-4158-BCC2-8D062975EC80-low.pngFigure 7-2 ADS8332EVMV2 PCB Layer 1: Top Layer
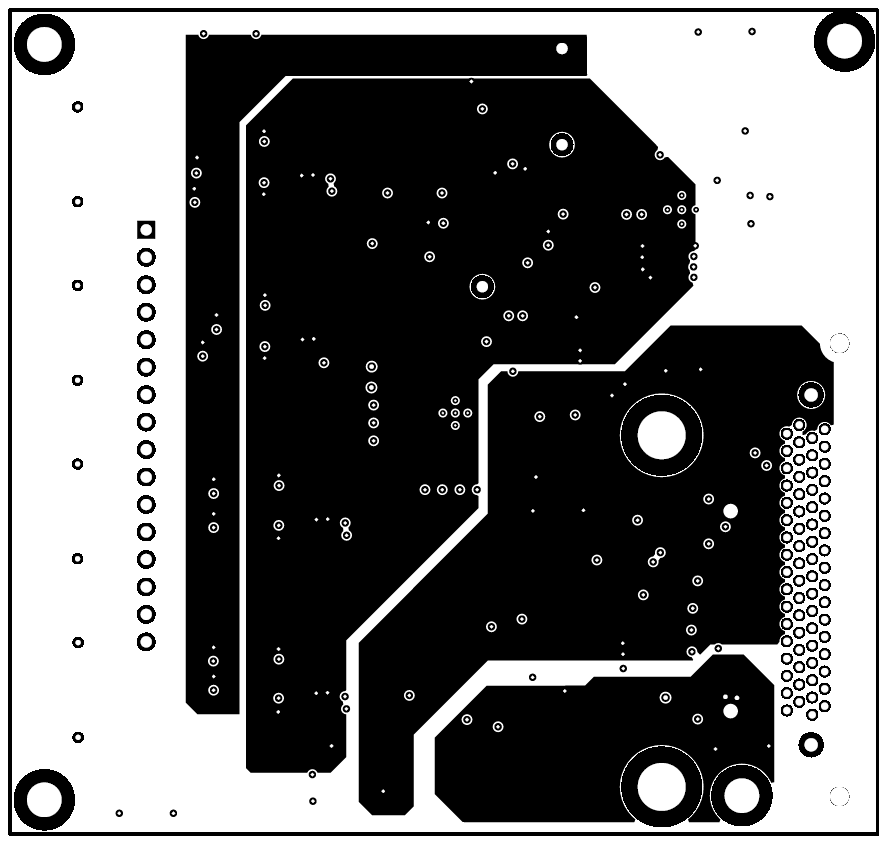
GUID-5FED45DB-A04D-4294-8907-59667FBD7179-low.pngFigure 7-4 ADS8332EVMV2 PCB Layer 3: Power Planes
GUID-75CC8A5B-9F1C-4F08-A1DA-C535F38FE3FE-low.pngFigure 7-6 ADS8332EVMV2 PCB: Bottom Overlay