SLAAE25 May 2021 MSP430FR2355 , MSP430FR2355
6 Debug GUI
There is a GUI for this solution that can help you quickly evaluate and adjust parameters. The GUI communicate with MCU through UART, MCU can send the collected real-time ADC data to PC. And You can check if the parameter in the code are reasonable by observing the current ADC value.
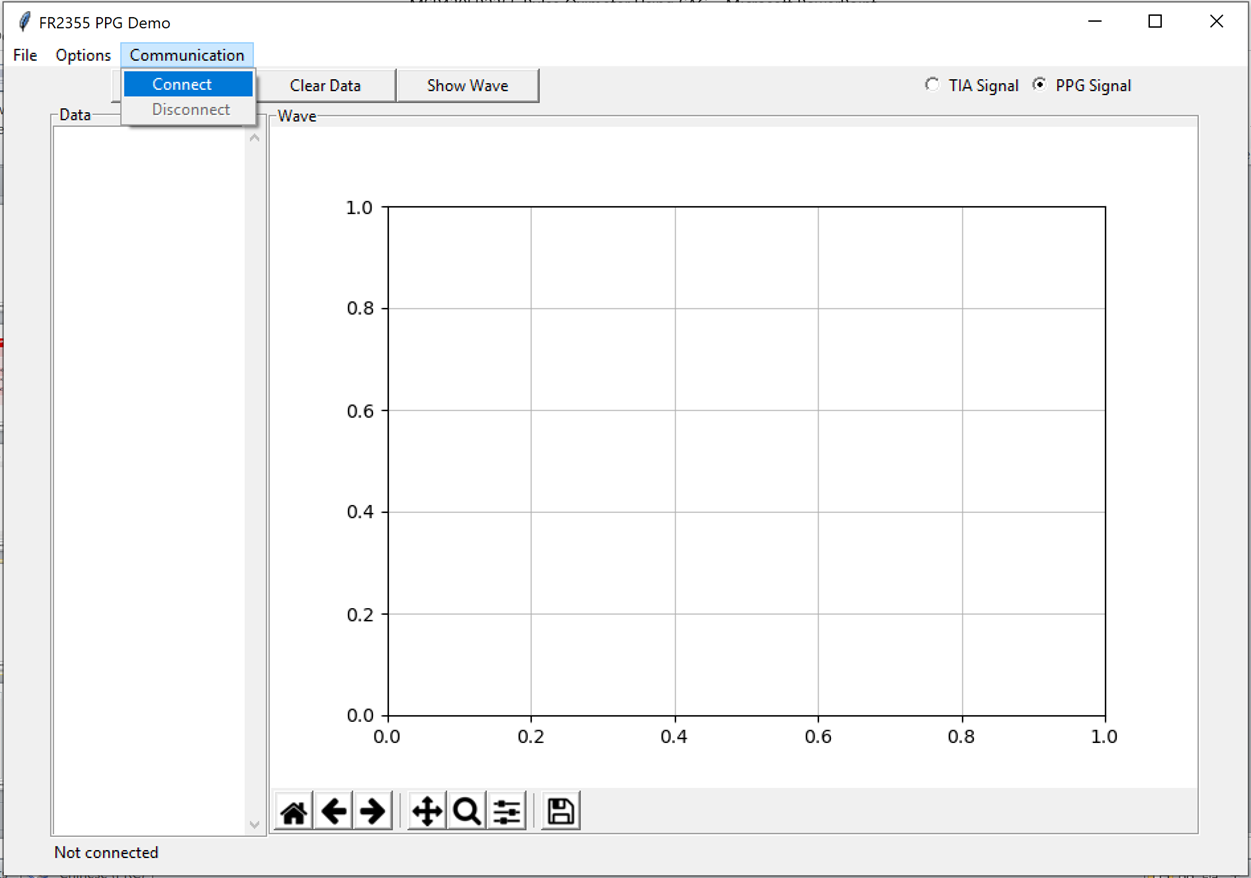
 Figure 6-1 GUI for Pulse Oximeter
Connect the Demo board and GUI through the following steps:
- Connect demo to Launchpad, and Launchpad to PC.
- Change the “ENABLE_DATA_LOG” to 1, and re-compile/program code.
- Open PPG_GUI.exe as Figure 6-1.
- Click Communication- > Connect.
- Choose the TIA Signal or the PPG Signal, click capture.
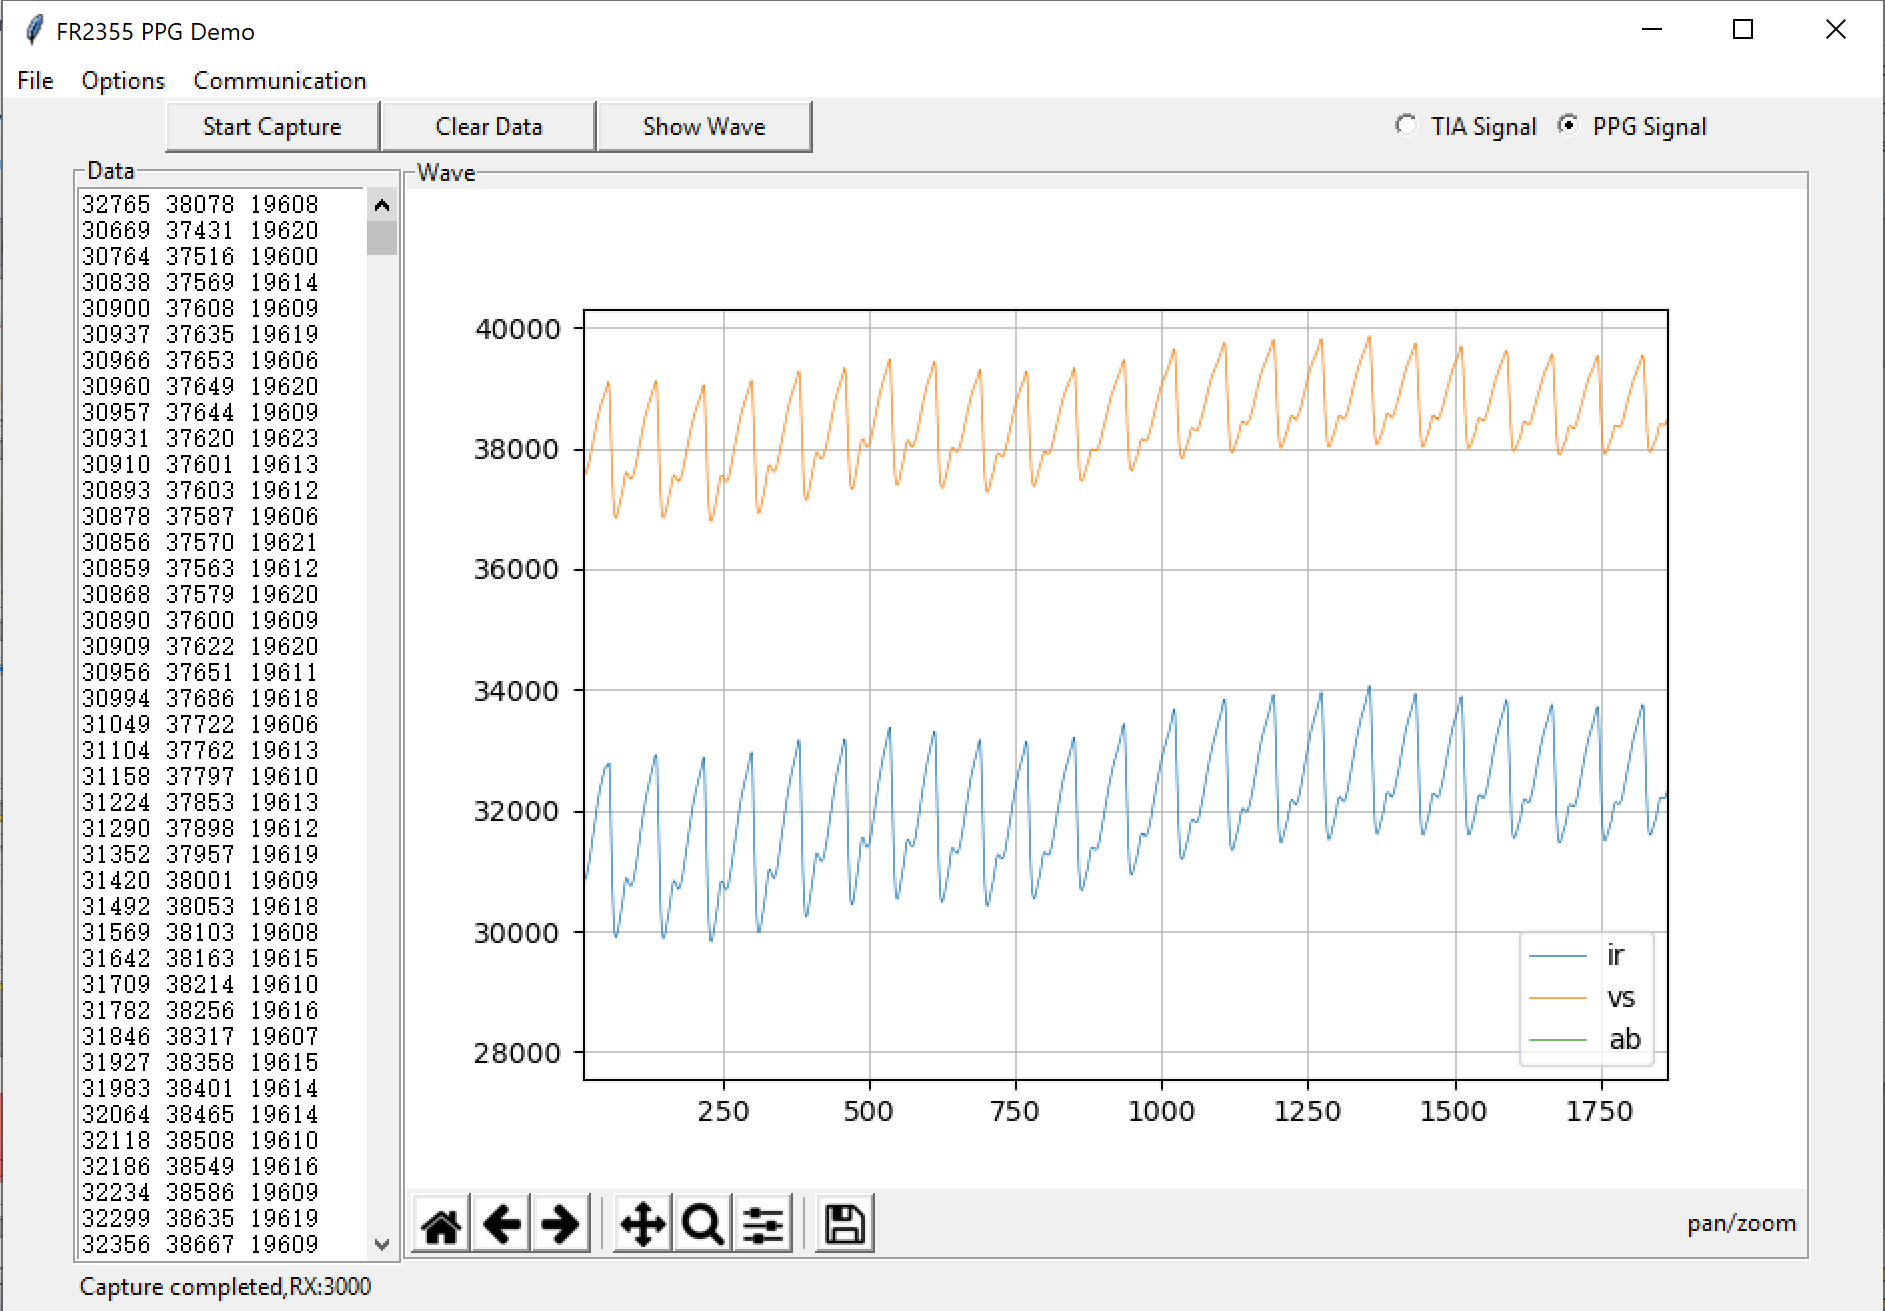
- After finishing the capture, data wave can be shown in left frame by clicking ‘Show Wave’ .
Figure 6-2 shows the data sent by the MCU to the GUI.
 Figure 6-2 Data in GUI for Pulse
Oximeter