SNOU181B February 2021 – April 2022 LDC3114 , LDC3114-Q1
2.3.2 Data Plot
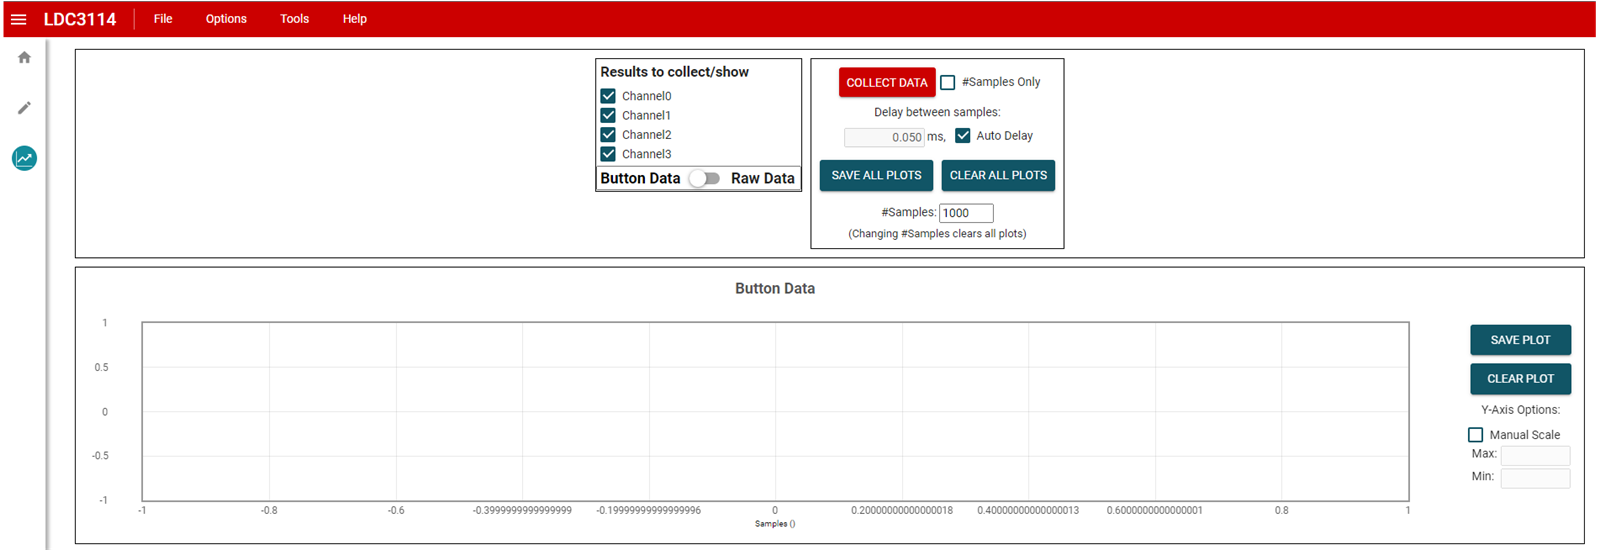
In the Data Plot tab the data can be viewed in a graph and saved to a file. The graph will be configured for either raw data or button algorithm data depending on the register settings of the device. Additionally, desired channels can be enabled or disabled to be included in the graph. Note that the Data Plot tab does not change the register configuration of the device so the proper register configuration will need to be made on the register tab.
Click Save Plot to save the data plot as a .csv file or click Clear Plot to clear the data plot. Additionally, the number of samples collected and saved can be changed using the provided text box. The delay box has an auto delay checkbox that will automatically calculate the minimum delay between samples based on the register settings. In the case where continuous sample rate is chosen, a quick calculation section will appear and auto delay will no longer determine the best timing. This is due to the need for the sensor frequency in the delay function.
 Figure 2-4 Data Plot.