SLAU855A June 2021 – March 2022 TLV320AIC3101 , TLV320AIC3104 , TLV320AIC3104-Q1 , TLV320AIC3105 , TLV320AIC3106 , TLV320AIC3106-Q1 , TLV320AIC3107 , TLV320AIC3109-Q1 , TLV320AIC34
1.1 Software Installation
- Download the latest version of the software located on the device product page. For example, if you are evaluating the TLV320AIC3106, please see the AIC3106 product page.
- Unzip the installation file by right-clicking the zip file and selecting Extract All. Extract the zip file contents to a known location.
- When the zip file is extracted, run the executable by double-clicking the .exe file. Running the executable as an administrator.
- After running the executable, the TLV320AIC310xEVM control software setup begins. Follow the prompts in the pop-up window, accept the license agreements, and choose an installation directory. Figure 1-1 shows this process.
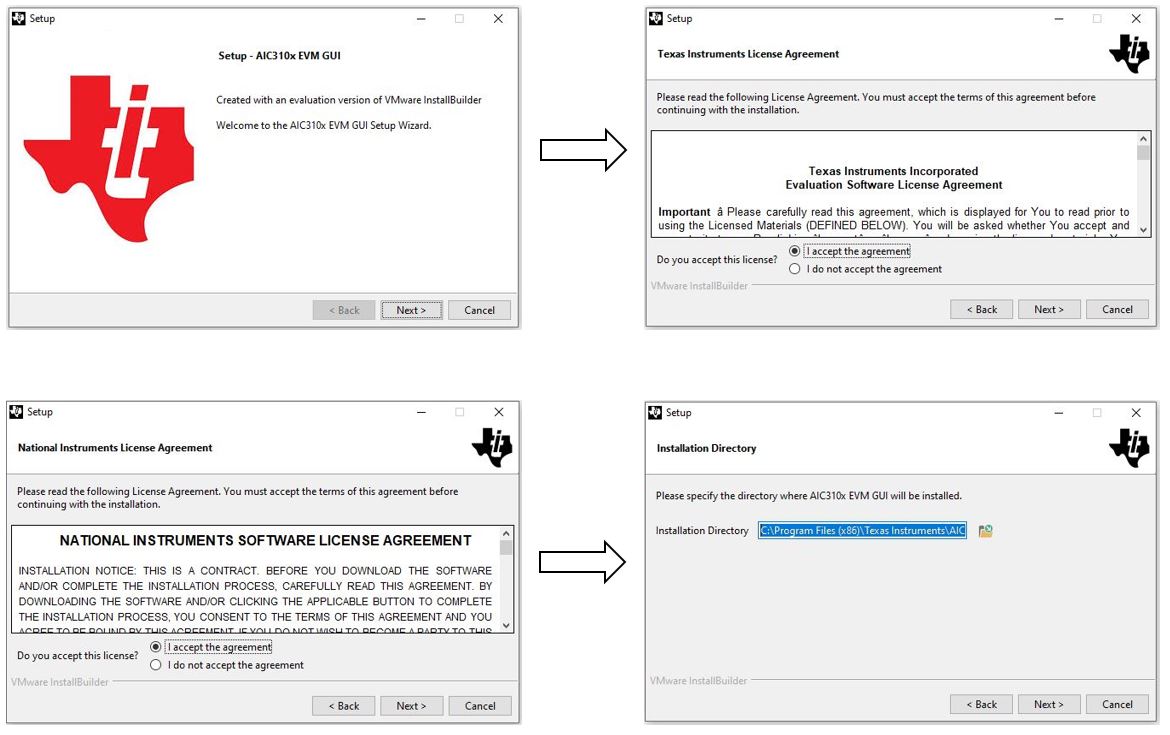 Figure 1-1 AIC310x Control Software Setup
LabVIEW® runtime engine, USB-MODEVM drivers and AC-MODEVM drivers will also be installed.
- The setup is now ready to begin installing. A window similar to Figure 1-2 should appear. Click next to proceed.
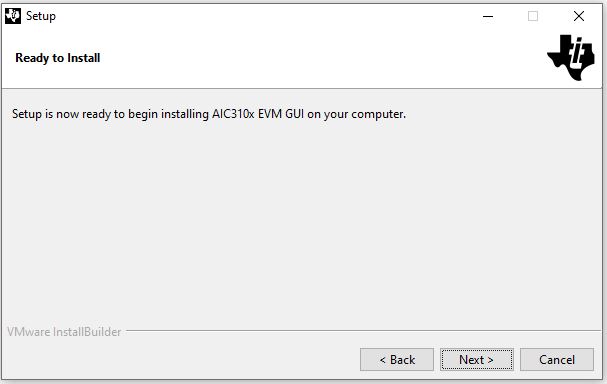 Figure 1-2 Ready to Install
 If this is the first time installing NI LabView package, GUI will install the Package Manager and the run time engines or no operation is needed if it finds the relevant NI packages. Accept the license agreement and hit next to proceed with the installation.
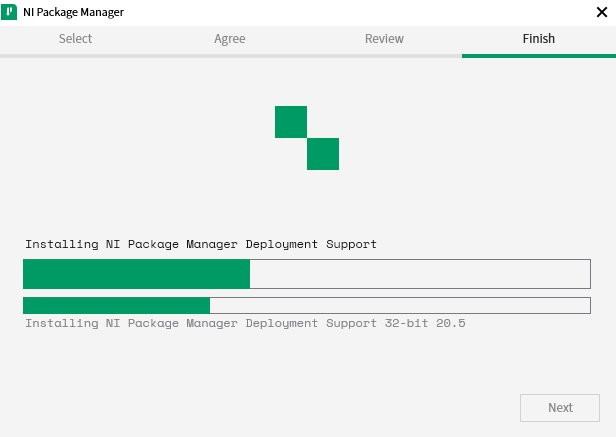 Figure 1-3 NI Package Manager Installation.
 Next it will install the NI Run Time Engine. Accept the license agreement and hit next to proceed with the installation.
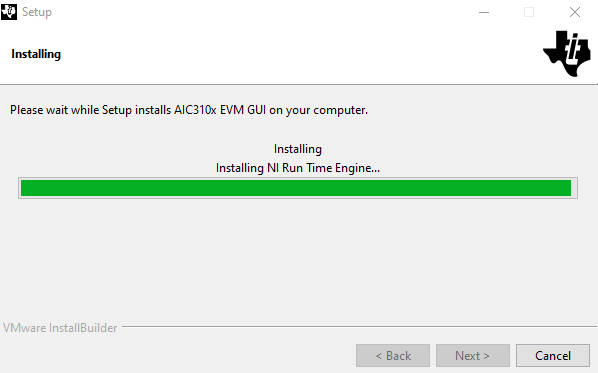 Figure 1-4 Ni Run Time Engine Installation.
 When installation is complete close the screen by clicking the 'X' and do not reboot the system untill all driver installations are complete.
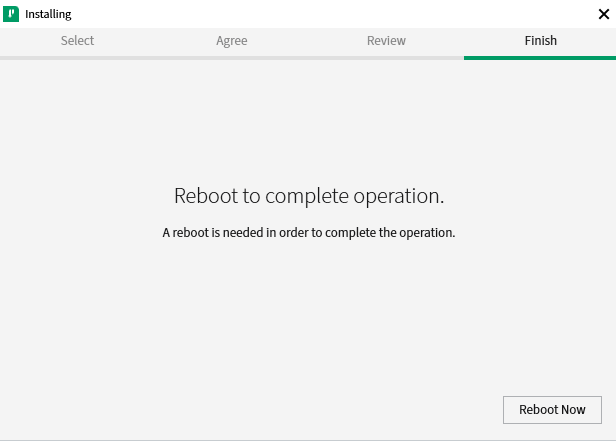 Figure 1-5 Reboot Screen, hit 'X' to close - do not reboot now.
 Next it will install the NI VISA Run Time Engine. Click "Deselect All" before hitting the next button, accept the license agreement and hit next to proceed with the installation.
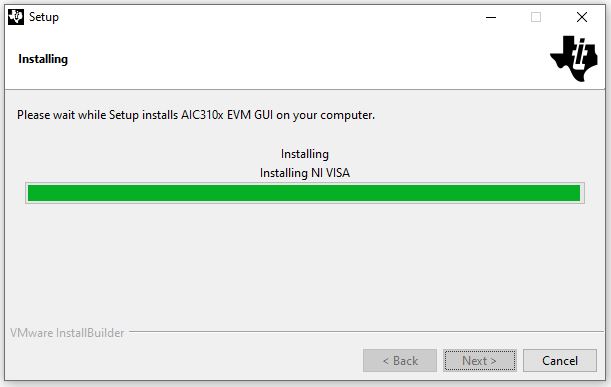 Figure 1-6 Ni Visa Installation.
 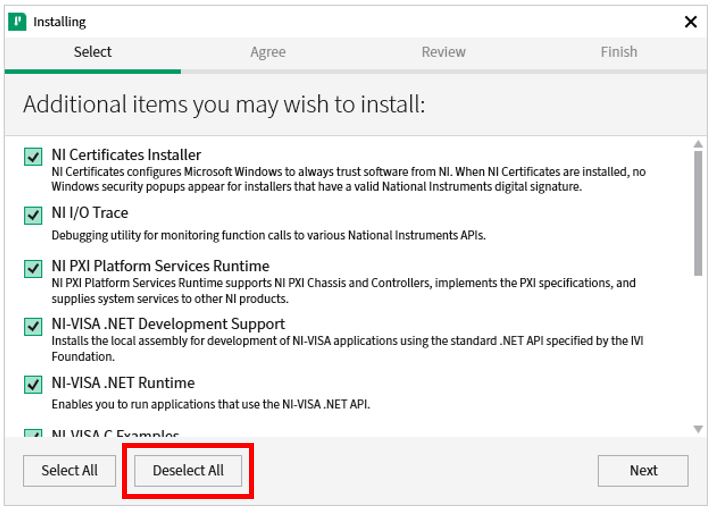 Figure 1-7 Deselect All for NI
VISA Run Time Engine.
 During NI run time installation steps, a NI Update Service screen might appear as shown click Yes to proceed. Click 'X' to close the "Reboot Now" screen, do not reboot the system now.
 Figure 1-8 NI Update
Service.
 If NI package was installed previously a "No operation to be performed." screen will appear. Close the screen by clicking the 'X' and proceed with the GUI installation.
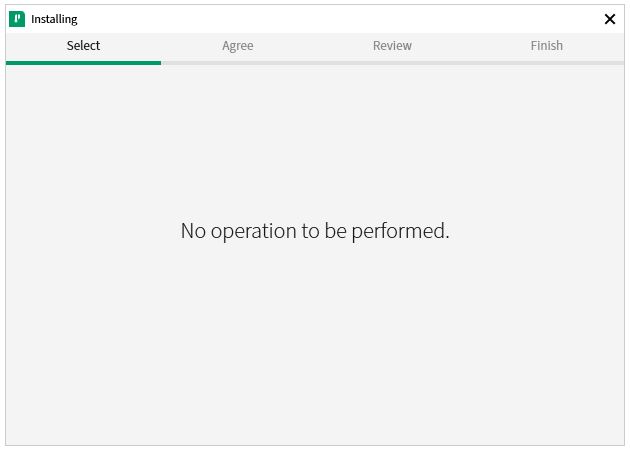 Figure 1-9 No Operation
Screen.
 - When the NI run time is done installing, the GUI will install the USB-MODEVM automatically.
- The AC MODEVM USB audio device driver setup now begins. Follow the prompts by confirming the installation and choosing the installation location. Click Install when ready. When the installation is complete, click Next. Figure 1-10 shows this process. Figure 1-10 USB AUDIO Device Driver Setup
- The USB audio device driver is now installed. Click Finish to close the setup wizard.
- A pop-up window will appear asking the user to disconnect and reconnect the device to complete the driver installation. Click Yes to continue.
- The setup has now finished (Figure 1-11). Check whether you wish to have a shortcut created and run the AIC310x EVM GUI or click Finish to end installation.
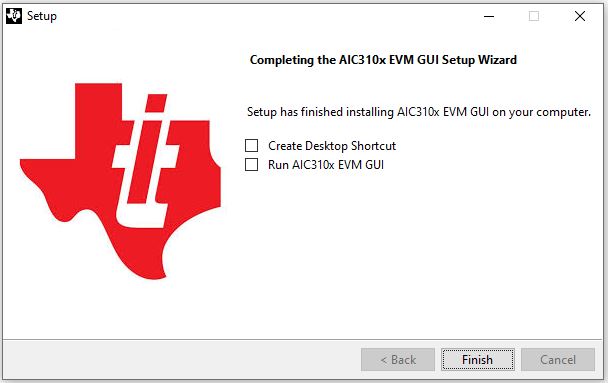 Figure 1-11 Setup Finished
The installation process is now complete for the TLV320AIC310x control software and the required drivers. Prior to connecting the EVM, reboot the PC.