SLAU857A May 2021 – July 2021 MSP430FR2476 , MSP430FR2512 , MSP430FR2522 , MSP430FR2532 , MSP430FR2533 , MSP430FR2632 , MSP430FR2633 , MSP430FR2672 , MSP430FR2673 , MSP430FR2675 , MSP430FR2676
6.4 Rapid Evaluation
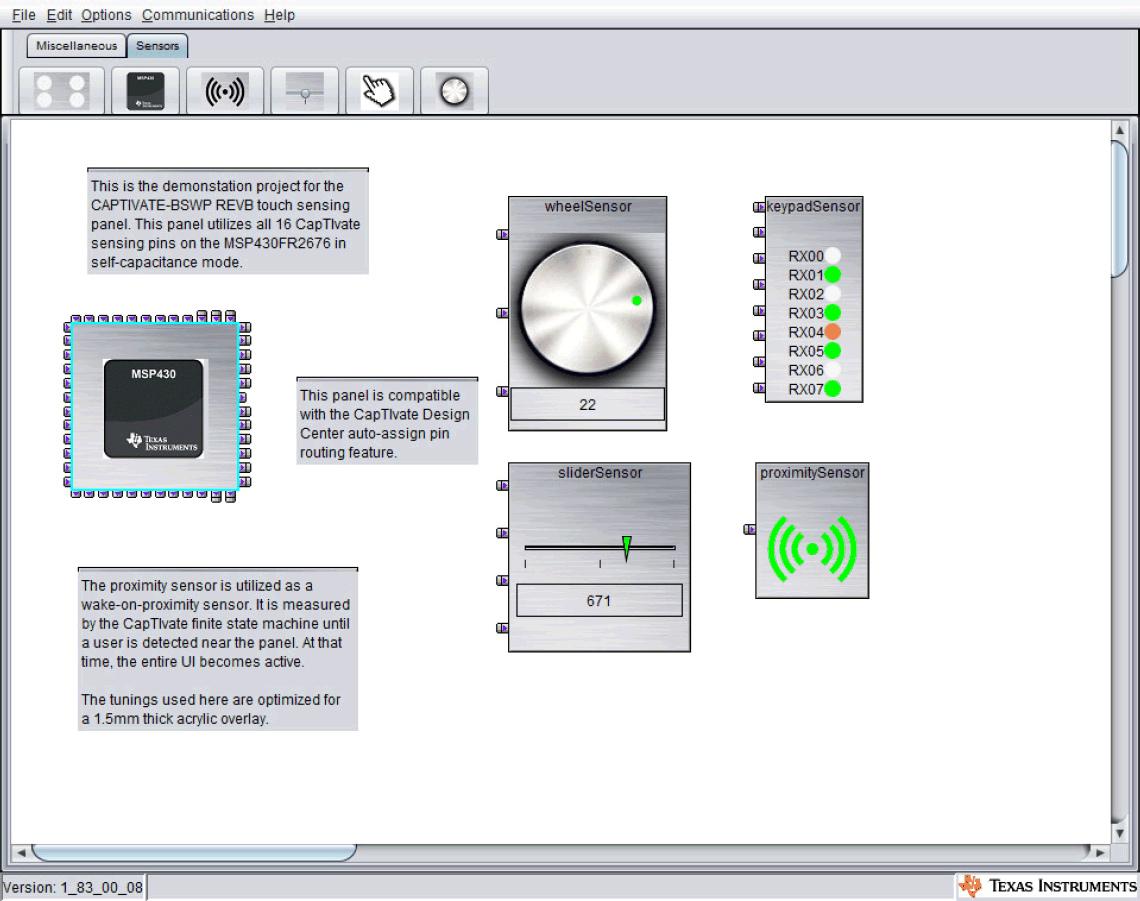
When CapTIvate Design Center is installed and the hardware validation platform is ready, import and open the example project for CapTIvate Design Center on CCS to rapidly evaluate the capacitive touch system.
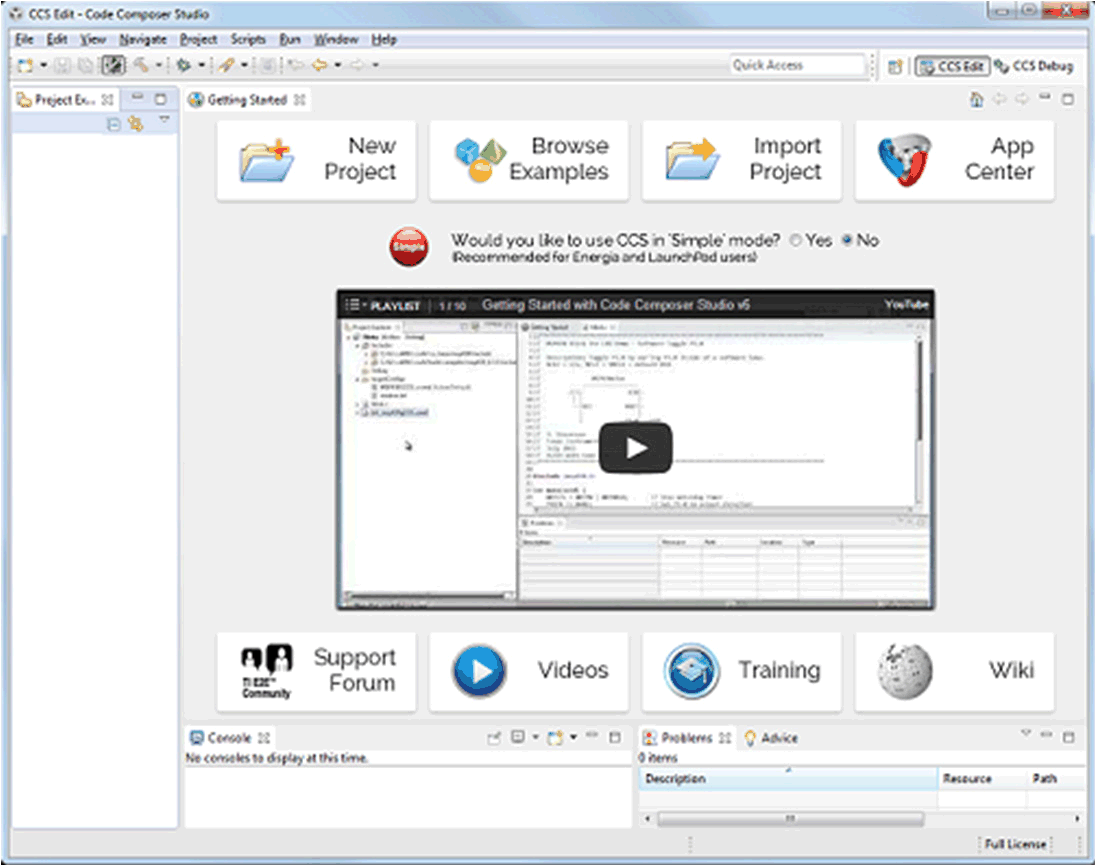
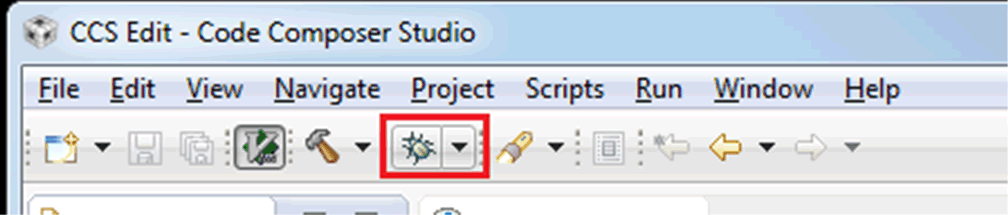
- Open CCS.
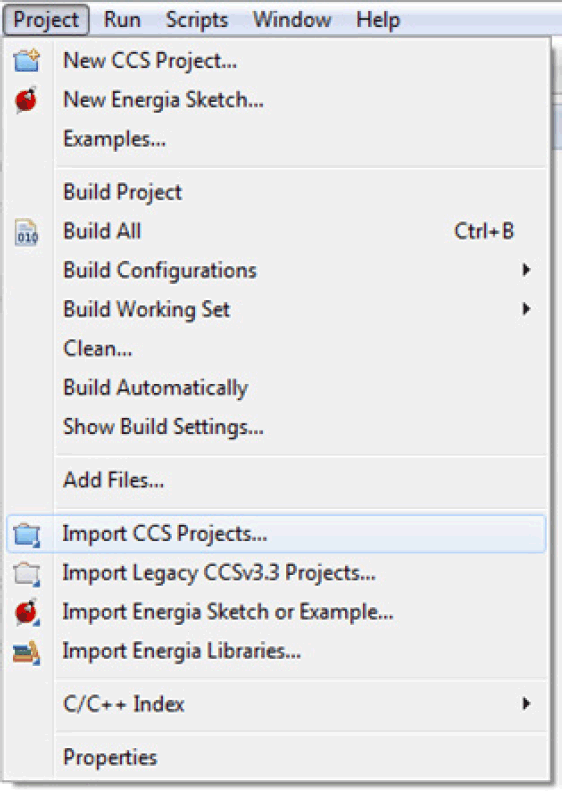
- Import the CCS project.
Select Project→Import CCS Projects.
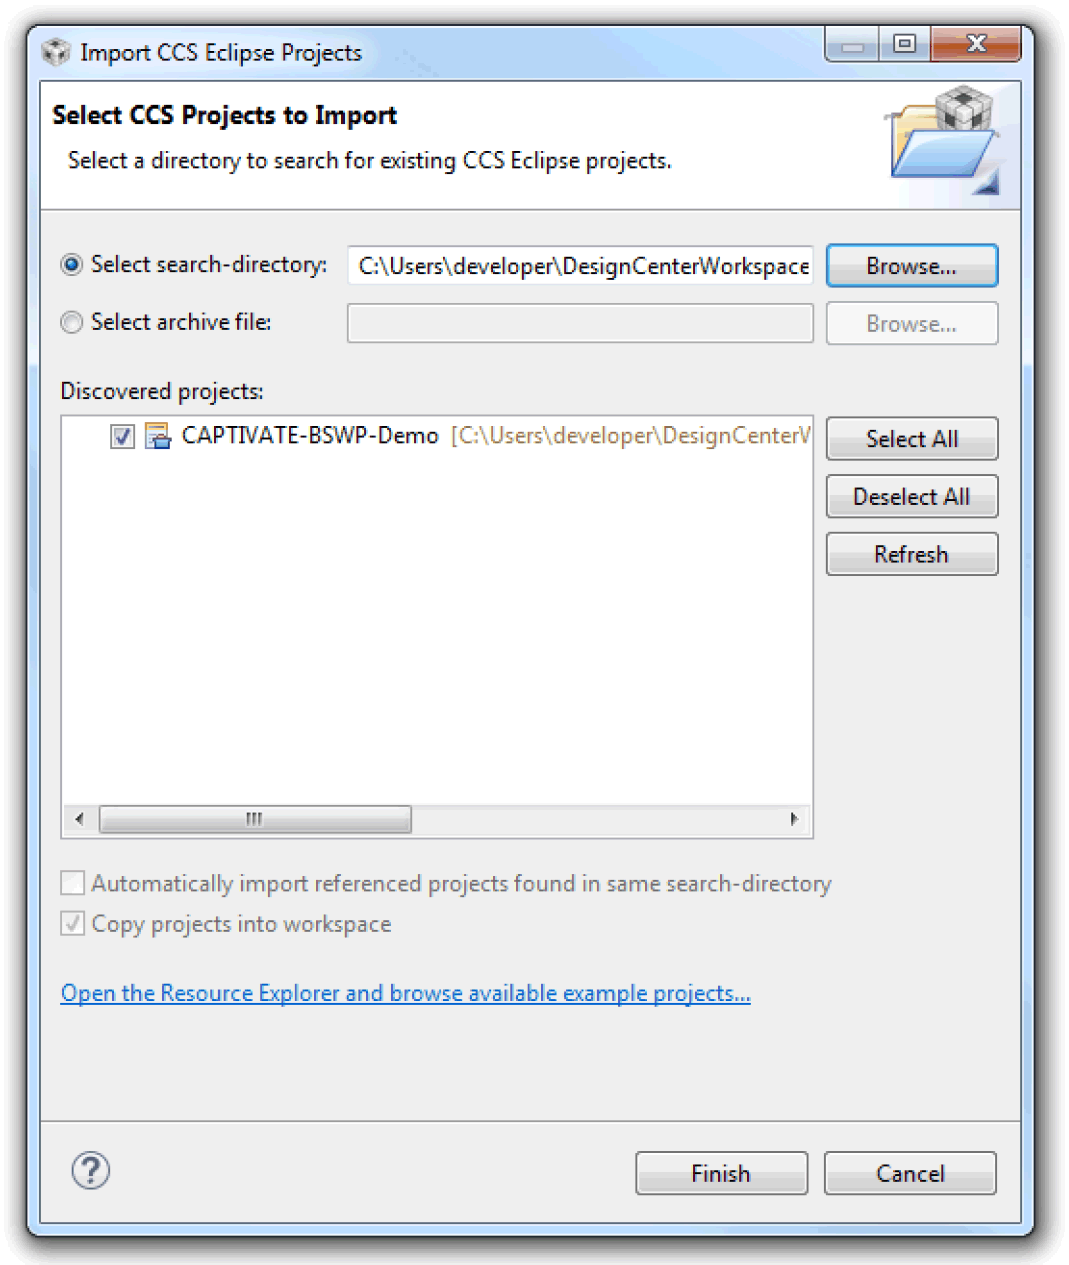
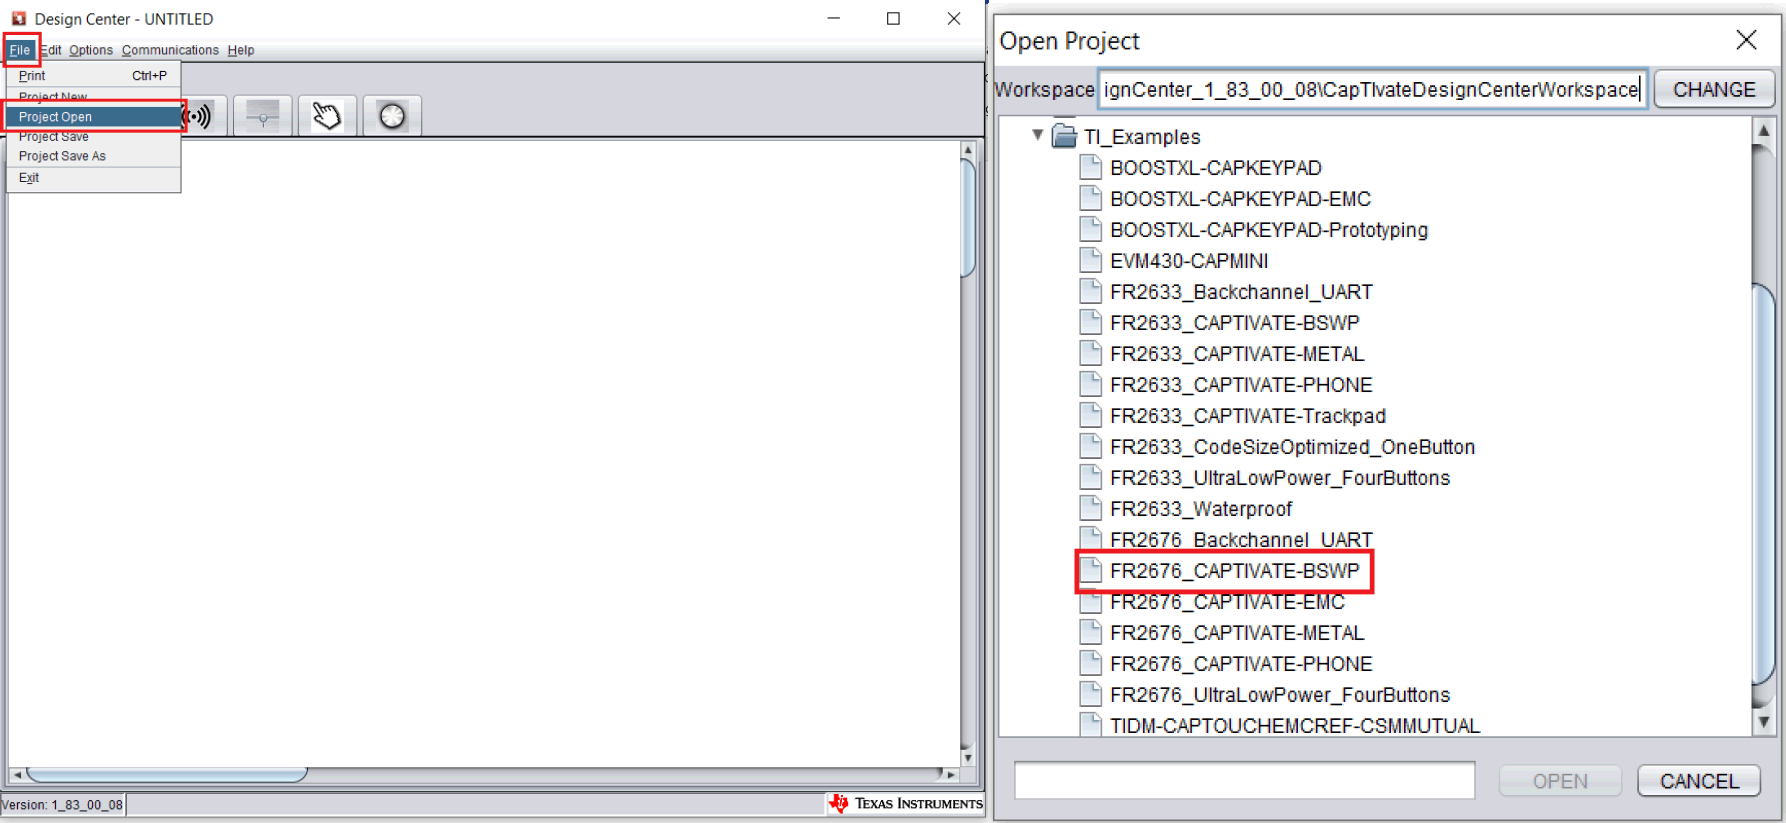
- Select MSP provided capacitive touch example project on CapTIvate Design Center default folder.
The default path is C:\Users\Username\CapTIvateDesignCenter_x_xx_xx_xx\CapTIvateDesignCenterWorkspace\TI_Examples\FR2676_CAPTIVATE-BSWP
- Tune and evaluate the capacitive touch example project.
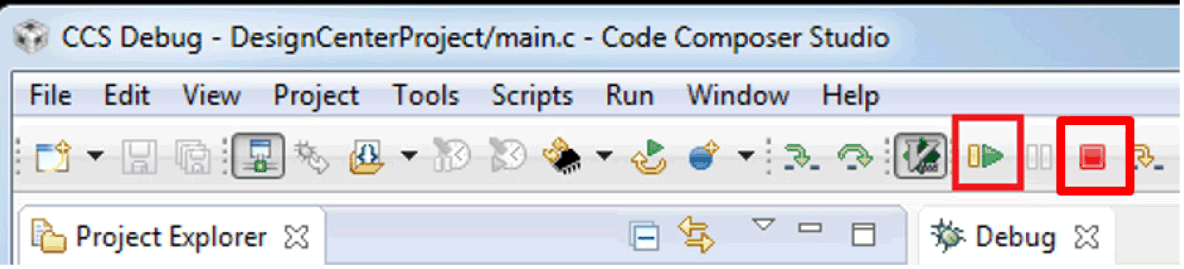
Click the debug button on CCS IDE.
The first compile might take a long time.

Click the run button and stop button. Then you may need to connect the power supply again.
- Select and import the capacitive touch example project according to the capacitive touch demonstration board adopted.
- Connect CapTIvate Design Center with the hardware board system.
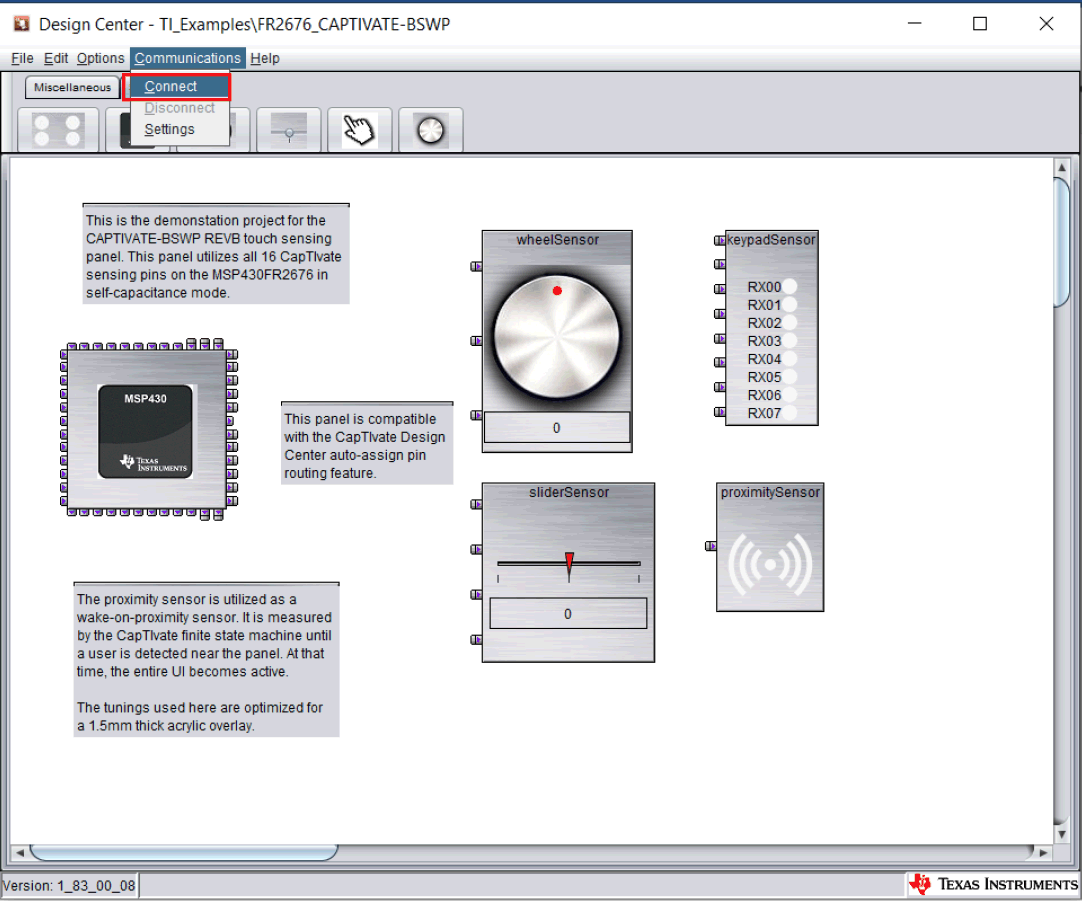
- Evaluate the capacitive touch features.
White color indicates no signal triggering, yellow color indicates proximity sensing triggering, and green color indicates touch triggering.
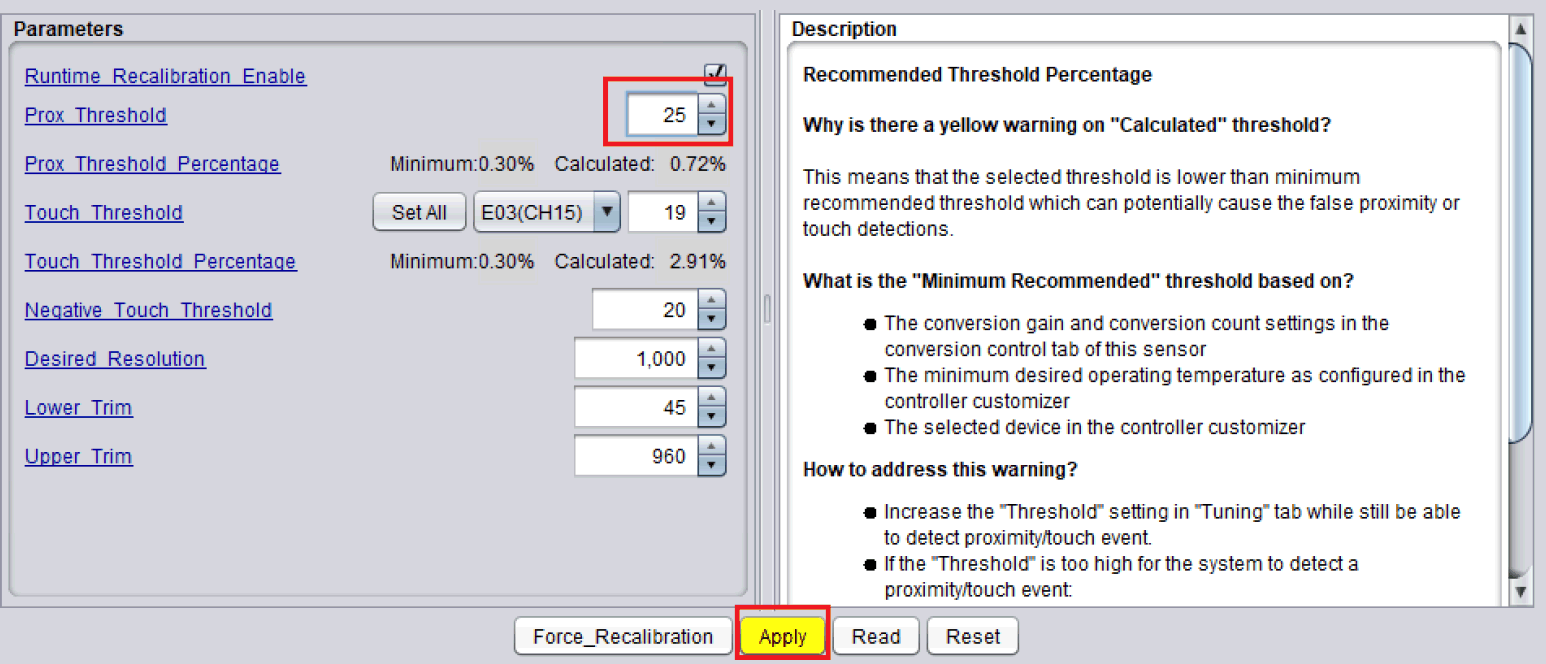
- Online parameter tuning
Modify the parameters and click the apply button to complete the online parameters tuning, see Section 5.4 for further instructions and descriptions.