SLVUCO1A May 2023 – April 2024 DRV8213 , DRV8214 , DRV8234
PRODUCTION DATA
2.4 Hardware Setup
The EVM hardware is designed and kitted to simplify setup and begin spinning motors. The EVM comes with the jumpers placed at the appropriate location in the headers. The location of the jumpers, also called shunts, are shown in Figure 3-1.
Note: Before using the EVM, check that
the shunt location matches the location shown in Figure 3-1.
Before connecting the EVM to the GUI software, follow these steps:
- Connect EVM to PC via USB connector. D2 (EZFET), D5 (3.3V), must be solid ON. D5 (MCU STATUS) needs to be toggling ON/OFF at a 1s intervals
- Connect power supply (less than
11V for DRV8213/DRV8214/DRV8215, less than 38V for DRV8234/DRV8235) to power
connector. Make sure terminals are connected correctly to avoid damage due to
reverse battery connection.
This EVM does not have reverse polarity protection circuitry.
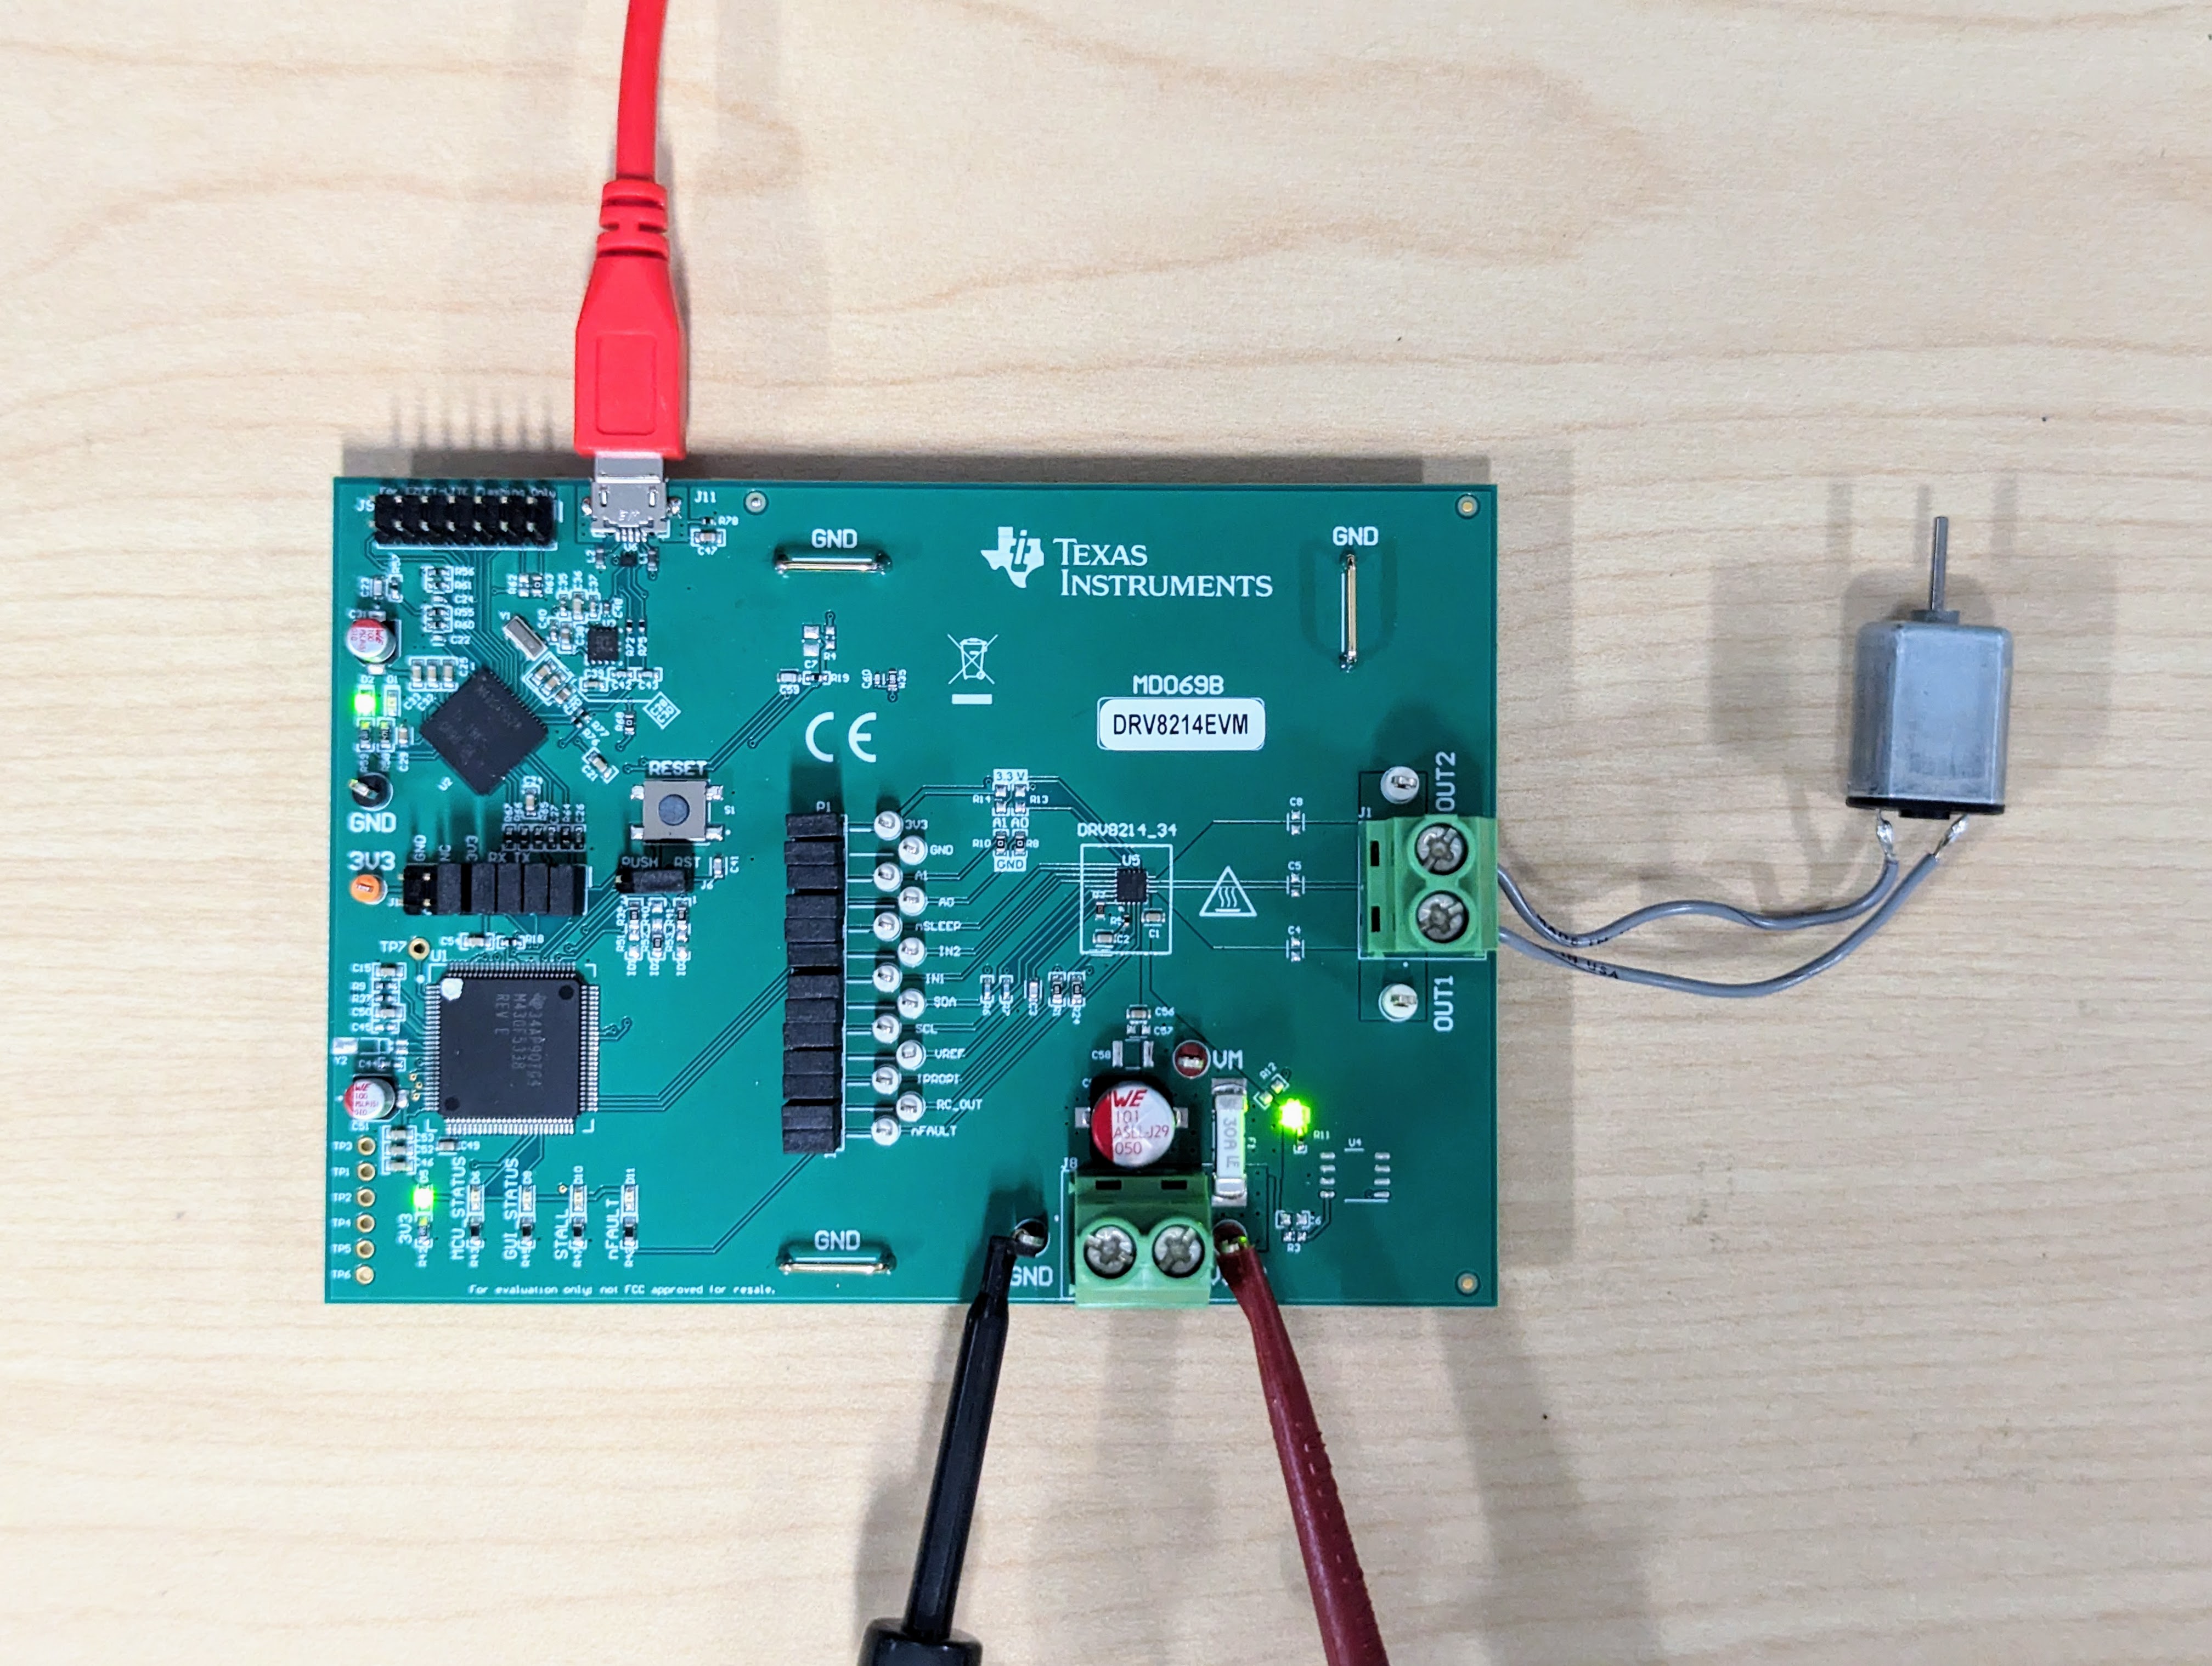
- Turn ON power supply. D4 (VM) turns ON. See Figure 3-6 for setup image.
- Connect motor to output connector.
- Set up is now complete. See Figure 3-6 for setup image.
 Figure 2-6 Hardware Setup