SLVUBT8B November 2020 – June 2022 LP8764-Q1 , TPS6594-Q1
- Scalable PMIC's GUI User’s Guide
- Trademarks
- 1 Introduction
- 2 Supported Features
- 3 Revisions
- 4 Overview
- 5 Getting Started
- 6 Quick-start Page
- 7 Register Map Page
- 8 NVM Configuration Page
- 9 NVM Validation Page
- 10Watchdog Page
- 11Additional Resources
- 12Appendix A: Troubleshooting
- 13Appendix B: Advanced Topics
- 14Appendix C: Known Limitations
- 15Appendix D: Migration Topics
- 16Revision History
13.1 Scripting Window
Scripting is a convenient way to send a sequence of commands (reads or writes) to the PMIC device registers as opposed to the individual commands associated with an update to a parameter in either the quick-start or Register page views. Scripting is found below the Options tab located at the top of the GUI. Opening the scripting window will open a new window while the GUI window will still be active as shown in the following paragraph.
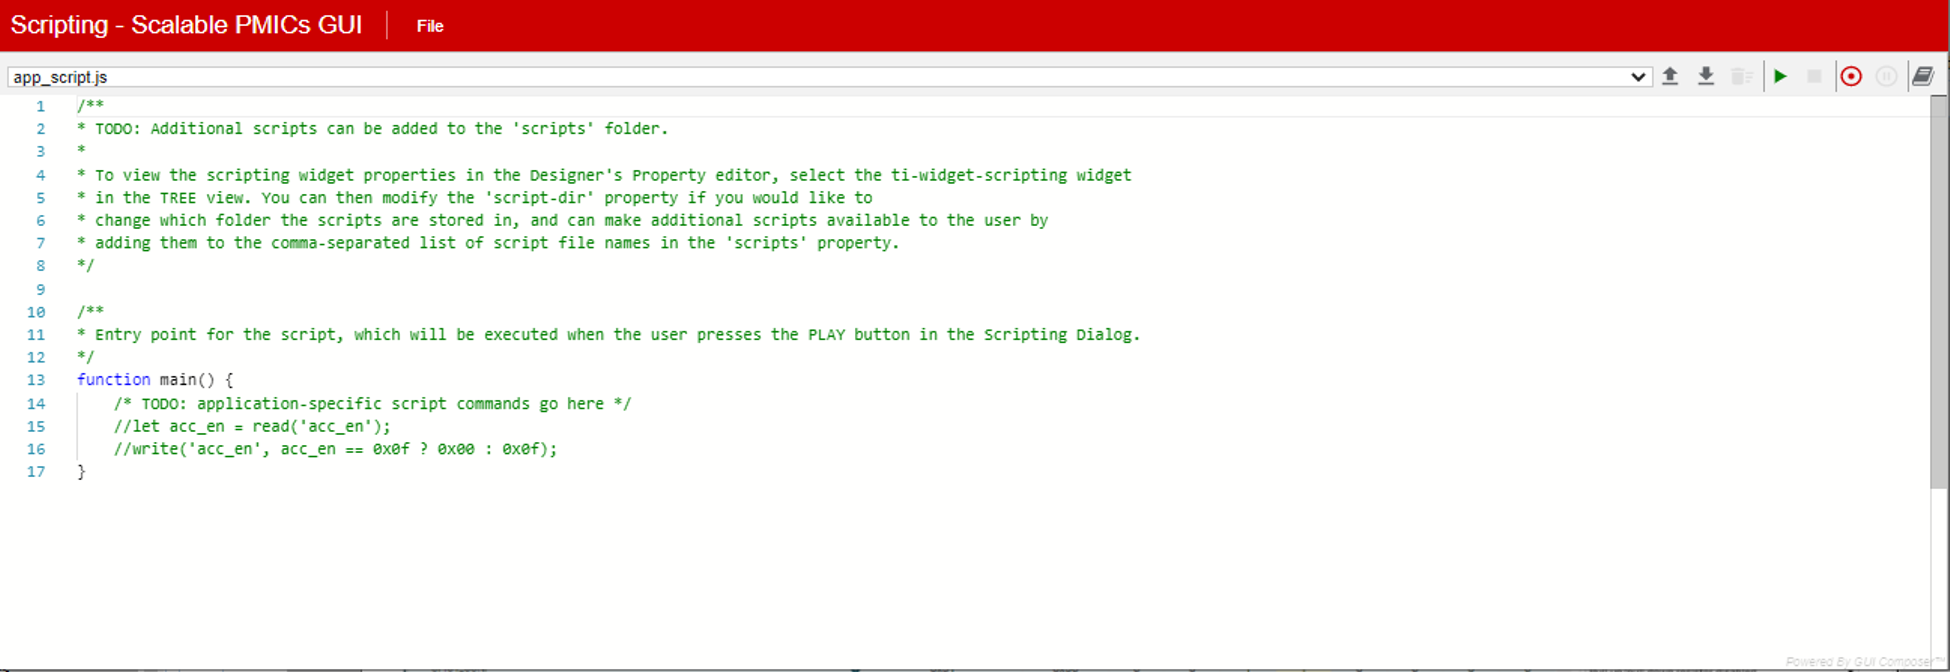
 Figure 13-1 Default Scripting Window
Figure 13-1 shows the initial scripting window and the default text provided. This file can be edited to provide a desired sequence of commands. One quick way to start using the scripting window is to use the record feature to capture a sequence of commands. In the upper right hand corner is the record icon. Hovering the cursor over the icon will reveal a Start Recording help box. In the example shown in Figure 13-2 and Figure 13-3, the recording is started and then when returning to the GUI window the Register Page is used to read DEV_REV and NVM_CODE_2 and then write to the BUCK1_CTRL register. Once these sequence of actions are completed, then returning to the scripting window will reveal the recorded commands. At this point, the recording can be stopped and these commands can be expanded and repeated for the various registers. Once the sequence is complete, then click the Run icon to execute the sequence.
 Figure 13-2 Scripting, Recording Register Read and Writes
 Figure 13-3 Scripting, Running a recorded sequence