TIDU312A May 2014 – November 2020
- Trademarks
- 1Introduction
- 2Software Overview
- 3Procedure for Running the Incremental Builds
- 4Test Results
- 5References
- 6Revision History
3.1.4.1 Step 1.1: Start CCS and Open a Project
Follow the steps below to execute this build:
- Connect USB connector to the F280xx controlCARD for emulation. Power up the 12 V bias supply at JP1. By default, the F280xx controlCARD jumpers (see F280xx controlCARD documentation) are configured such that the device boot from FLASH. Change these jumper settings to allow code execution from RAM under CCS control.
- Start Code Composer Studio (CCS).
In CCS a project contains all the files and build options needed to generate an
executable output file (.out) which can be run on the MCU hardware. On the menu
bar click: Project Import Existing CCS/CCE Eclipse Project and under Select root
directory navigate to and select
..\controlSUITE\development_kits\BLPFC_v1.0\BLPFC directory. Make
sure that under the Projects tab BLPFC is checked. Click Finish.
This project will invoke all the necessary tools (compiler, assembler & linker) for building the project.
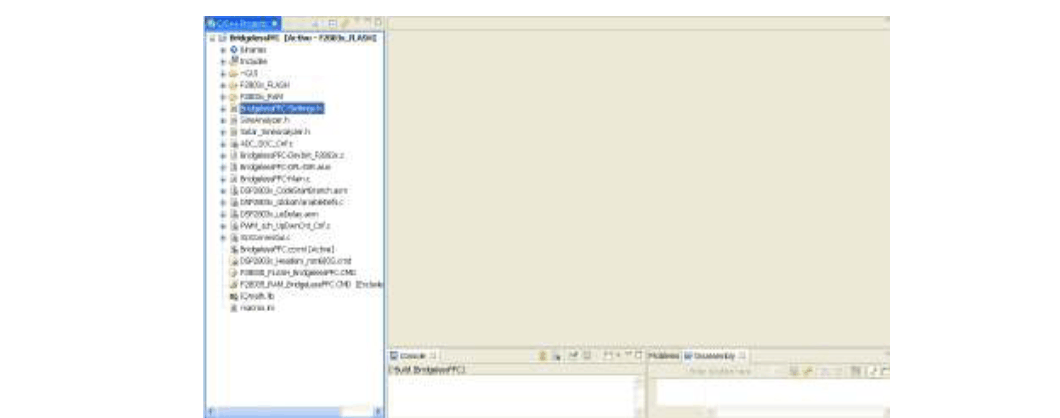
- In the project window on the
left, click the plus sign (+) to the left of Project. Your project window will
look like Figure 3-3:
 Figure 3-3 CCS Project
Window