SBAU279 October 2020
- Trademarks
- 1Introduction
- 2ADS7038Q1EVM-PDK Overview
- 3ADS7038Q1EVM-PDK Initial Setup
- 4Input Signal-Conditioning Circuitry on the ADS7038Q1EVM
- 5Bill of Materials, Printed Circuit Board Layout, and Schematics
3.2 The ADS7038 GUI Online and TI Cloud Agent Application Installation
The following steps describe the ADS7038 GUI software installation:
Plug in the included micro USB to USB cable to the PAMBoard and a USB port on the computer, respectively.
On the ADS7038Q1EVM-PDK landing page, the software is available through a web-based GUI. Connecting to the GUI may require login to a user account for access.
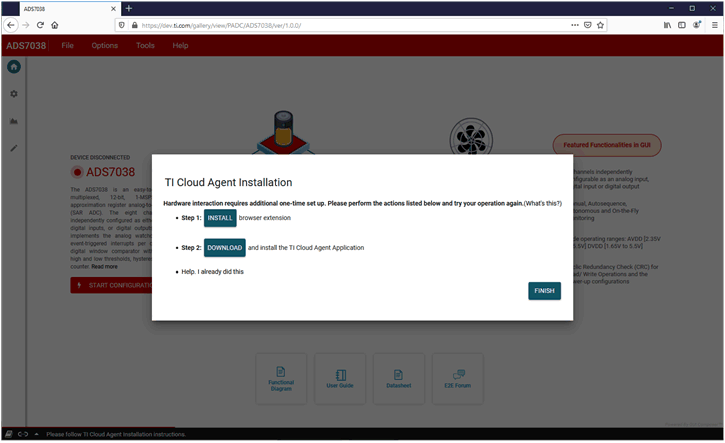
First-time users may be prompted to download and install the browser extension for Firefox™ or Google Chrome™ and the TI Cloud Agent Application as Figure 3-2 shows. Do so if need be, this is a one time download.
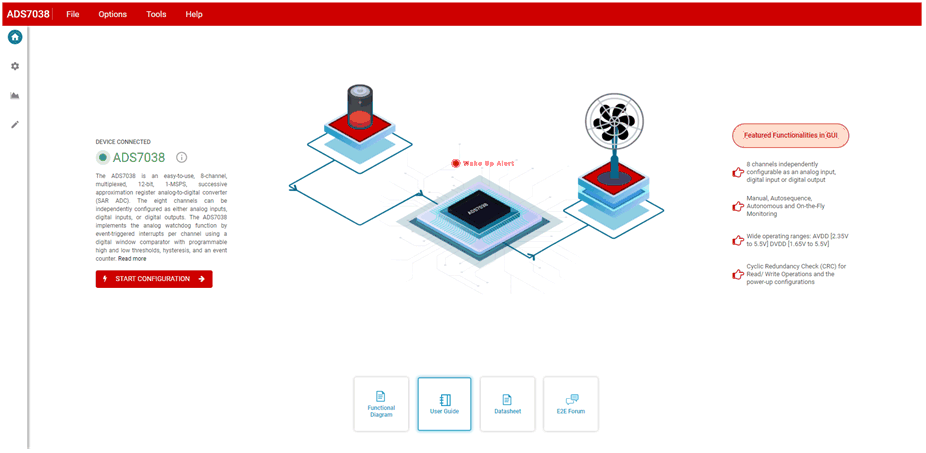
Refresh the GUI, if need be, and the GUI should connect to the hardware. A green signal will be displayed, and at the left bottom, Hardware Connected shows.
 Figure 3-2 Browser Extension and TI Cloud Agent Installation.
  Figure 3-3 Hardware Connected Successfully to GUI.