SPRUIX0D February 2021 – August 2021
- Trademarks
- 1Introduction
- 2Important Usage Notes
-
3System Description
- 3.1 Key Features
- 3.2 Functional Block Diagram
- 3.3 Power-On/Off Procedures
- 3.4
Peripheral and Major Component
Description
- 3.4.1 Clocking
- 3.4.2 Reset
- 3.4.3 Power
- 3.4.4 Configuration
- 3.4.5 JTAG
- 3.4.6 Test Automation
- 3.4.7 UART Interfaces
- 3.4.8 Memory Interfaces
- 3.4.9 Ethernet Interface
- 3.4.10 Display Interface
- 3.4.11 USB 2.0 Interface
- 3.4.12 PCIe Interface
- 3.4.13 High Speed Expansion Interface
- 3.4.14 CAN Interface
- 3.4.15 Interrupt
- 3.4.16 ADC Interface
- 3.4.17 Safety Connector
- 3.4.18 SPI Interfaces
- 3.4.19 I2C Interfaces
- 3.4.20 FSI Interface
- 4Known Issues and Modifications
- 5References
- 6Revision History
4.1 Issue 1 - Embedded XDS110 Connection to AM64x Target in CCS
Applicable EVM Revisions: E2
Issue Description: On some EVM, the embedded XDS110 (U59) has been shown to fail initial target connection to AM64x target in CCS after first EVM and XDS110 power cycle. No problem exists when using an attached, external emulator over the CTI20 header (J25).
This failure mode can be encountered by following the steps below:
- XDS110 USB is attached between host PC and XDS110 USB port (J28).
- EVM power is enabled and the AM64x is brought up in no-boot mode.
- In CCS, an initial CCS target connection to the M3 DMSC core is then attempted.
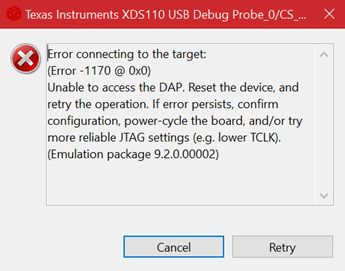
- CCS will error
out with the below dialog complaining of a DAP connection error to the target core.
- Hitting retry results in the same error message
 Figure 4-2 XDS110 CCS Connection Error
Dialog
Figure 4-2 XDS110 CCS Connection Error
DialogWorkaround 1: After the connection issue is encountered, users can unplug the USB host connection to the XDS110 emulator through USB port (J28) and then plugin the USB cable again. This power cycles the XDS110 and will clear up the connection error.
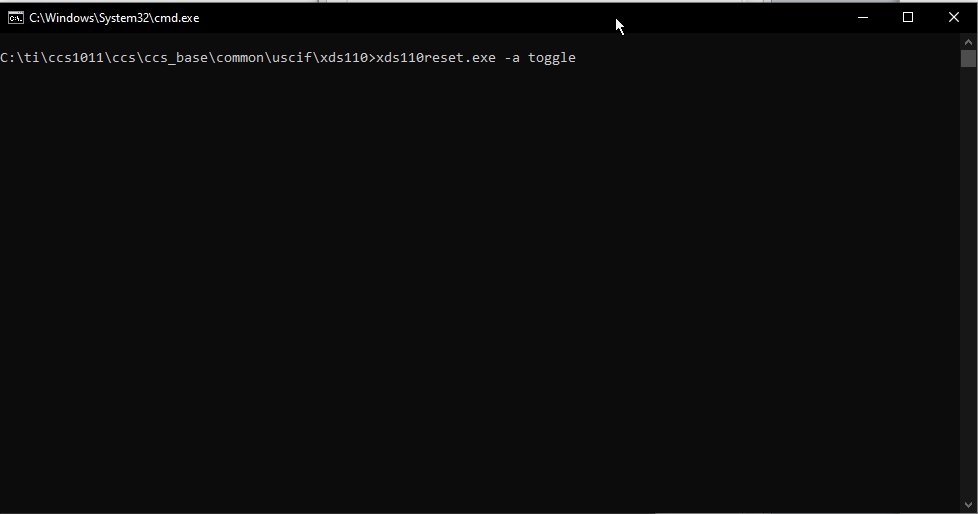
Workaround 2: After the connection issue is encountered, users can toggle TRSTSN through the XDS110 debug command-line utility xds110reset found in the CCS XDS110 utility directory.
In the Windows OS installation, for a default installation of CCS version 10.11, this tool is found in the directory C:\ti\ccs1011\ccs\ccs_base\common\uscif\xds110>
This command can be executed on the Windows command prompt/terminal when the embedded XDS110 is powered on and connected to the host PC. A similar tool is available under the Linux OS install of CCS.
 Figure 4-3 XDS110 debug reset utility
command-line function